240 gallon Tank Renovation
Posted: 29 Mar 2011, 18:37
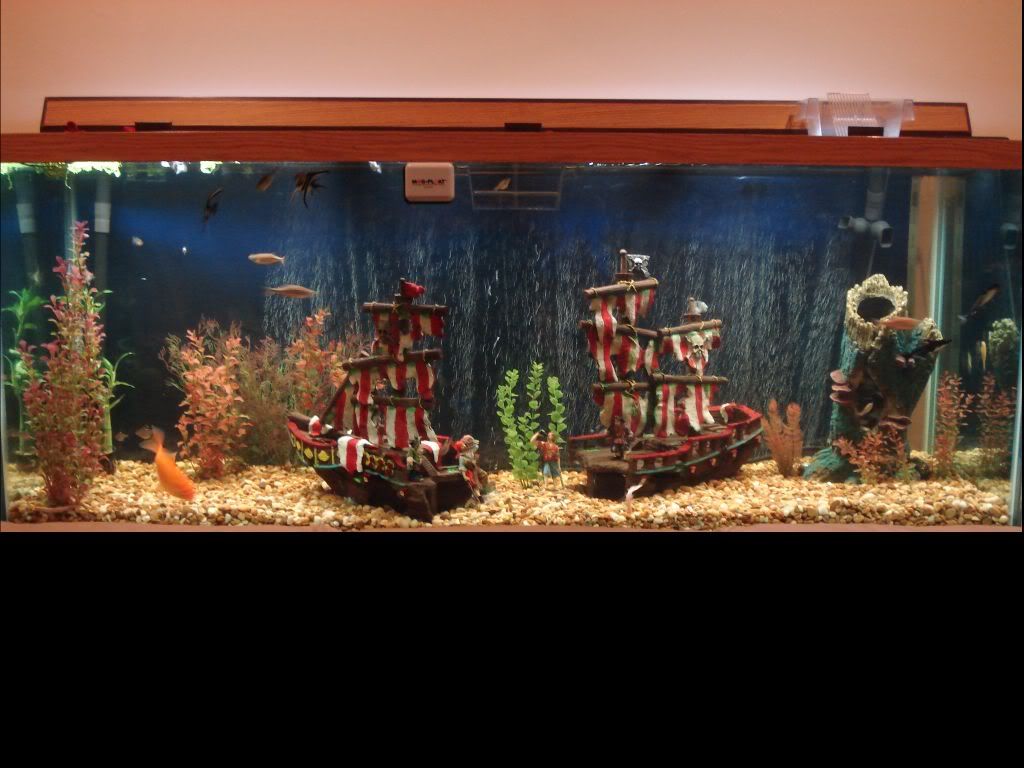
I decided to renovate my 240 gallon tank and switch from a "pirate" theme to a more natural look. This is what I had previous to starting the renovation.
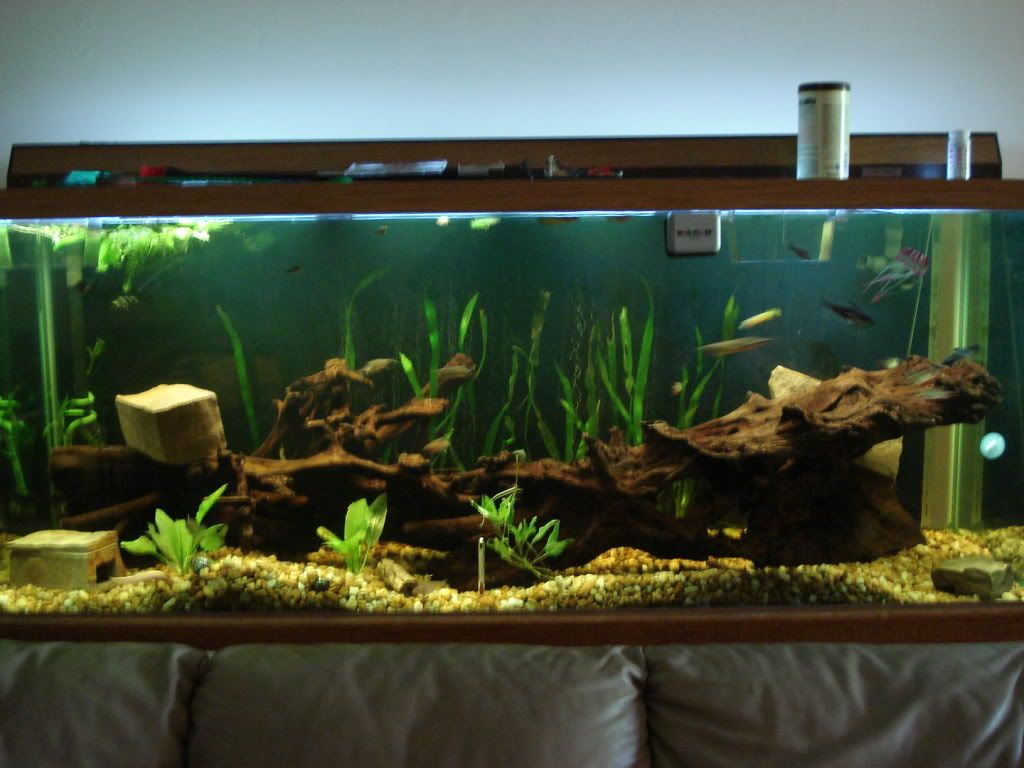
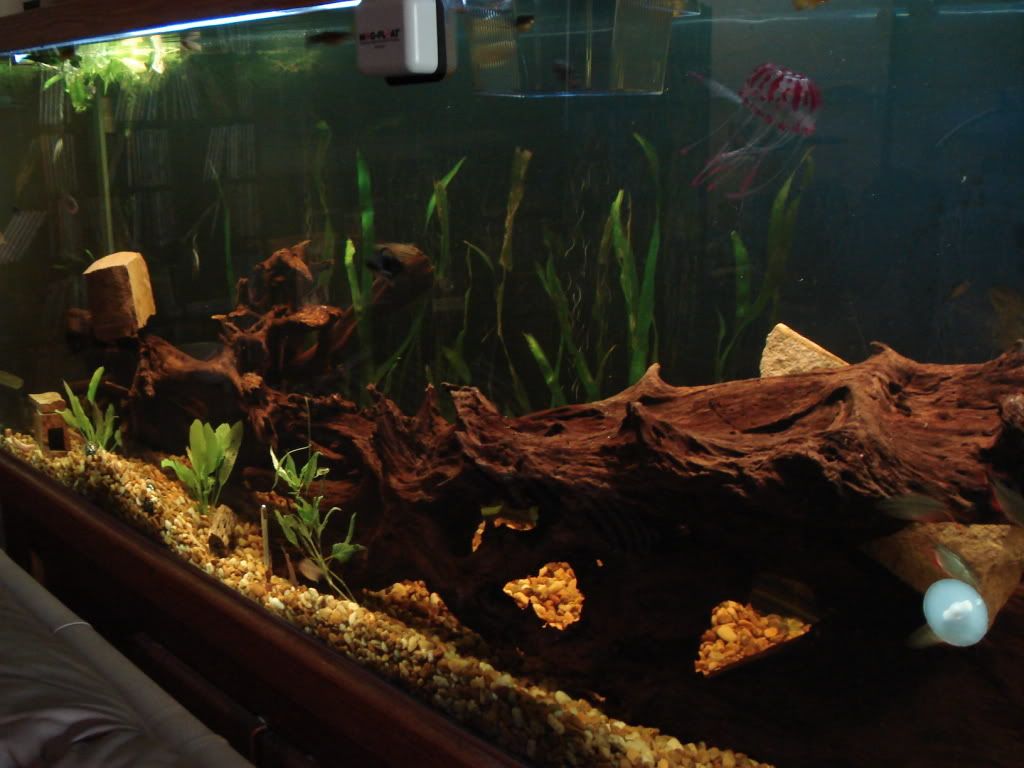
After a lot of searching for driftwood I decided to make do with what is available at a reasonable price. I bought a few smaller pieces and rigged them together to make what I believe is the start of a nice display.
Starting from the left side of the photo at the bottom is an inverted Y shaped piece that I drilled on one end using a 1.5 inch bit so that a second piece could be cradled ontop. Ontop of the first piece is another short piece that branches to the left and is spliced to a third piece making one long branch.
From there I piled 3 pieces together to make the right side and currently have a single piece on the far left side.
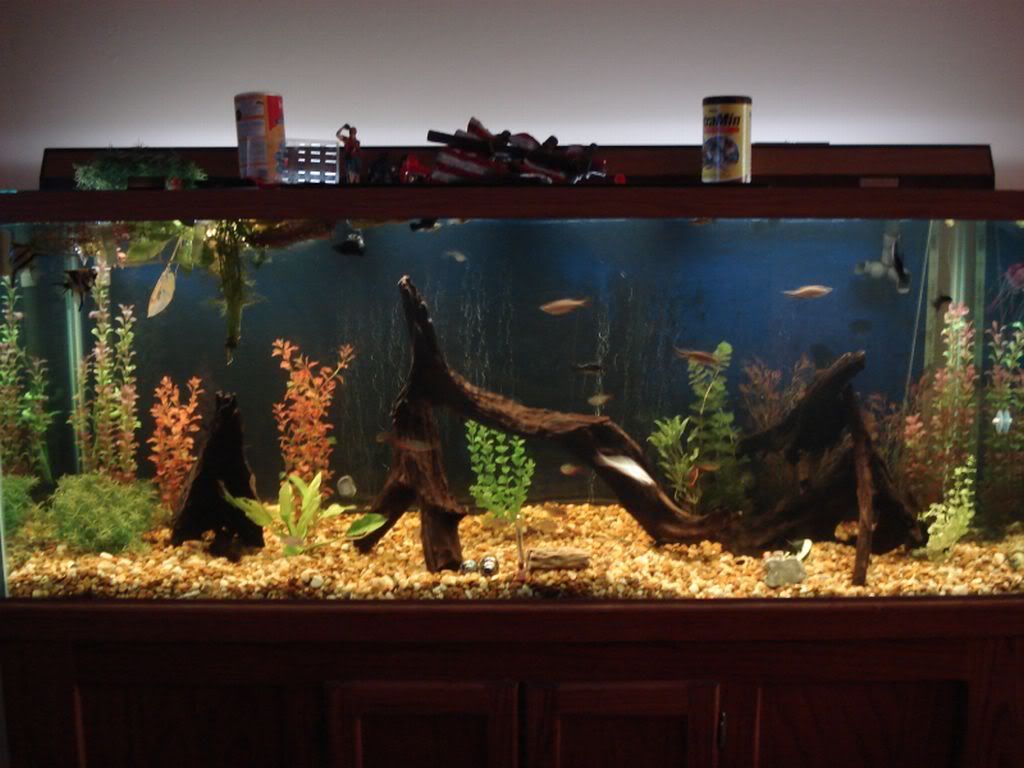
The driftwood is starting to release some tannins and the water is getting a nice light tea coloring. This is a work in progress and my next step is to add some more live plants. I'm also proud to say there are only 2 screws needed to hold the entire center piece together.
You may notice a bunch of plants floating at the top left. They surround my fry tank which currently has half a dozen mollies in it and also provide a hiding place for my african butterfly.
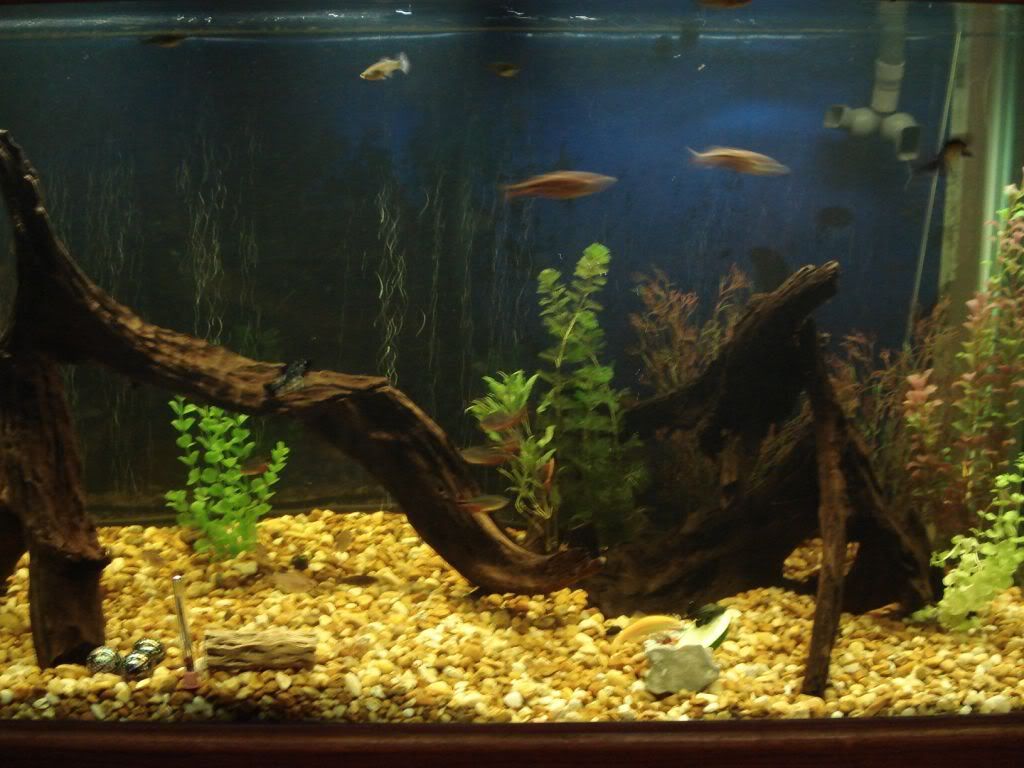
After a lot of searching for driftwood I decided to make do with what is available at a reasonable price. I bought a few smaller pieces and rigged them together to make what I believe is the start of a nice display.
Starting from the left side of the photo at the bottom is an inverted Y shaped piece that I drilled on one end using a 1.5 inch bit so that a second piece could be cradled ontop. Ontop of the first piece is another short piece that branches to the left and is spliced to a third piece making one long branch.
From there I piled 3 pieces together to make the right side and currently have a single piece on the far left side.
The driftwood is starting to release some tannins and the water is getting a nice light tea coloring. This is a work in progress and my next step is to add some more live plants. I'm also proud to say there are only 2 screws needed to hold the entire center piece together.
You may notice a bunch of plants floating at the top left. They surround my fry tank which currently has half a dozen mollies in it and also provide a hiding place for my african butterfly.