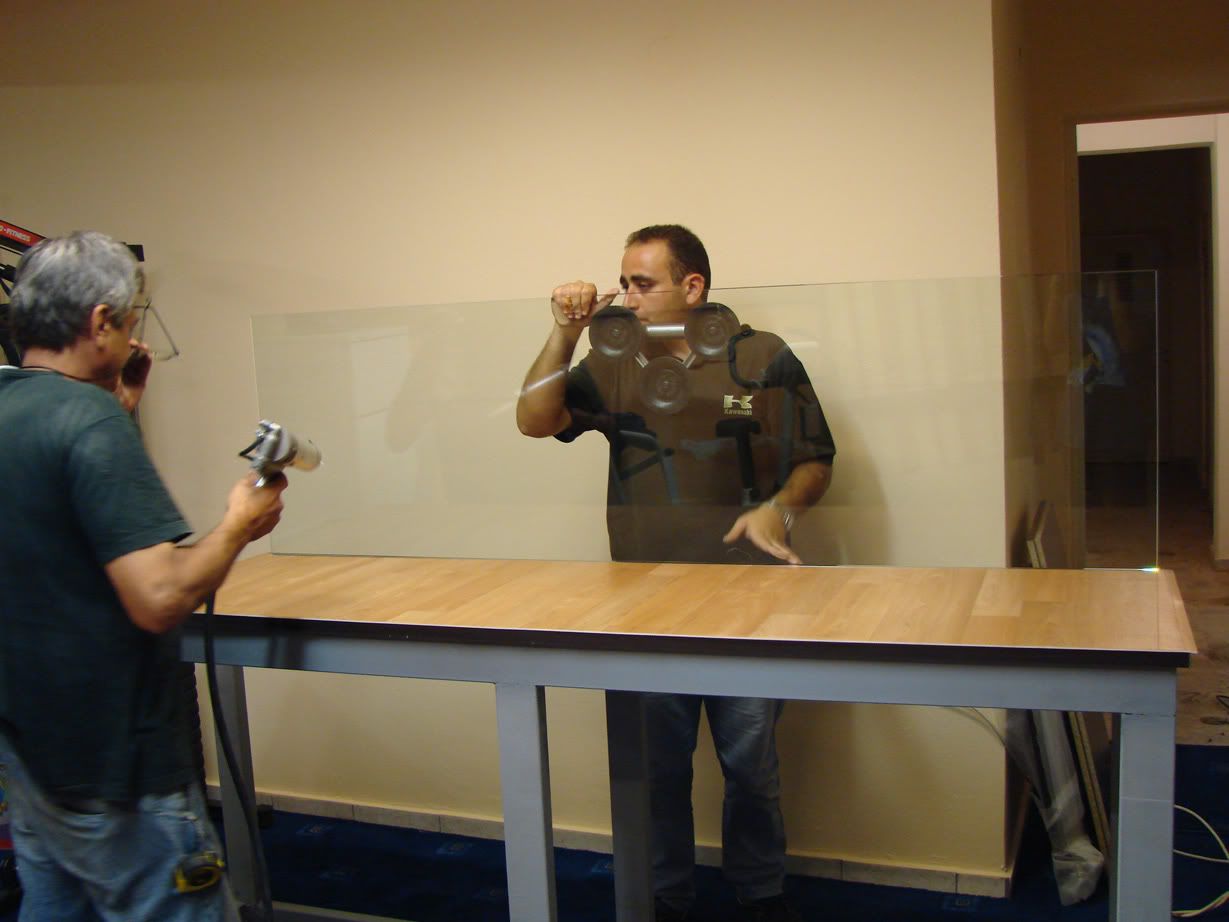
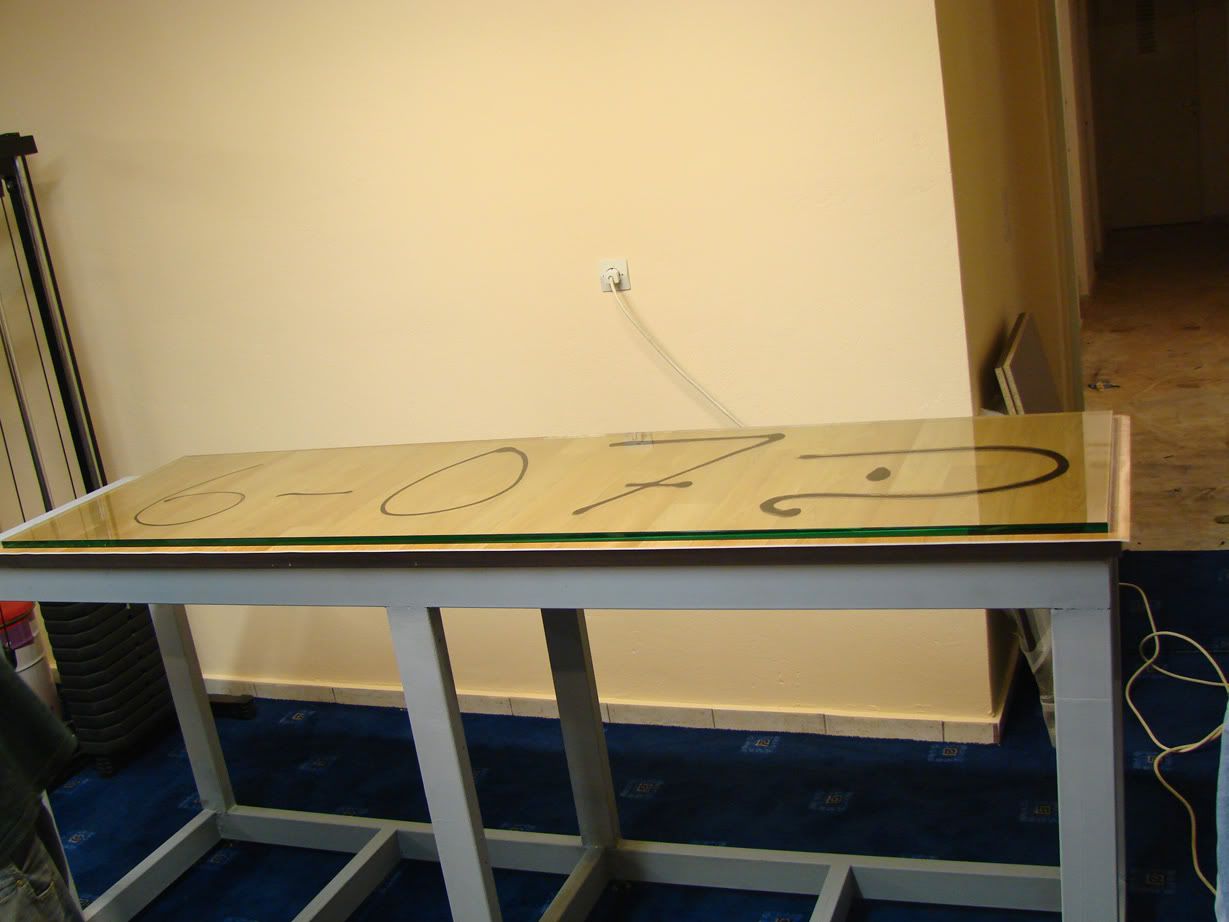
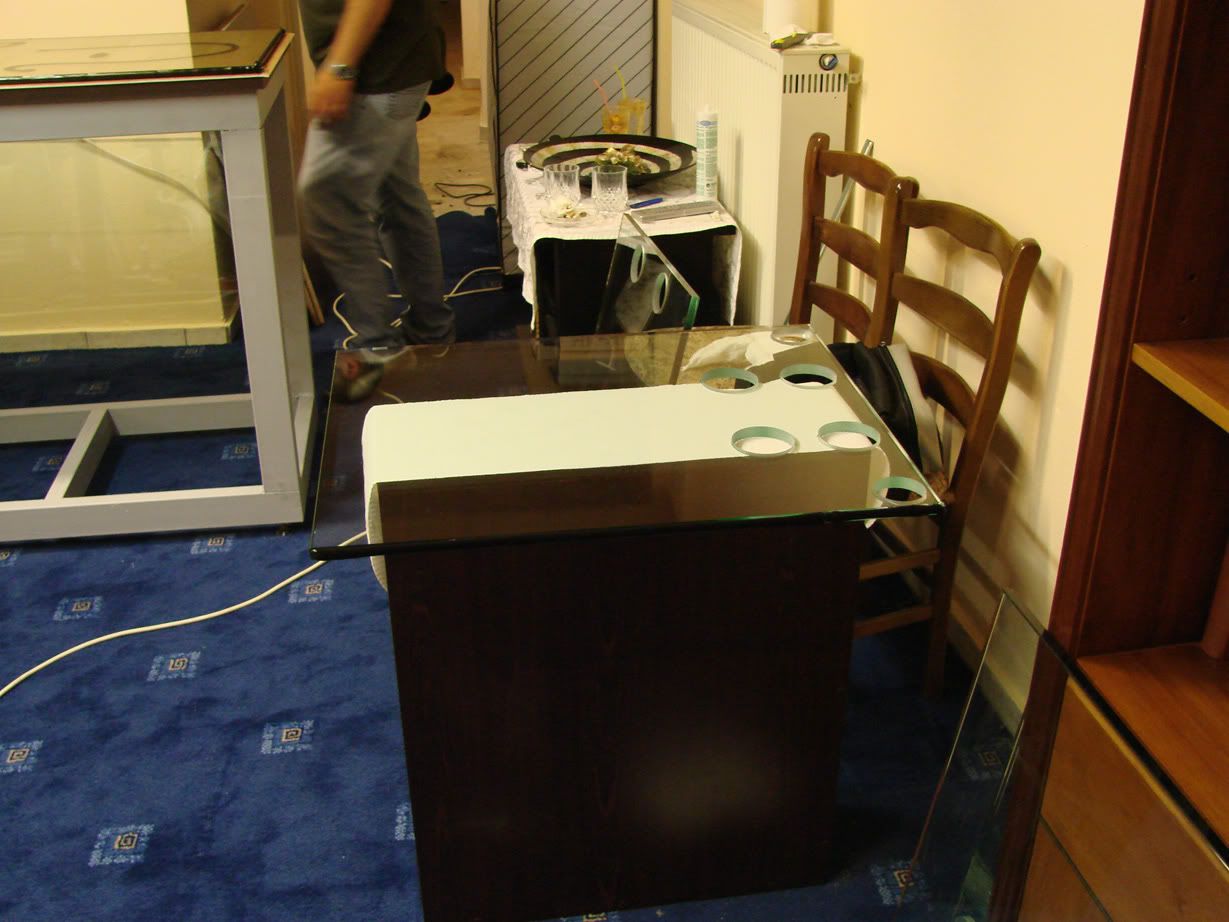
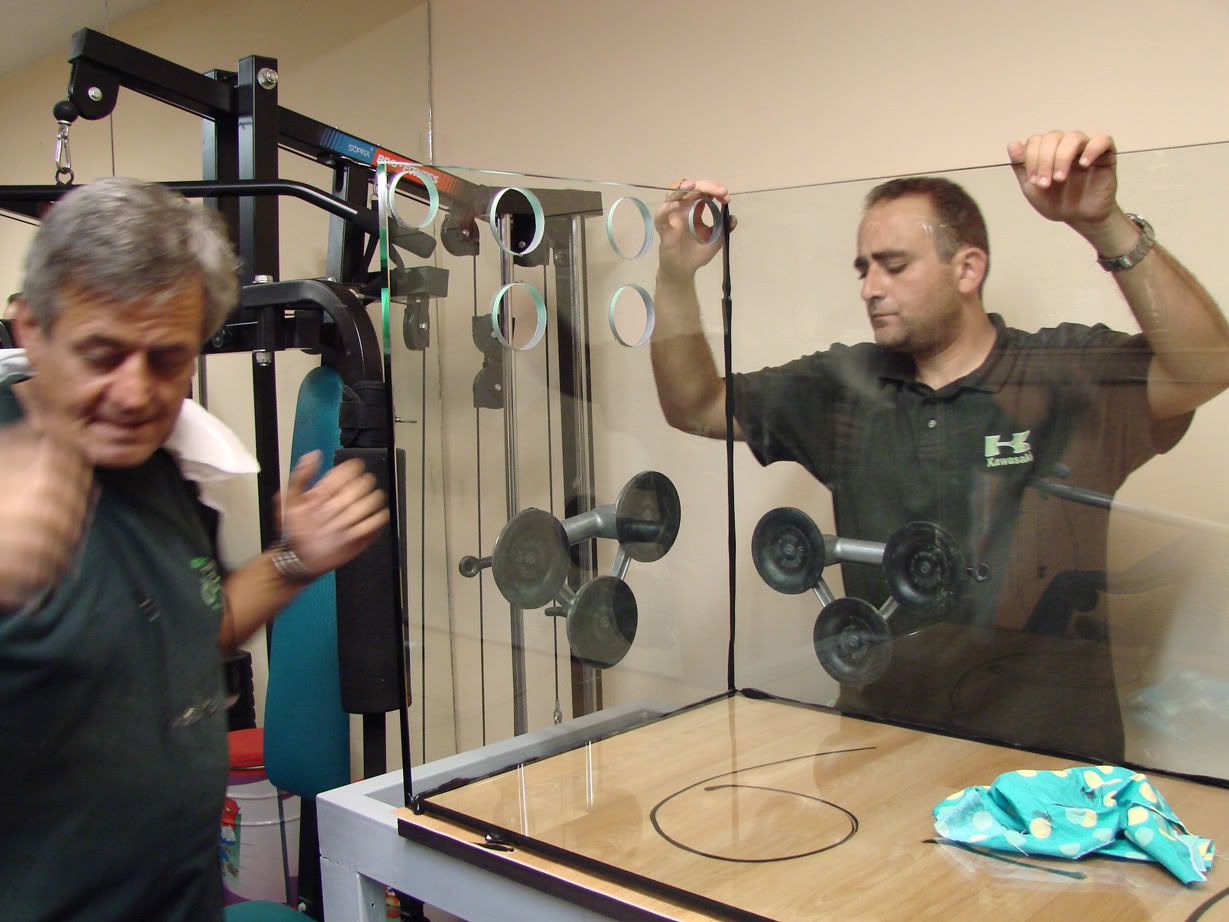
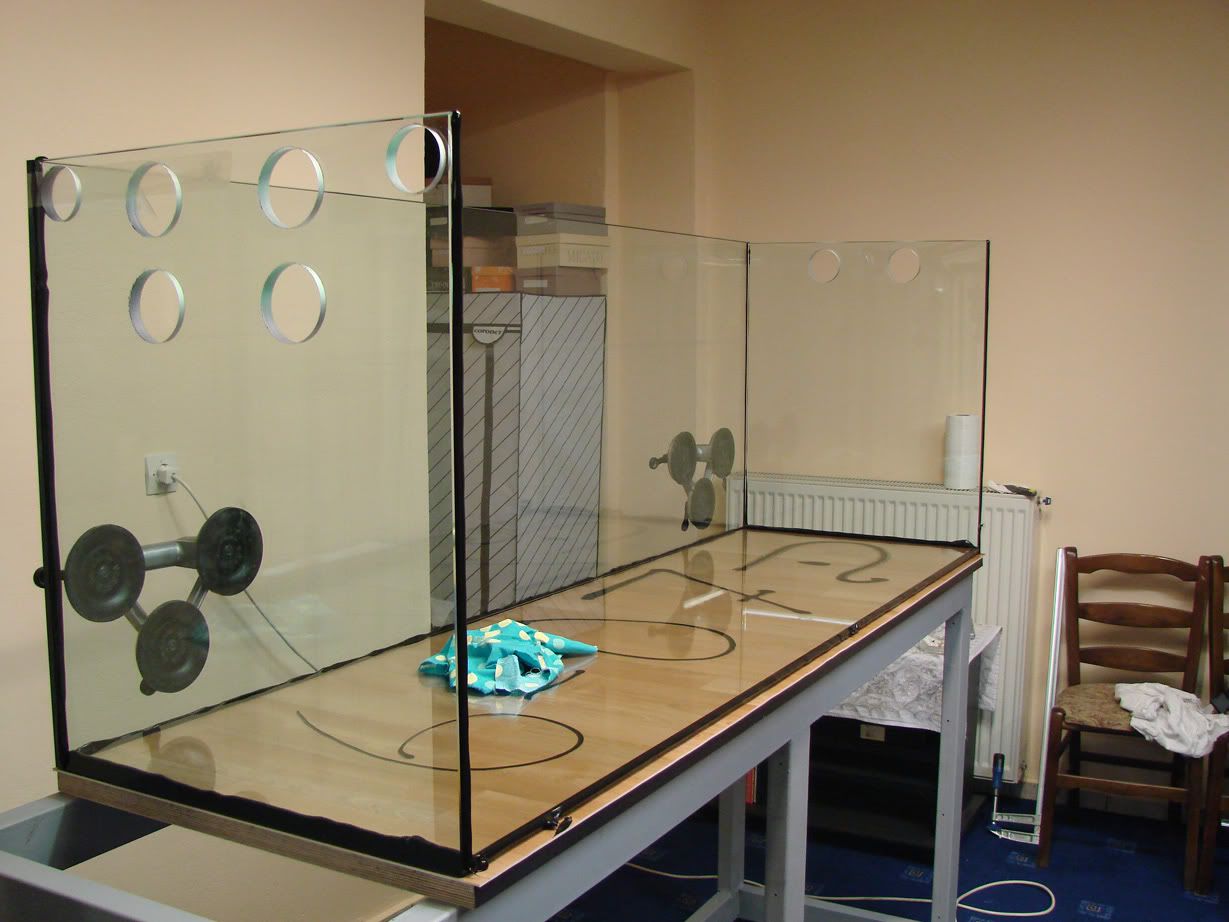
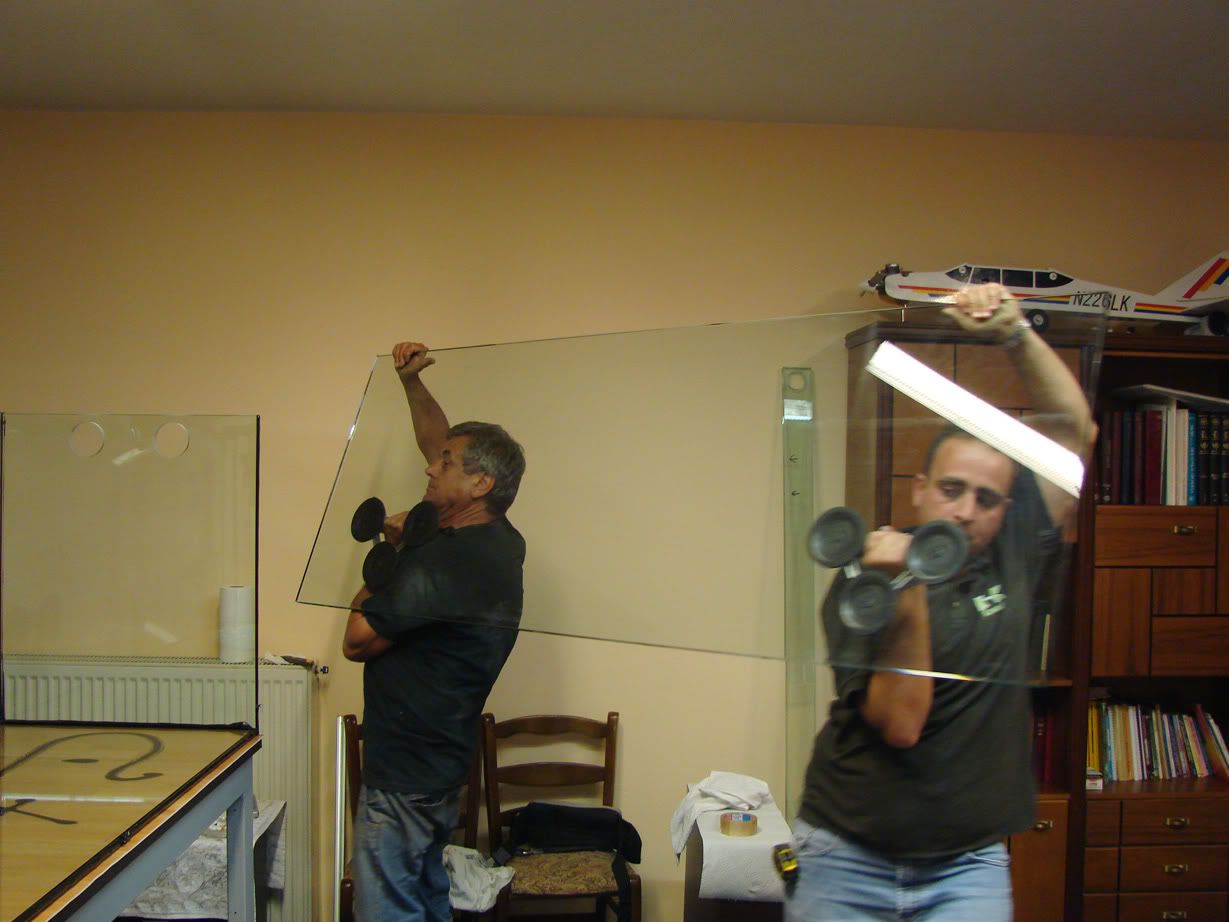
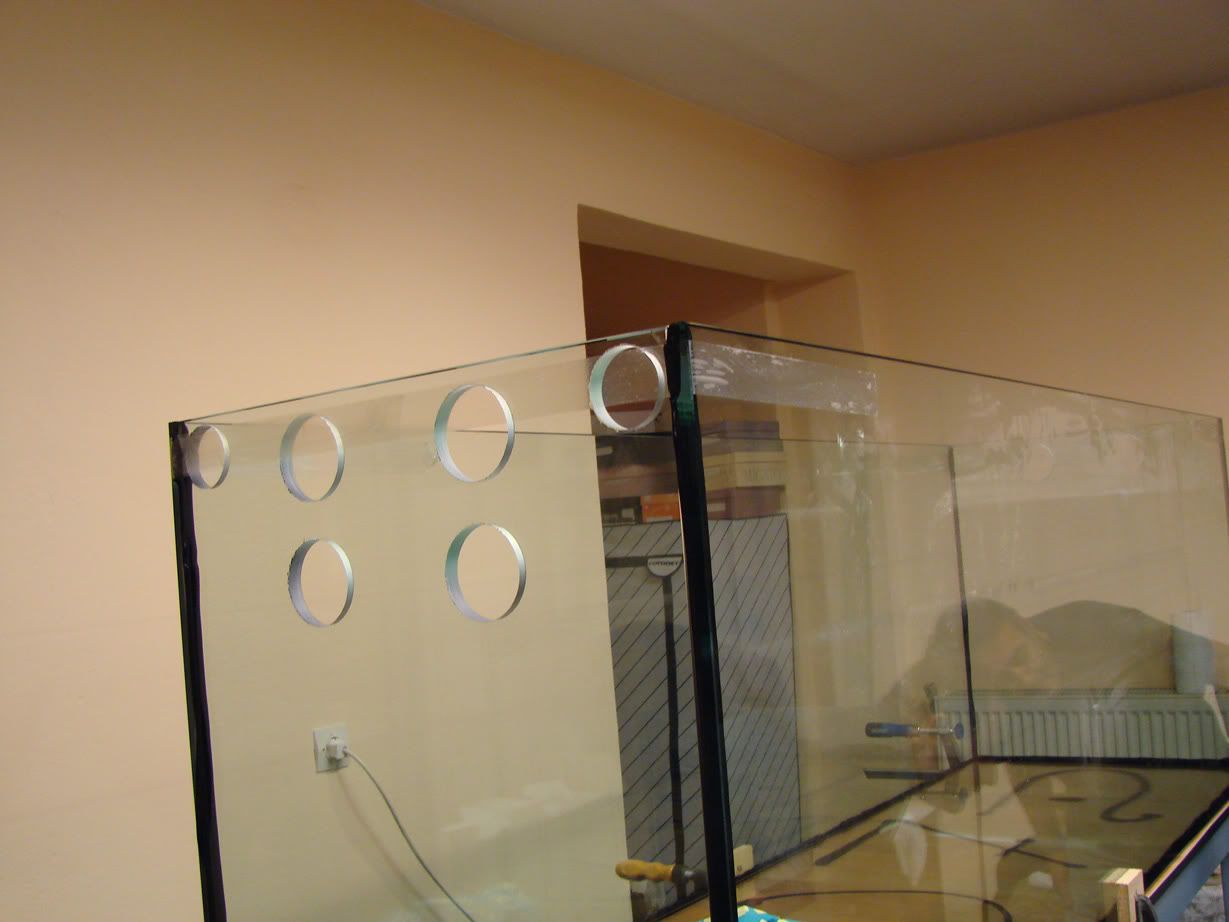
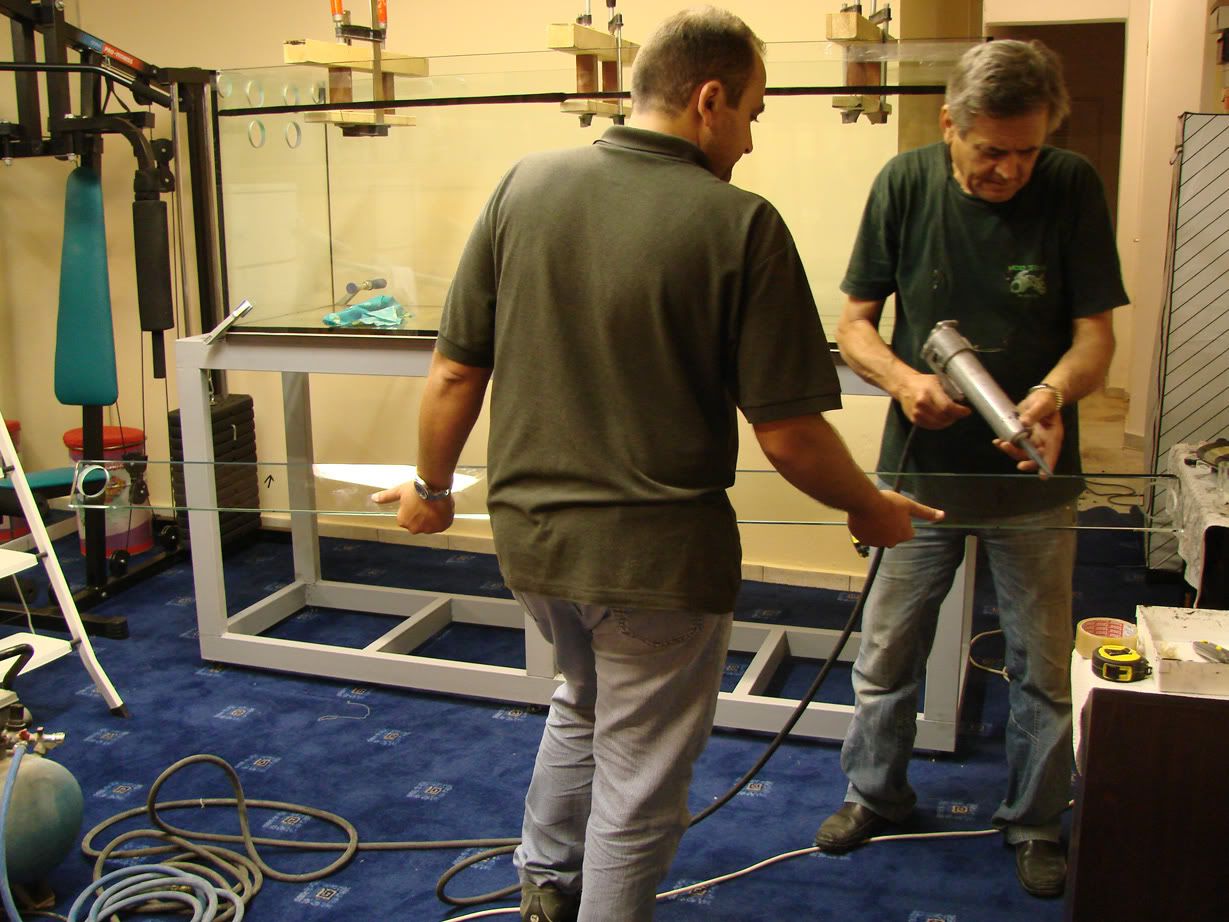
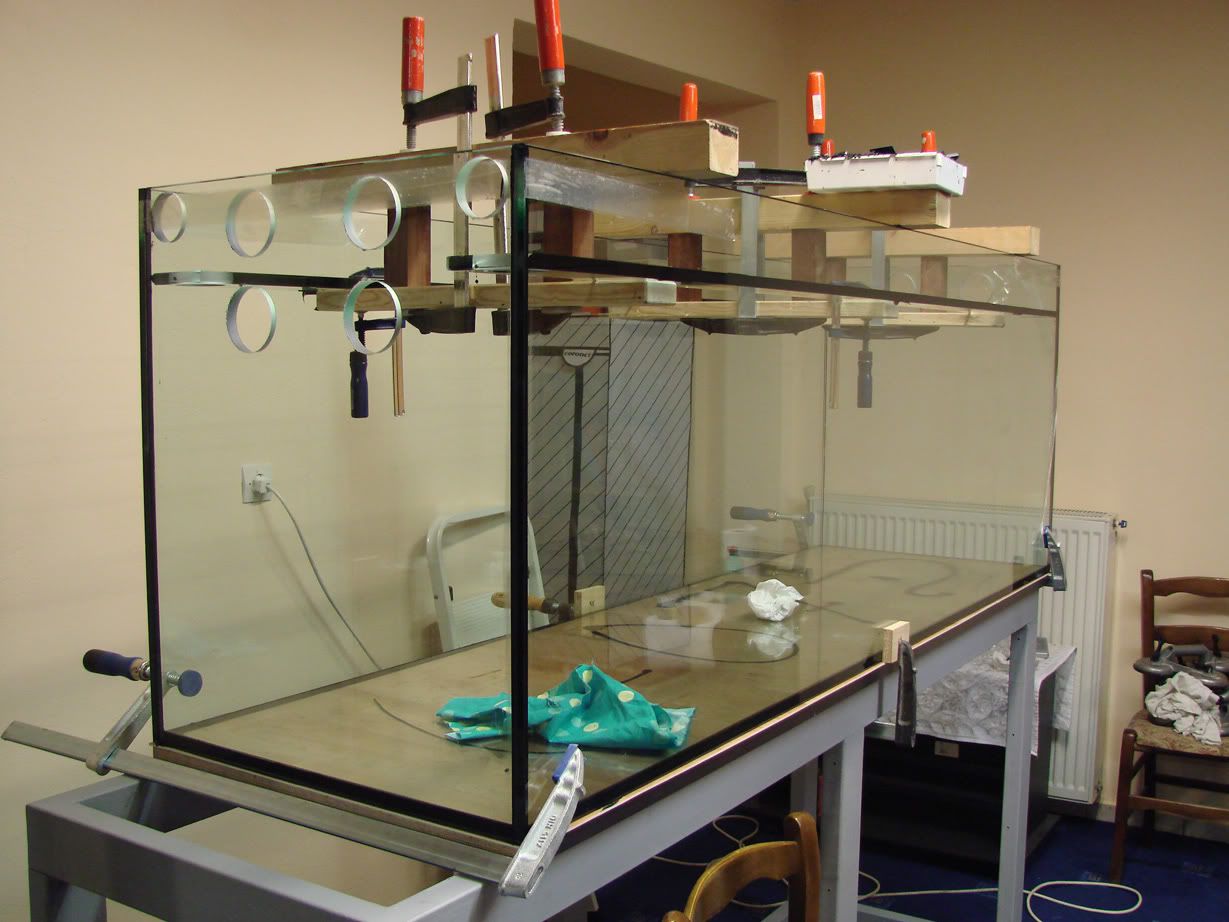
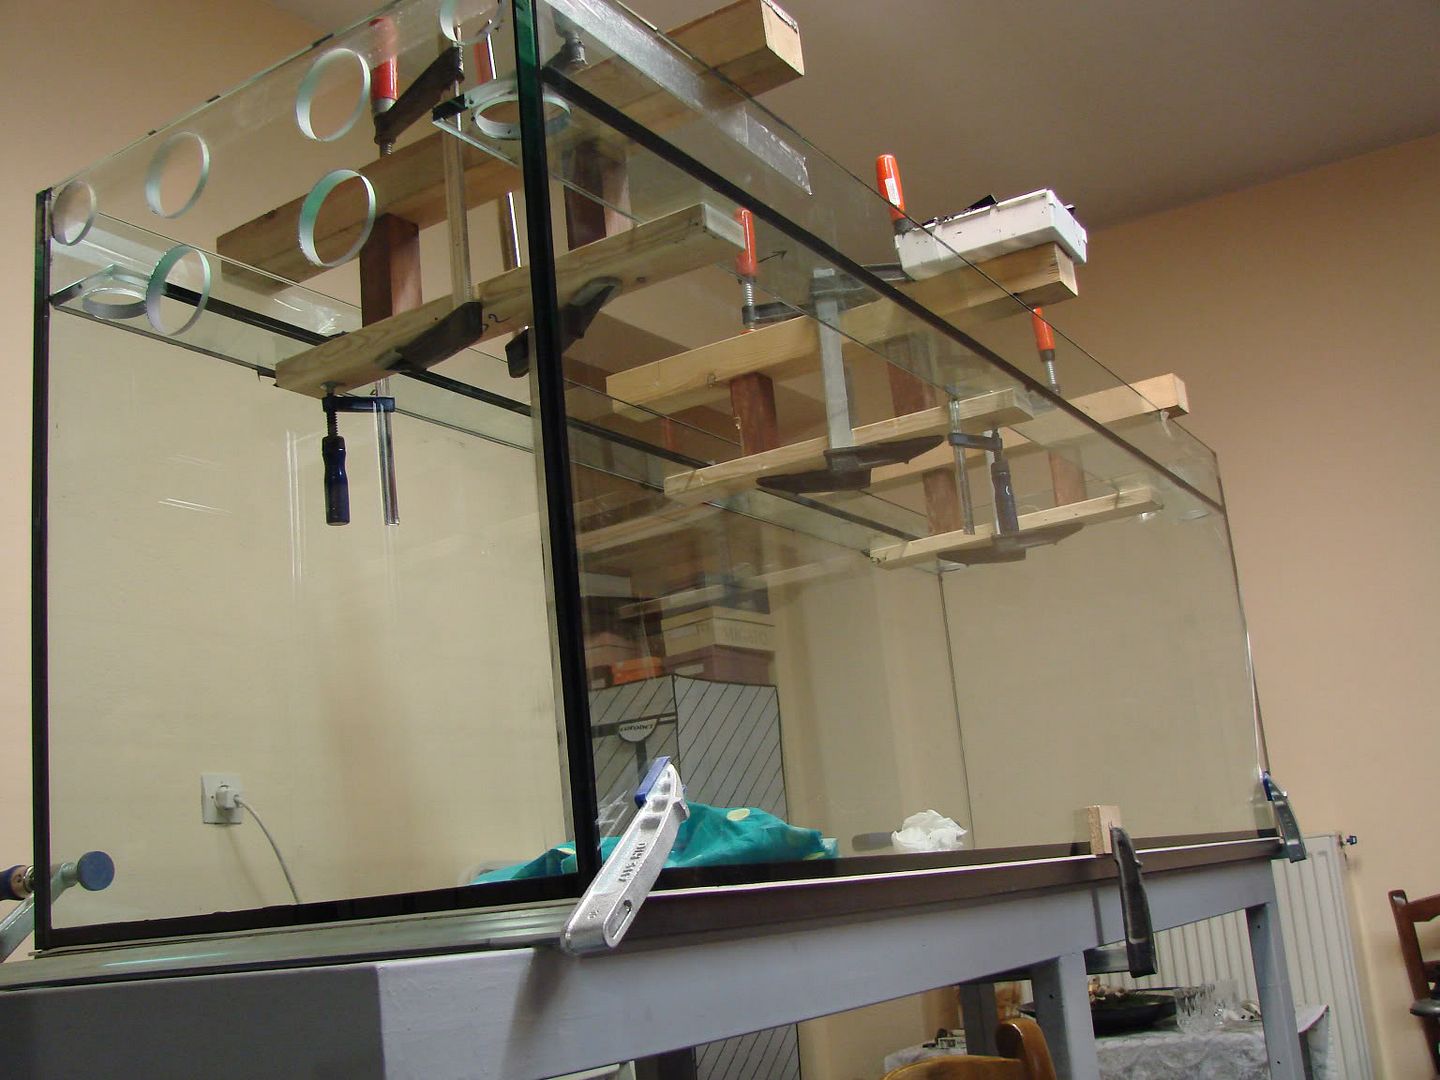
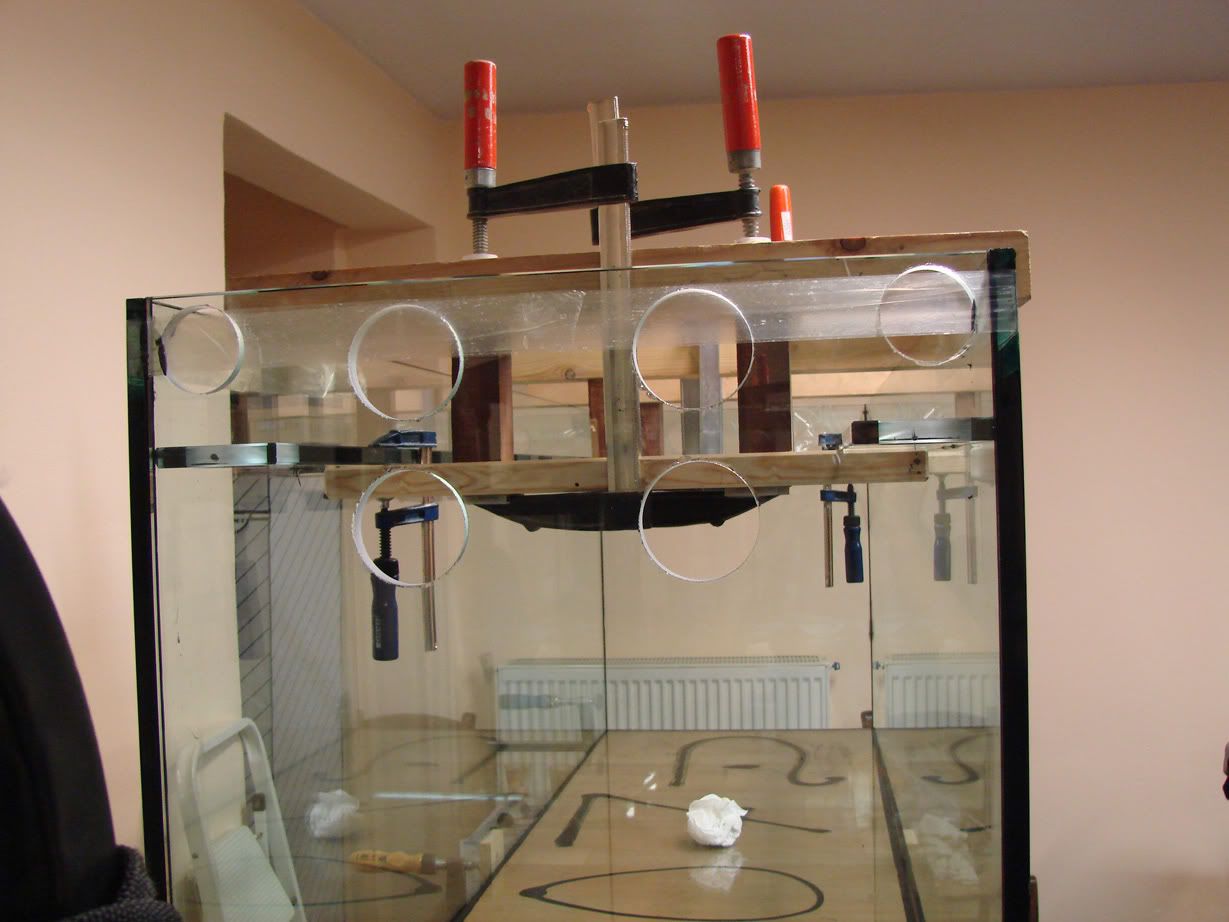
This Saturday i just ordered the 2 meter tank i wanted
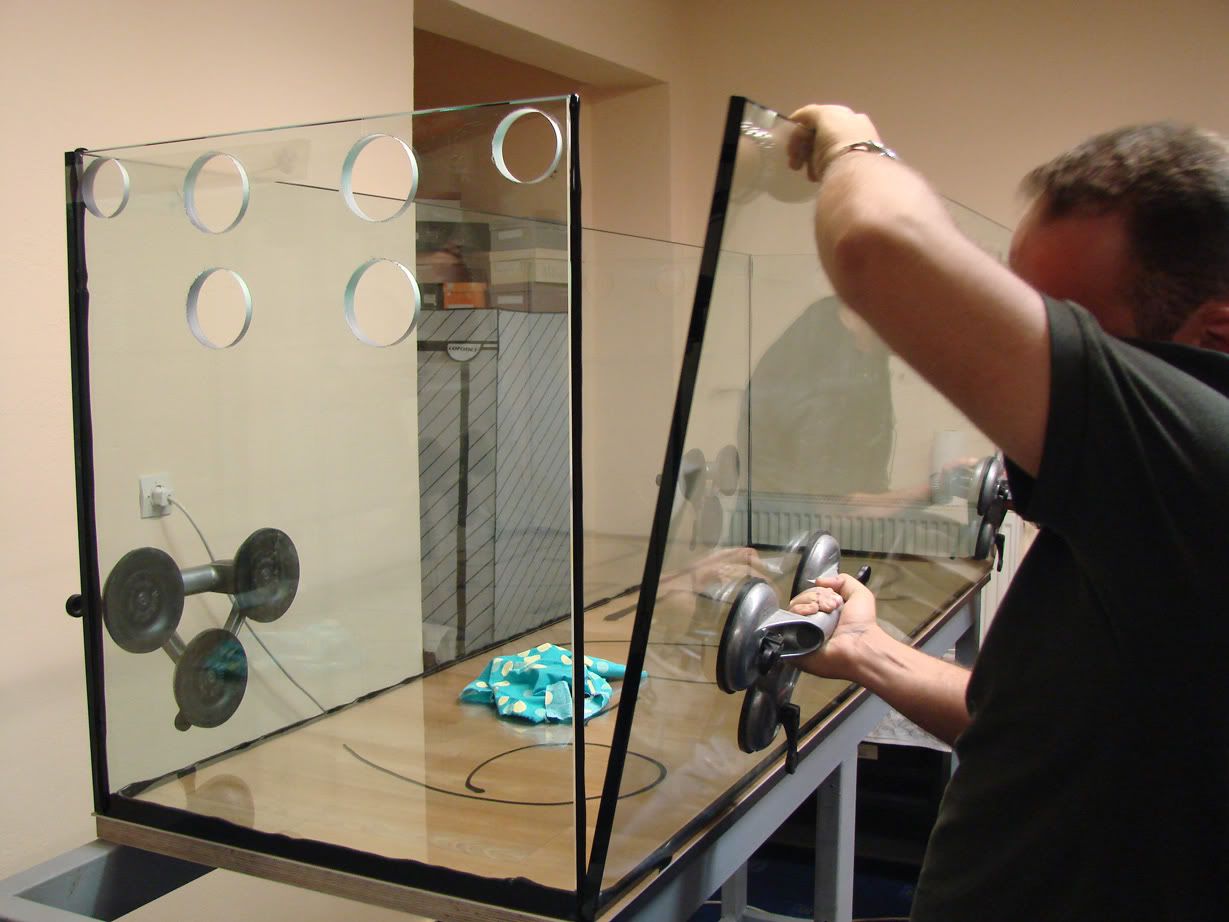
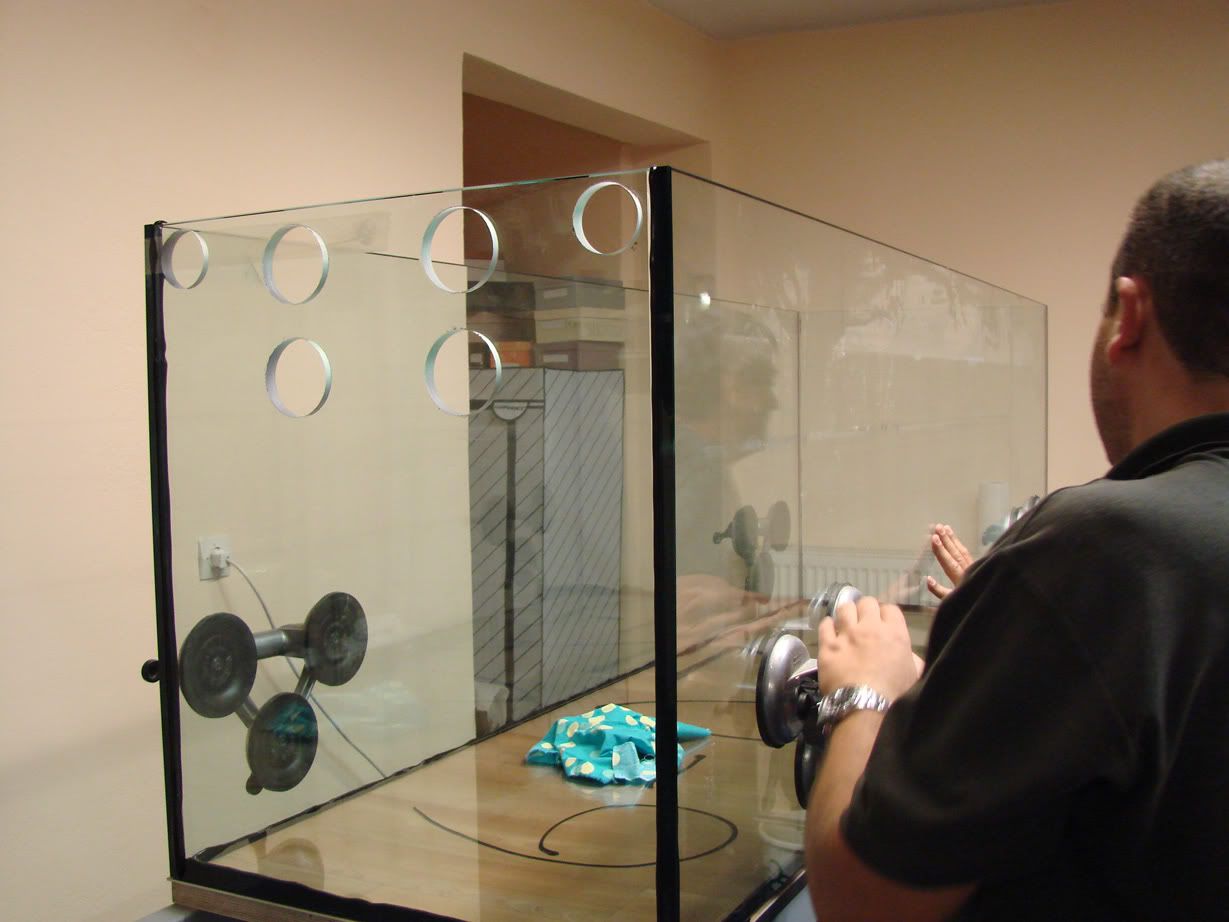
200-60-70cm tank
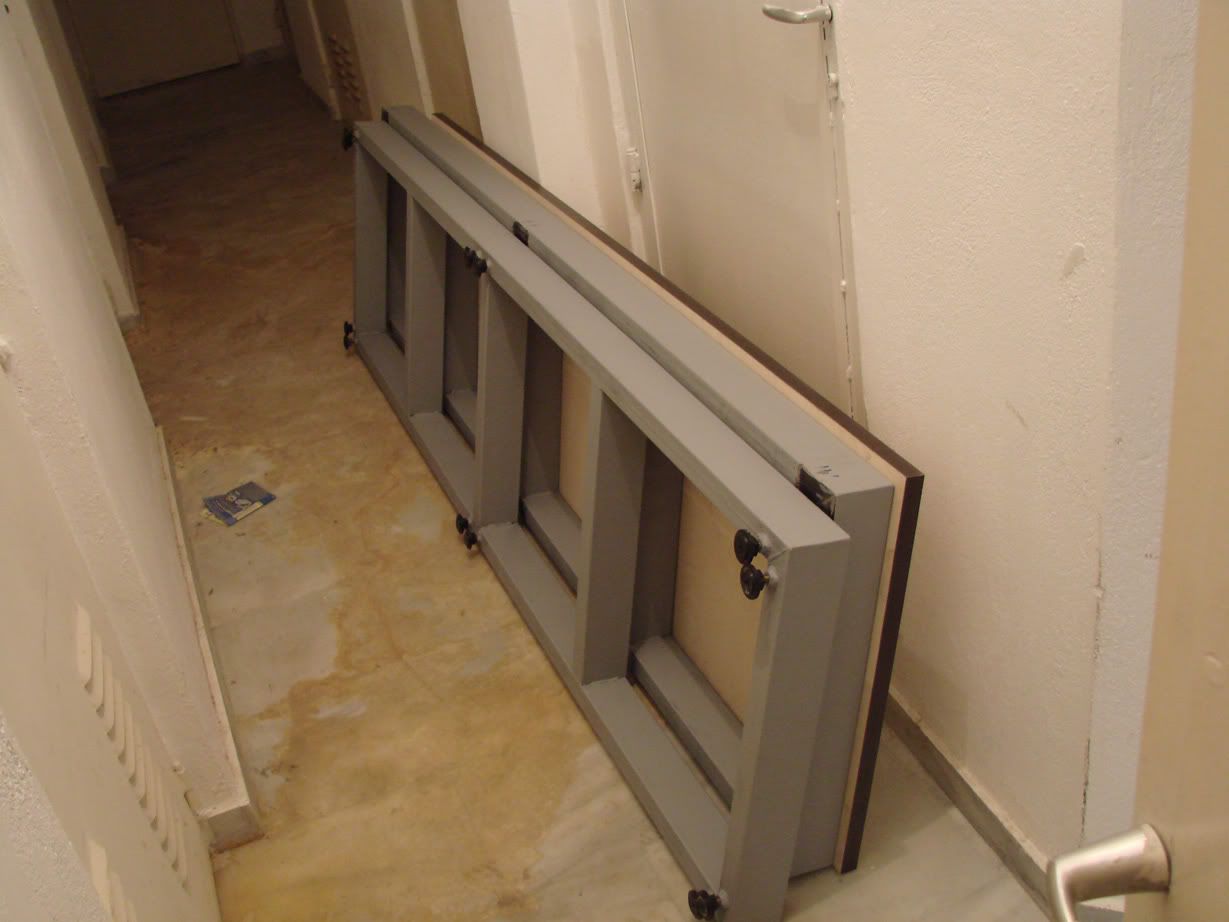
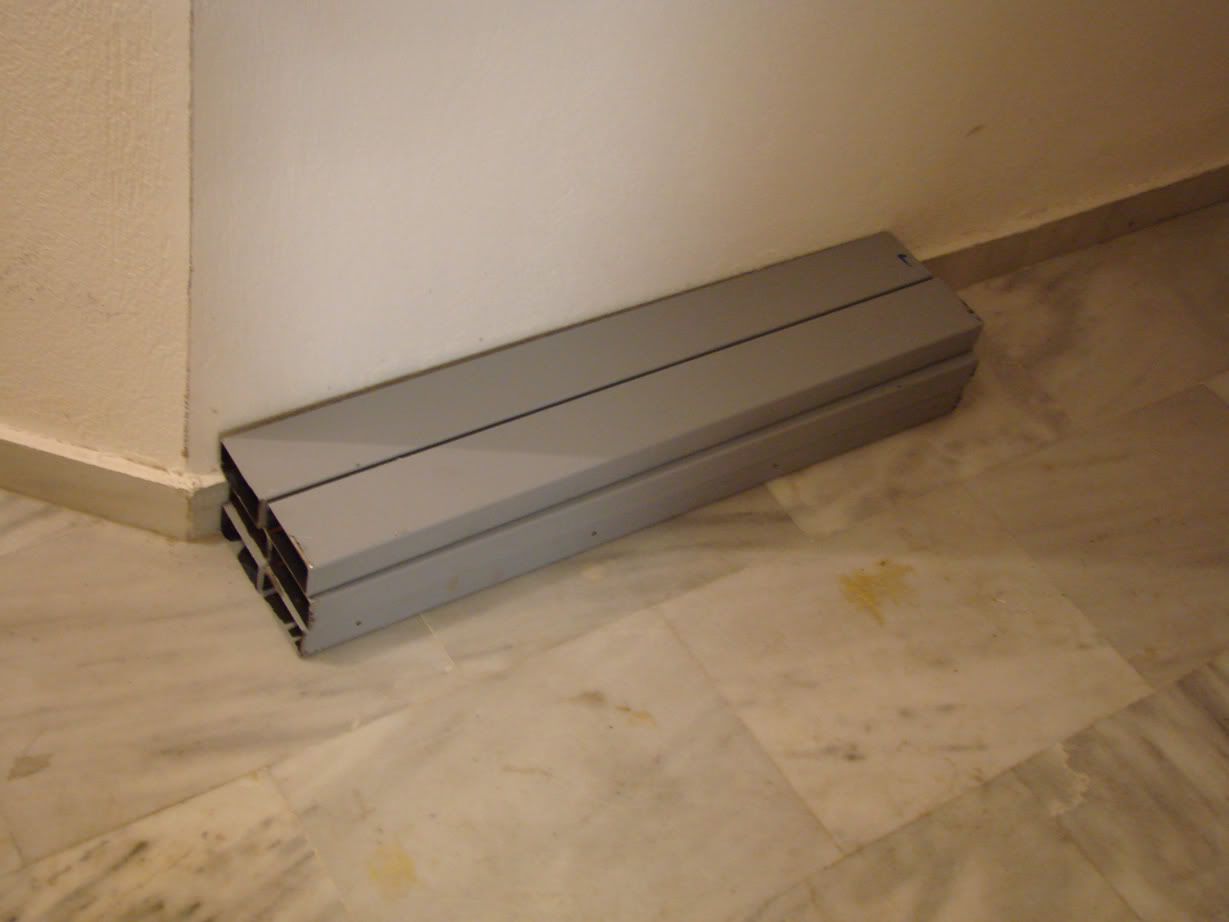
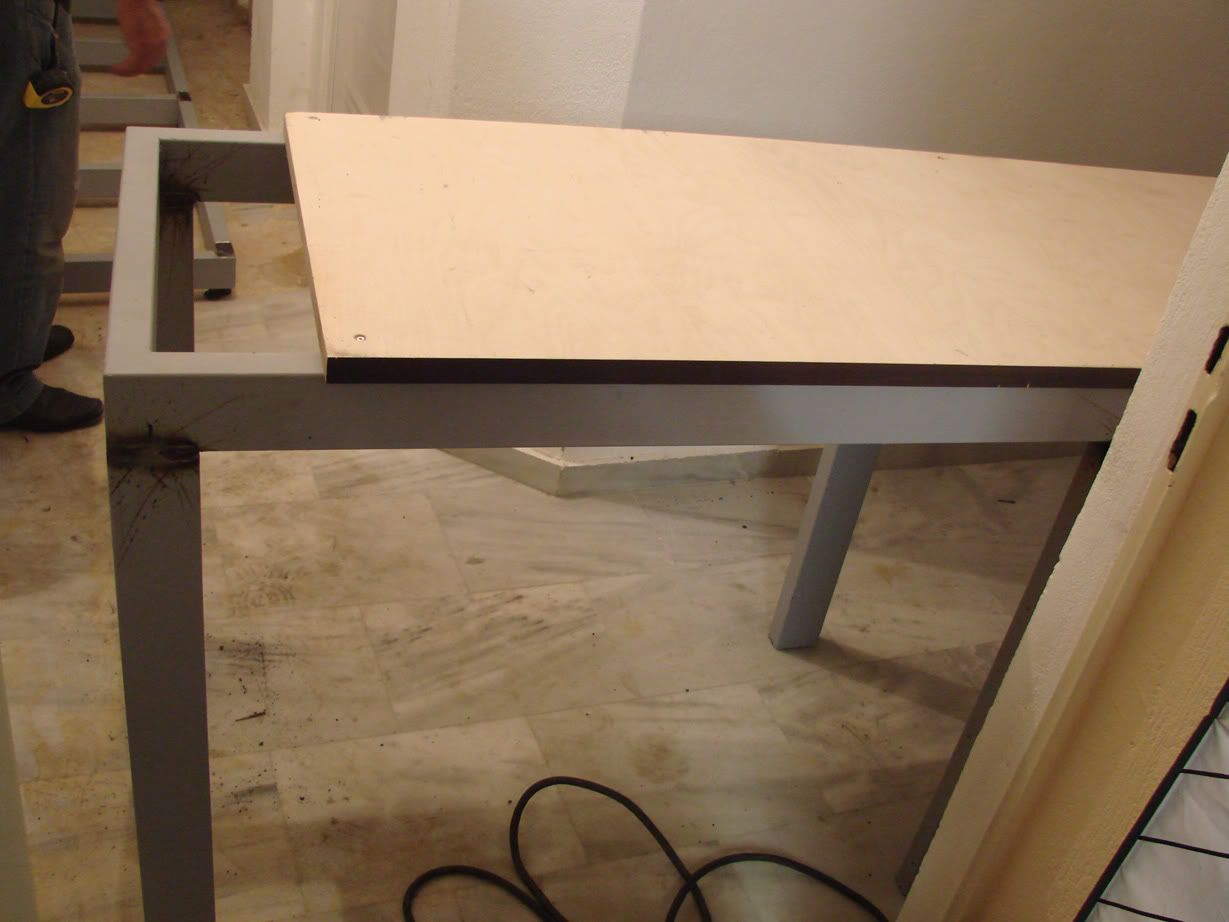
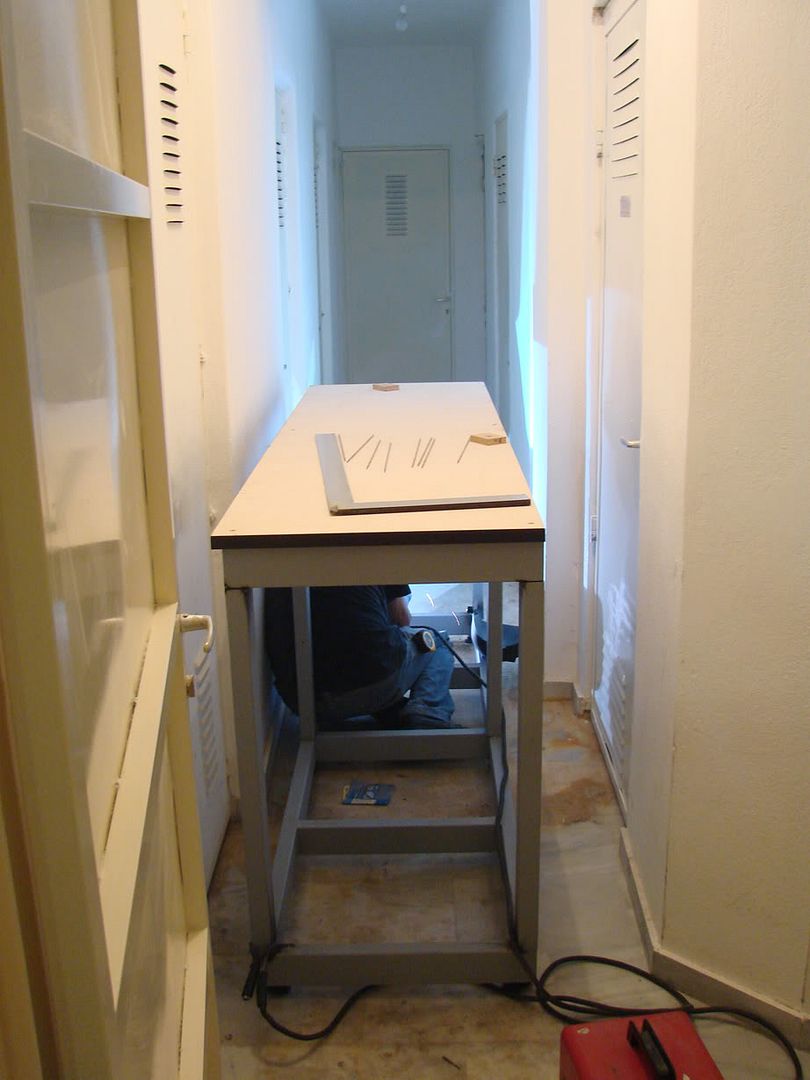
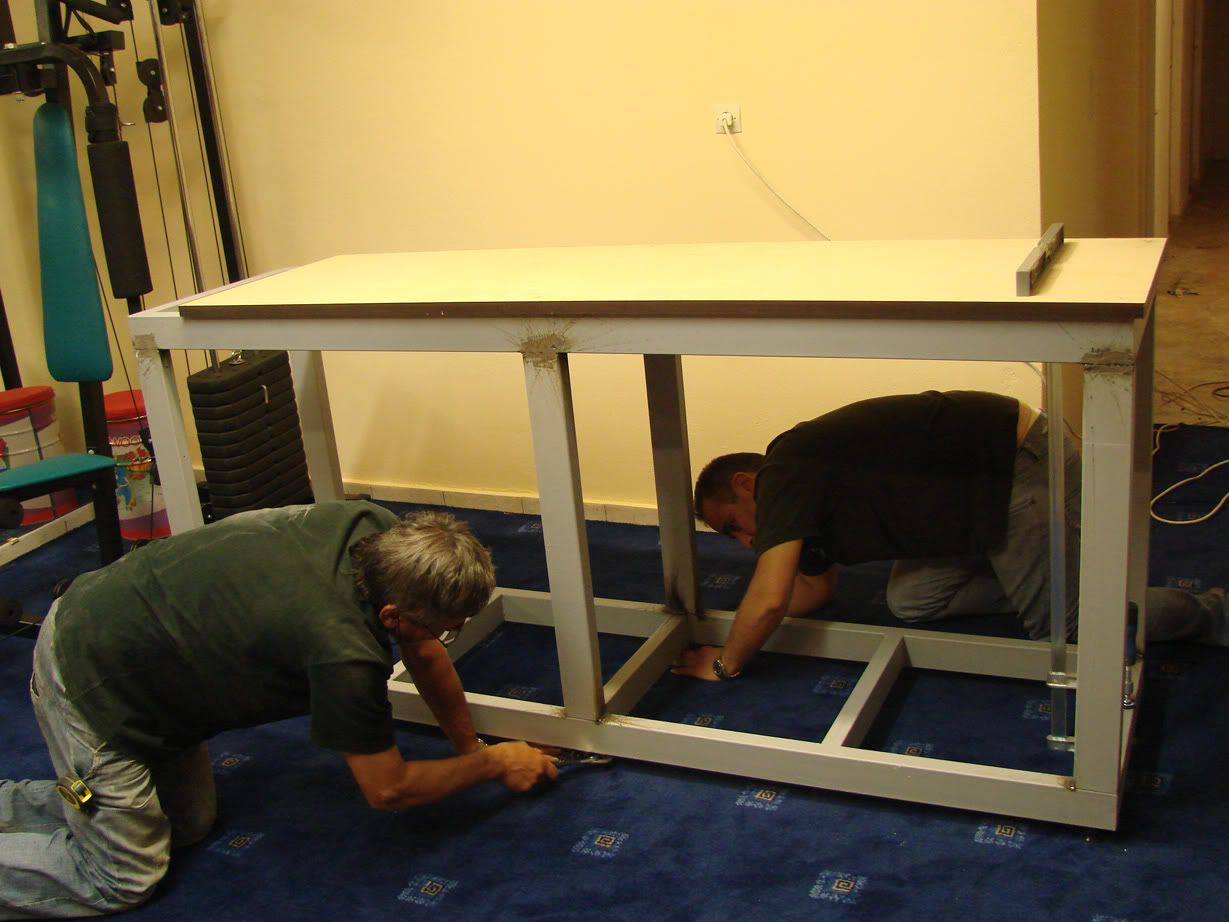
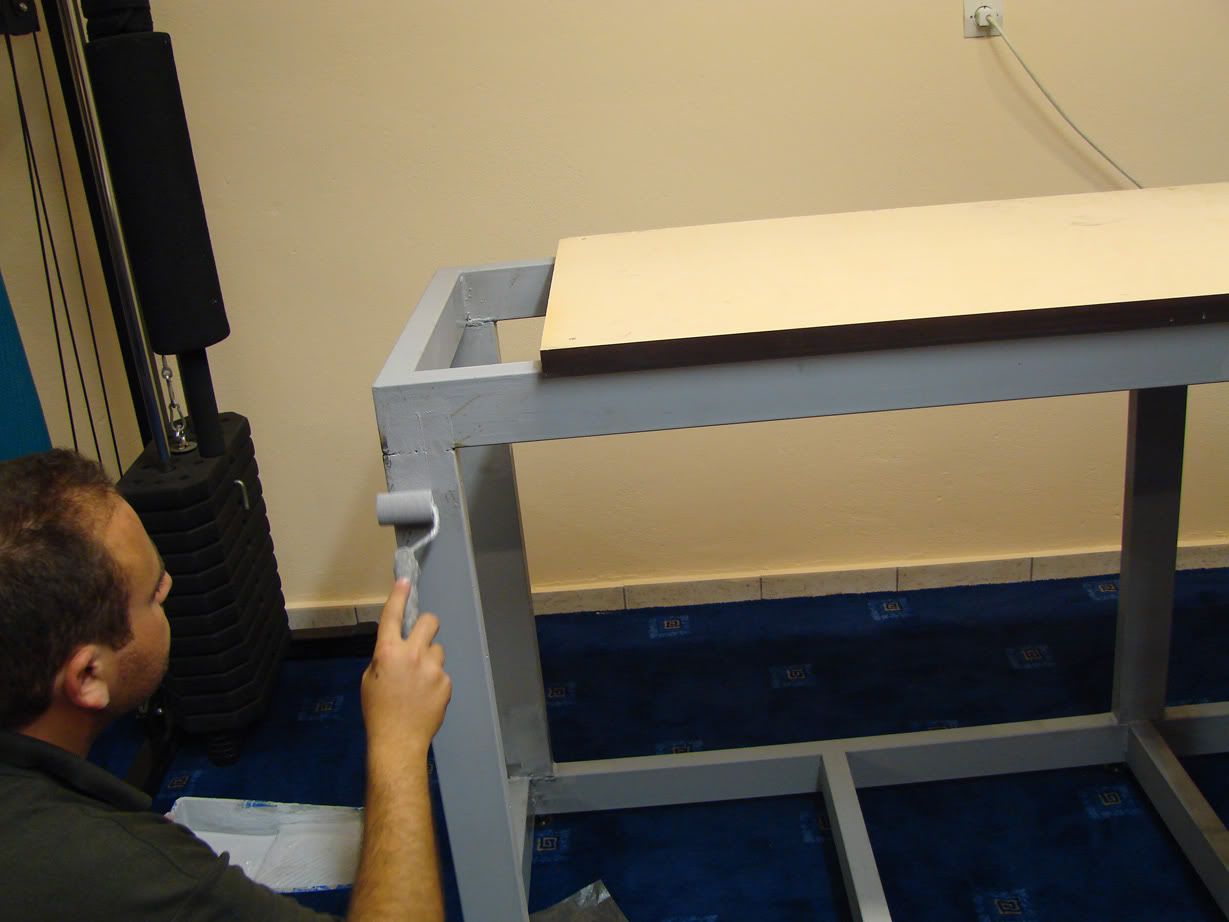
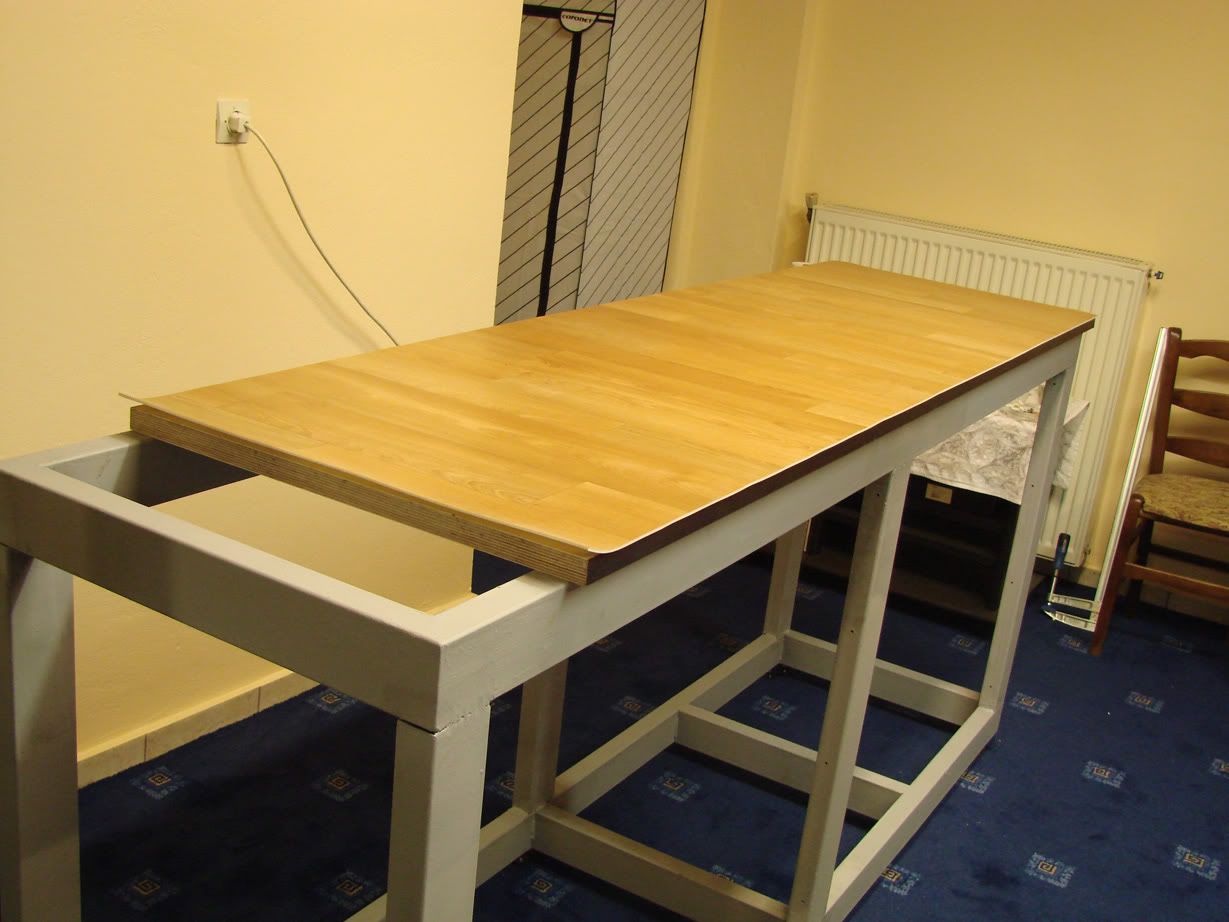
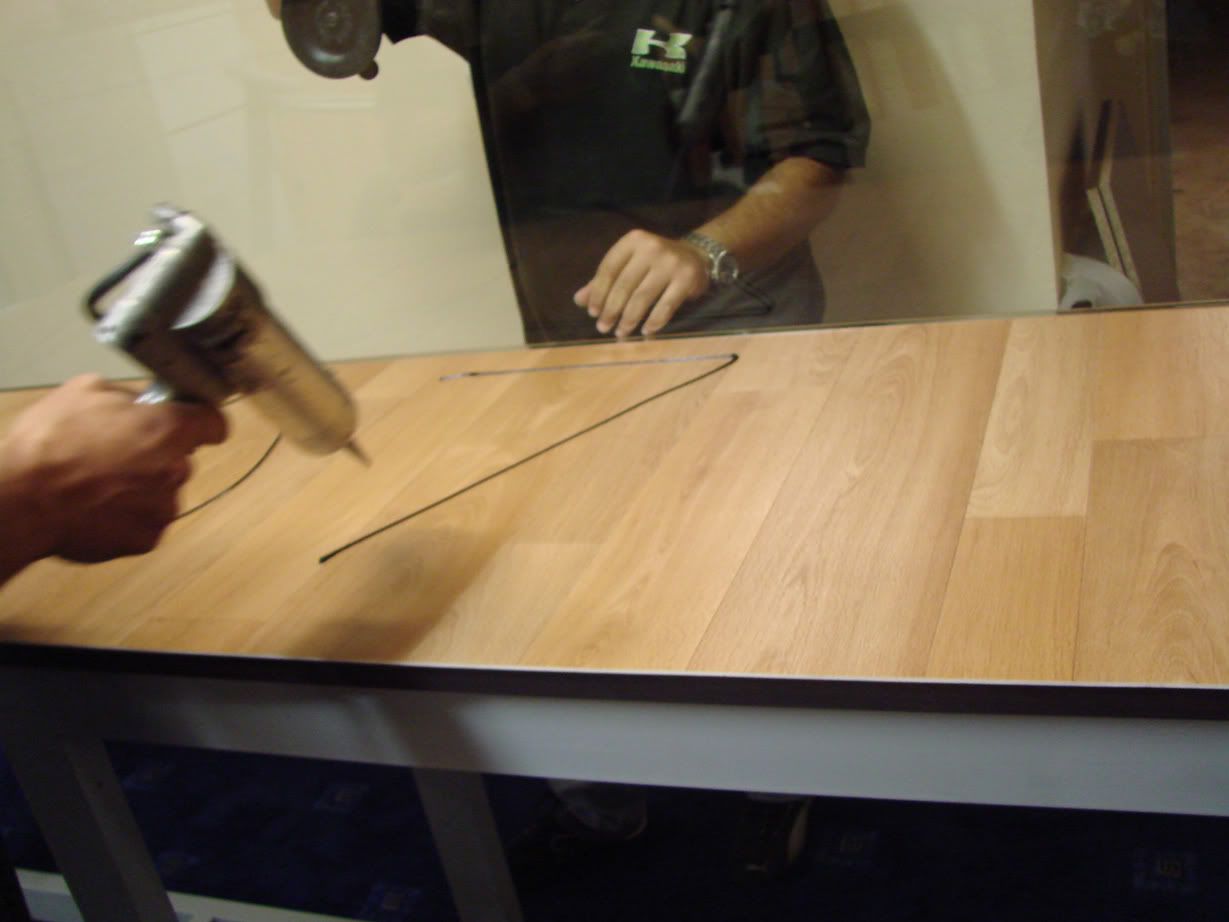
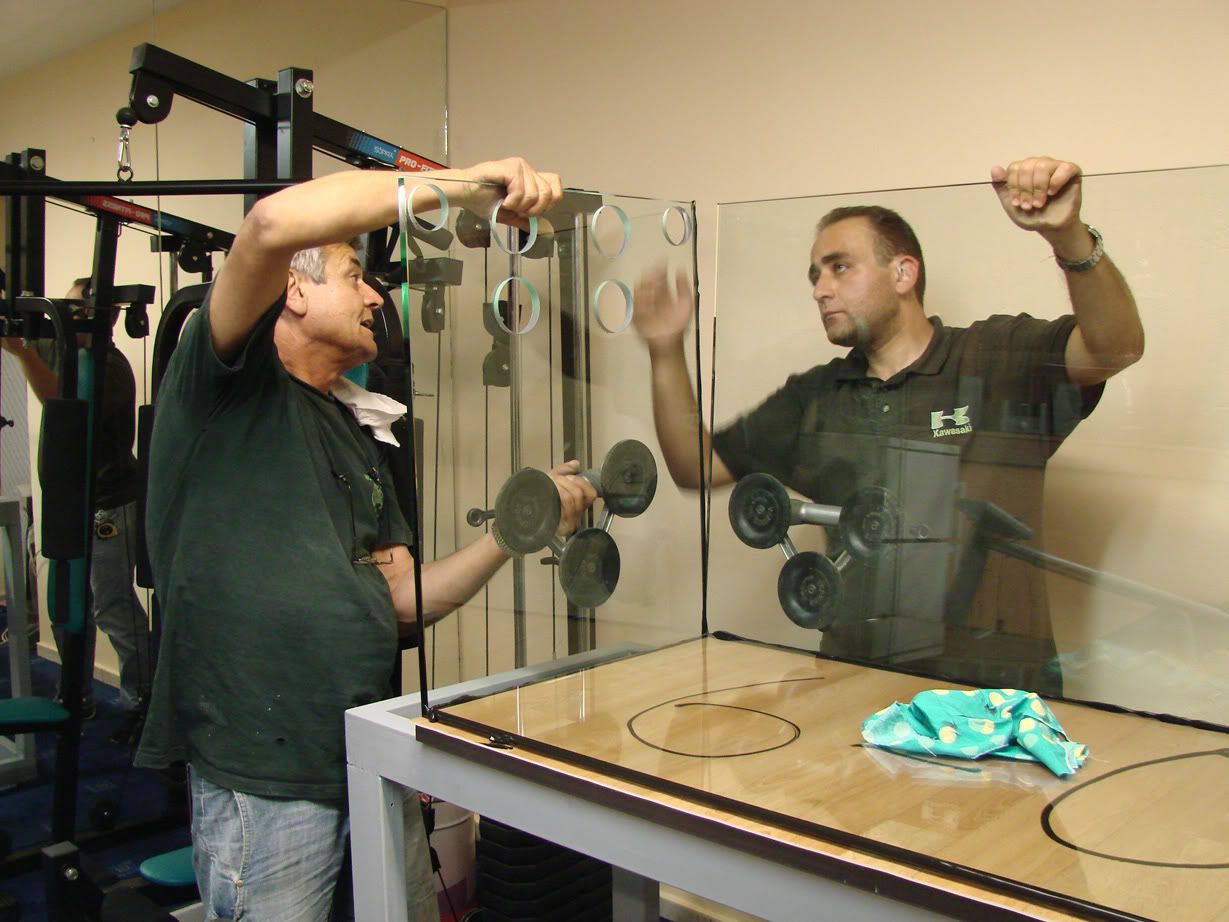
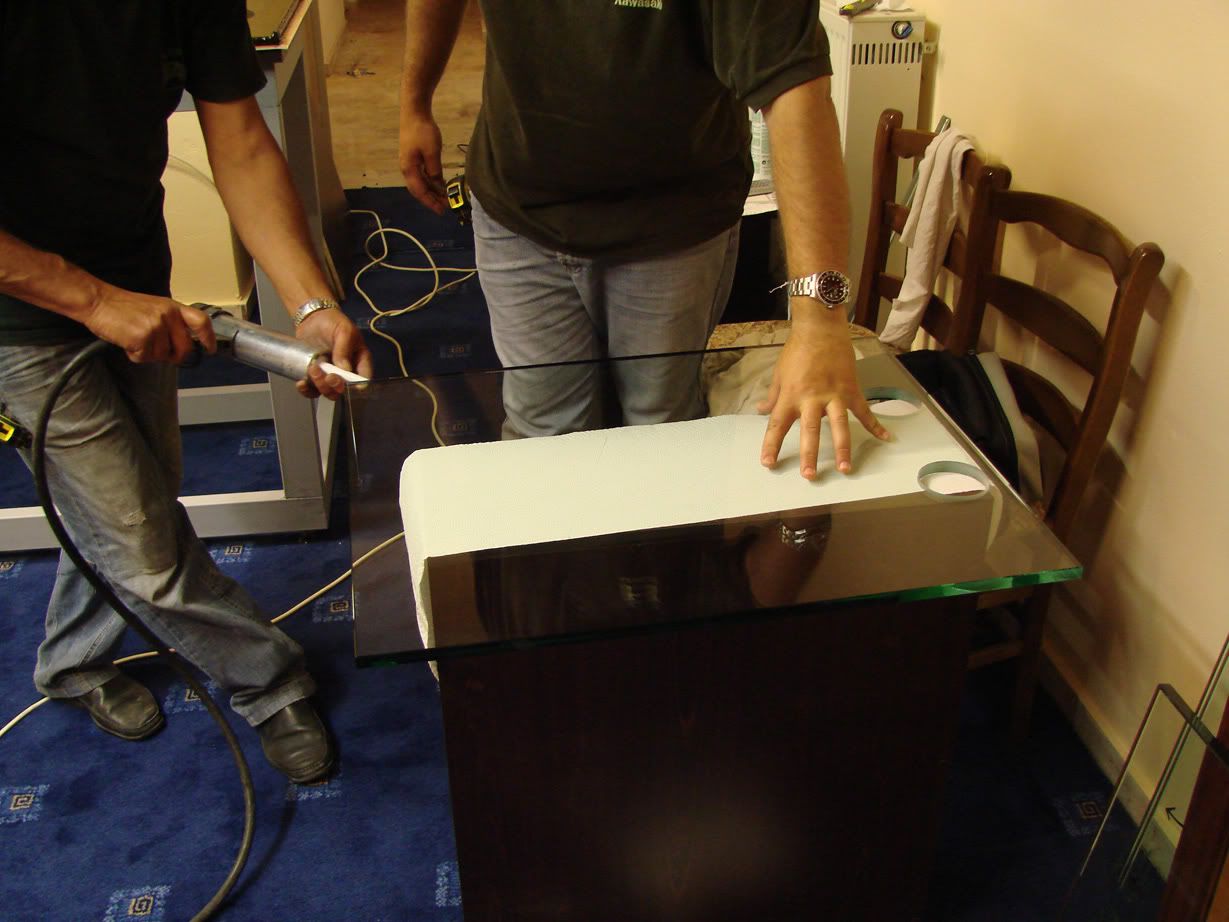
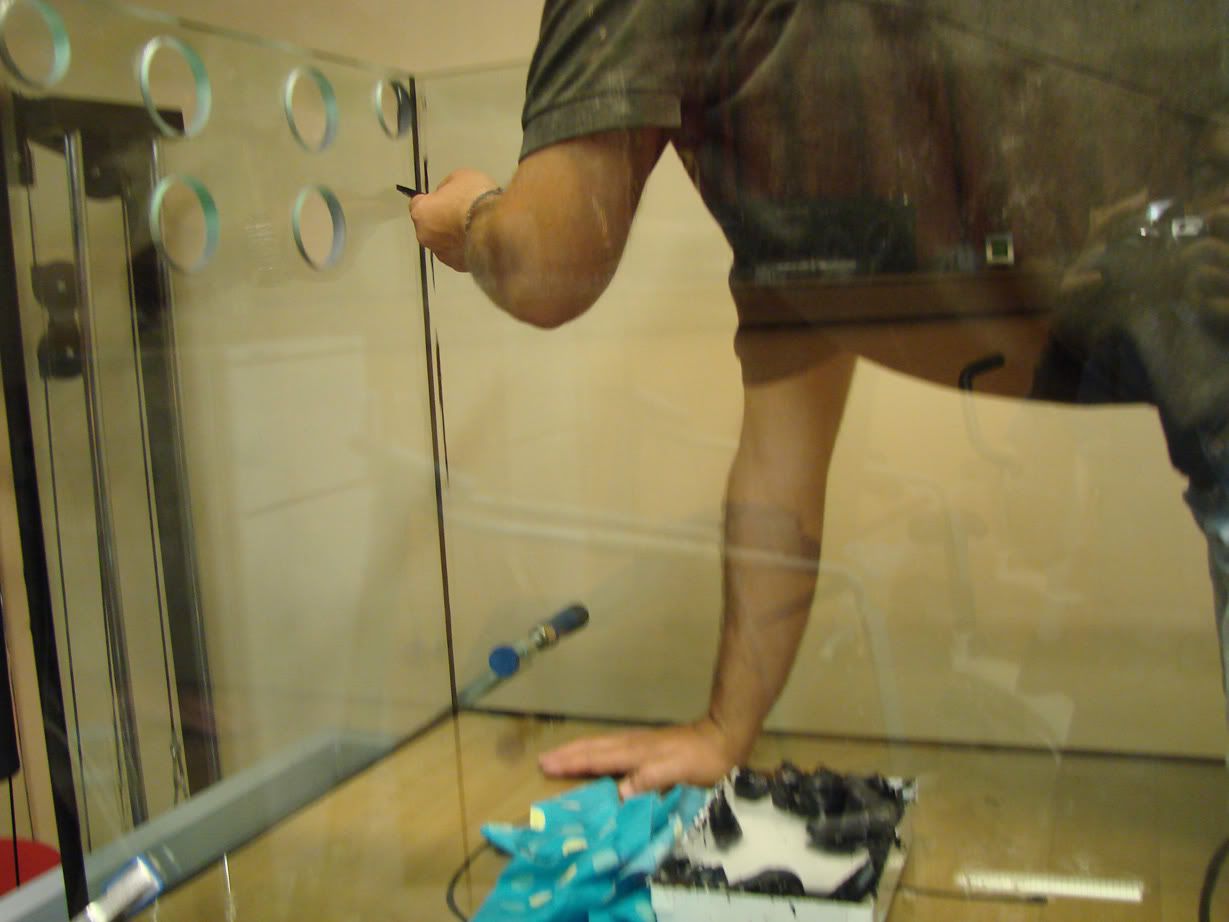
220-60-100cm wood dressed metal tank stand with a wooden extension above the 20cm that the stand will project from the tank so that it will cover the overflow hoses and the ''external'' box overflow i will use.The over flow box will in fact be a glass box glued outside the tank and connected with it with a lond drilled hole were the water suface will be.
90-55-60cm sump
60-55-80cm holding tank
The tank will have inner covers and outer covers.Both completely removable and mabe from clear polycarbonate(my idea,glass is too heavy for me to move it all the time...)The outer covers will be dressed with melamine.
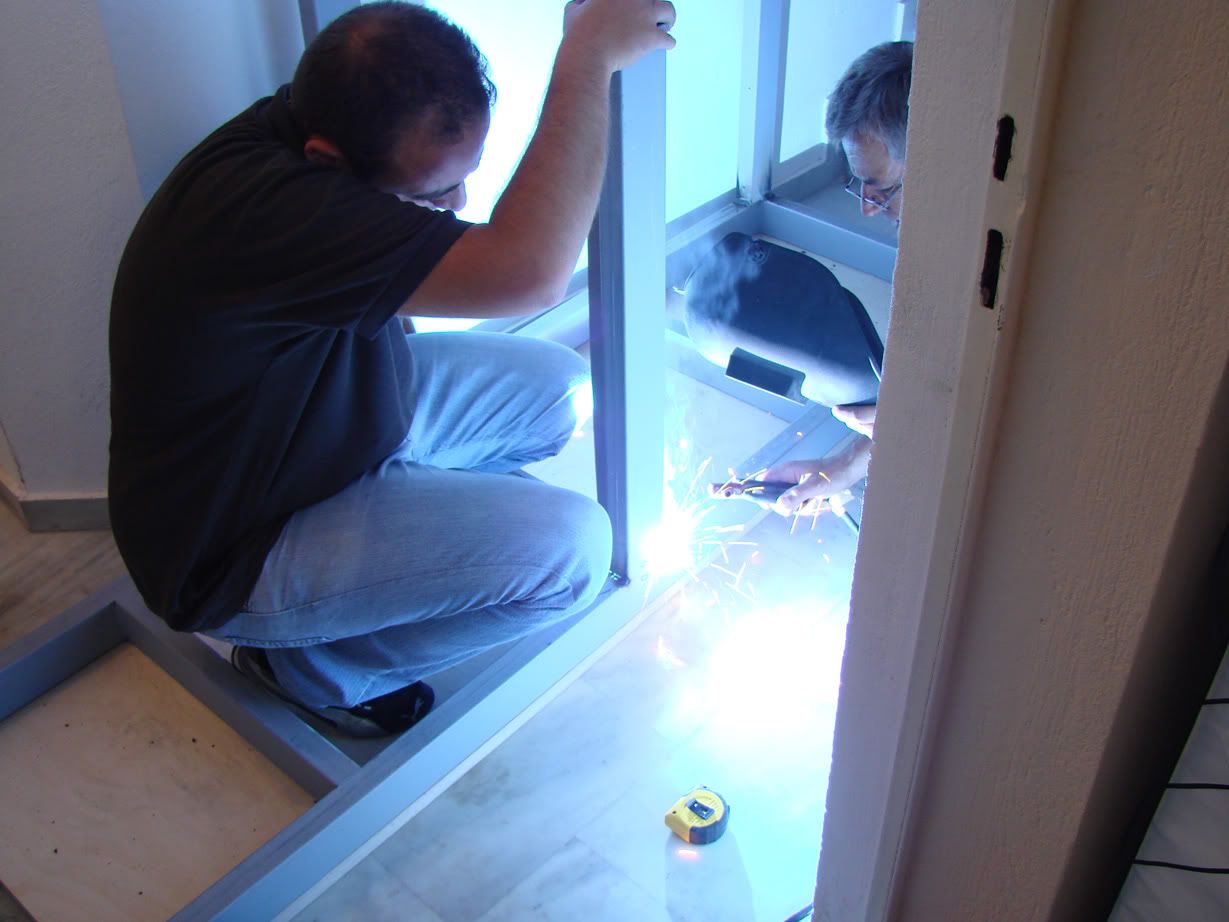
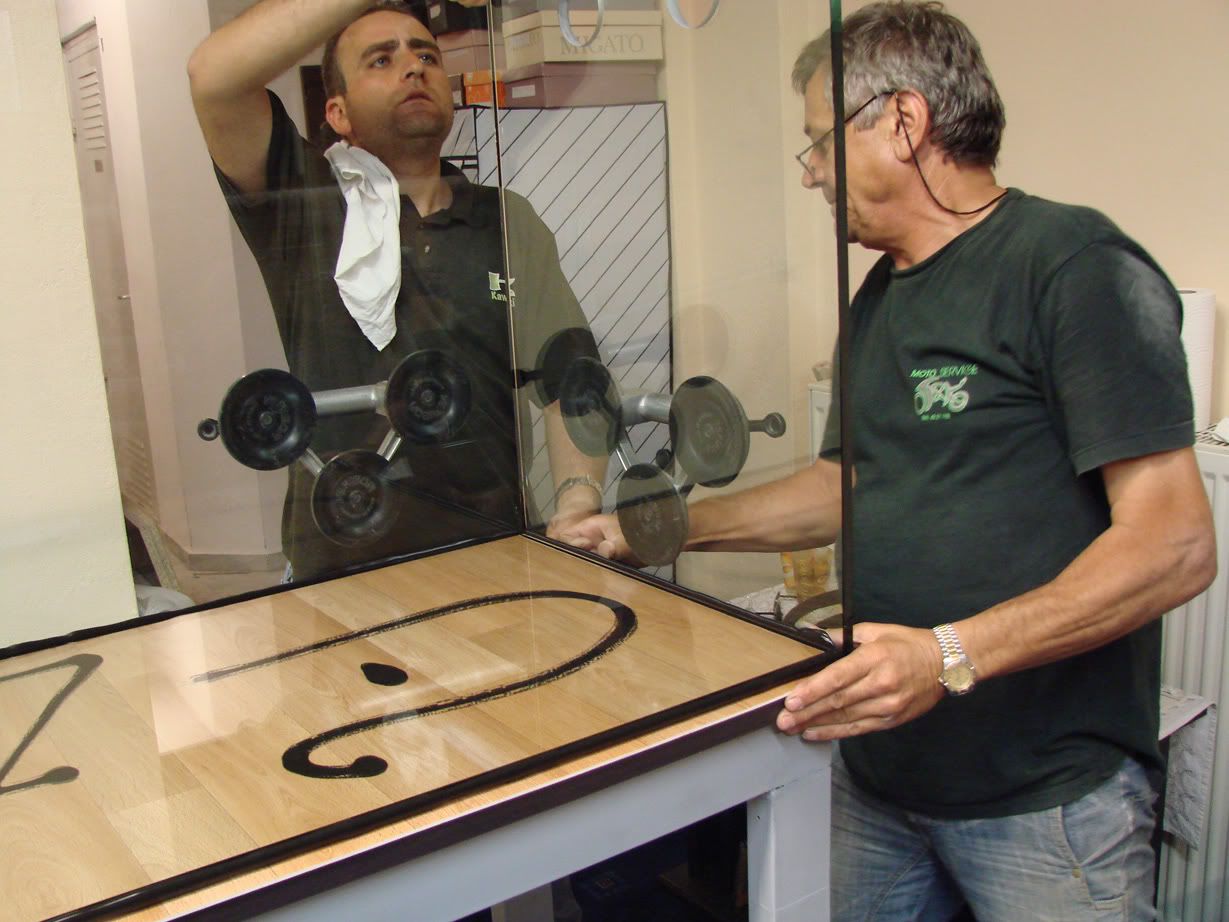
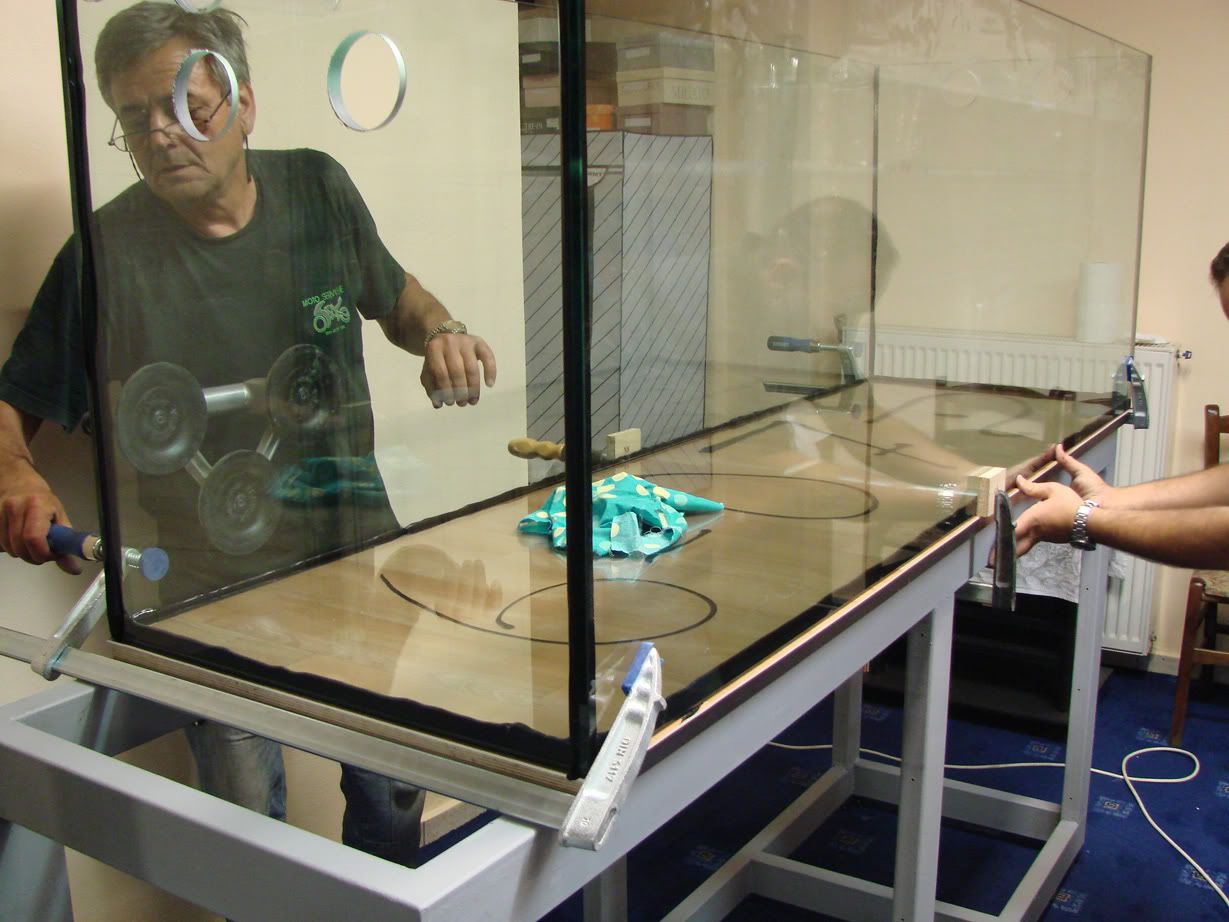
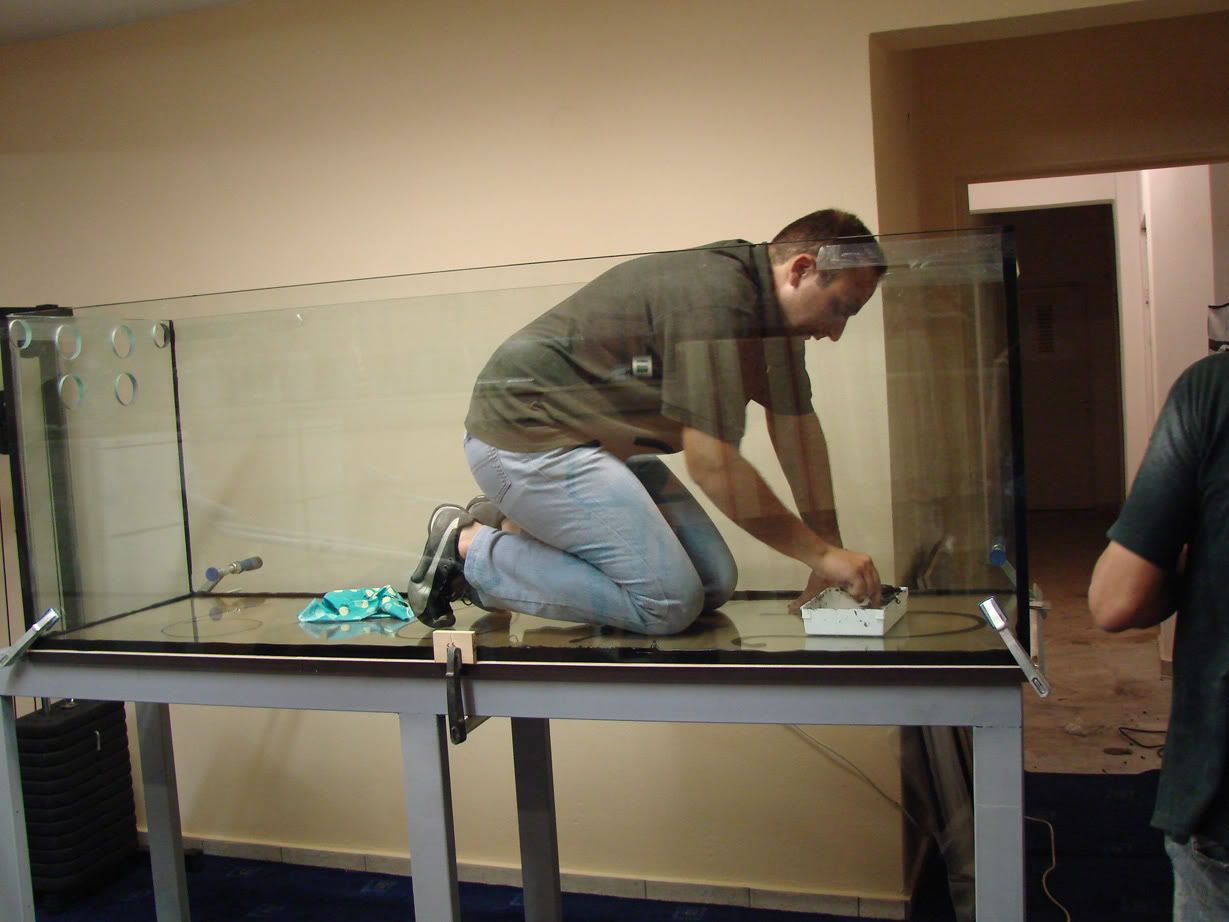
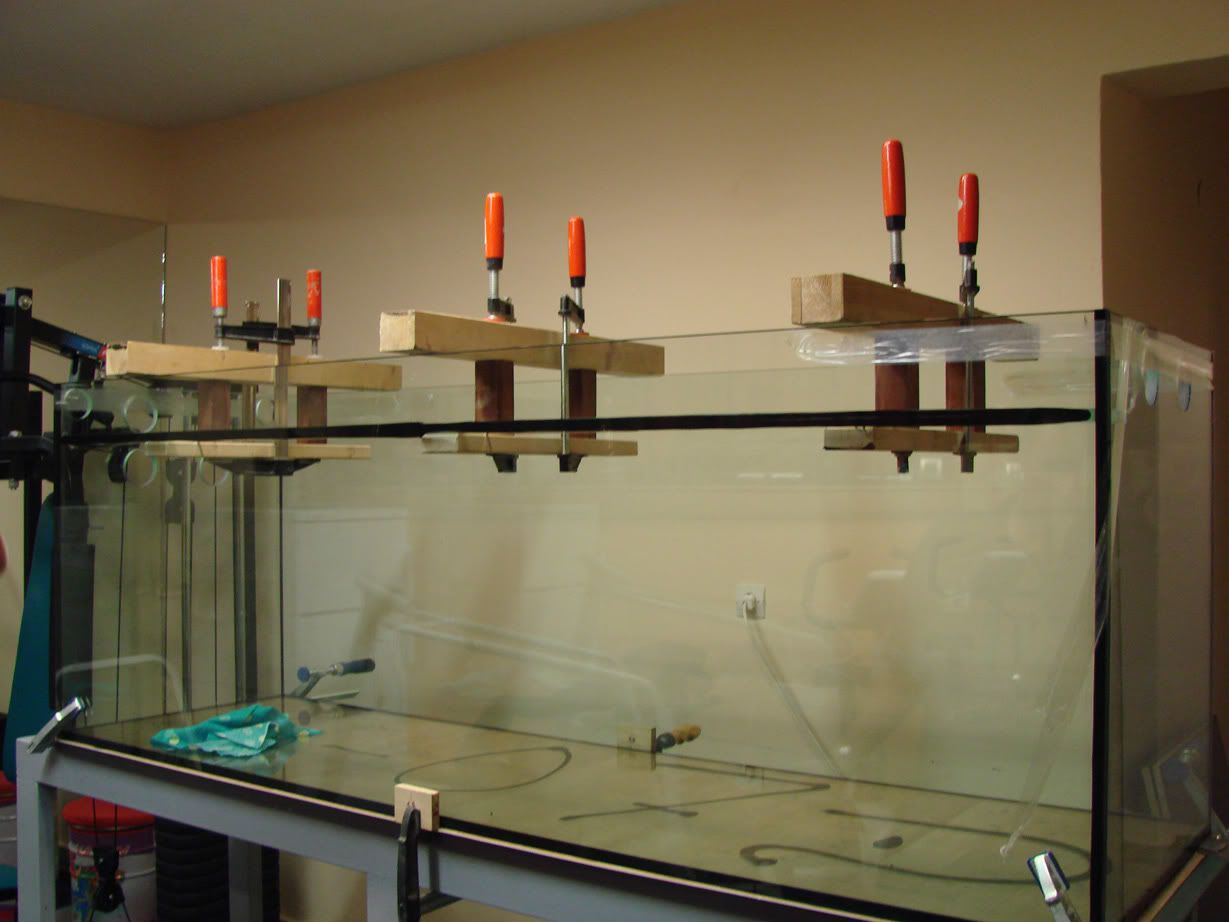
The tank and stand will be made in my basement as they cant go down the stairs...
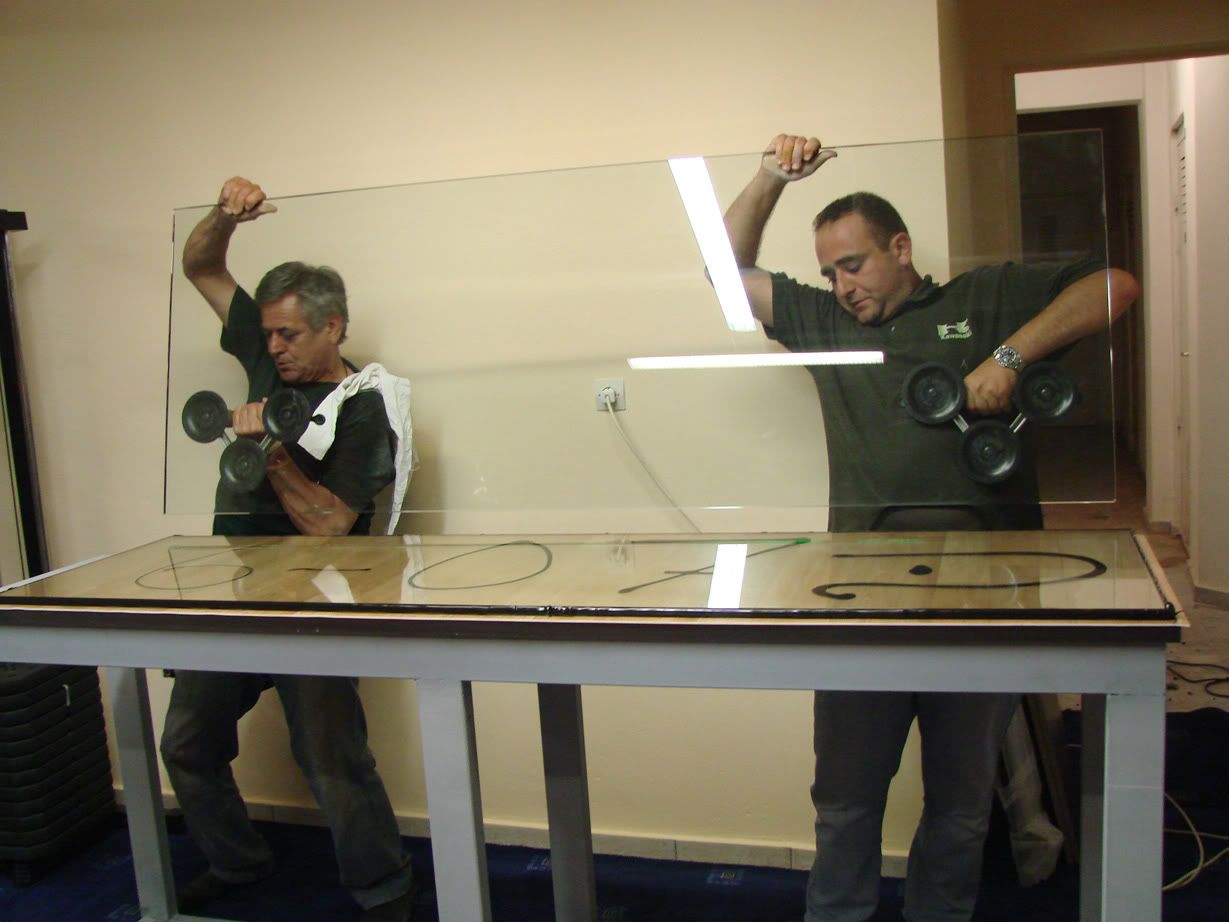
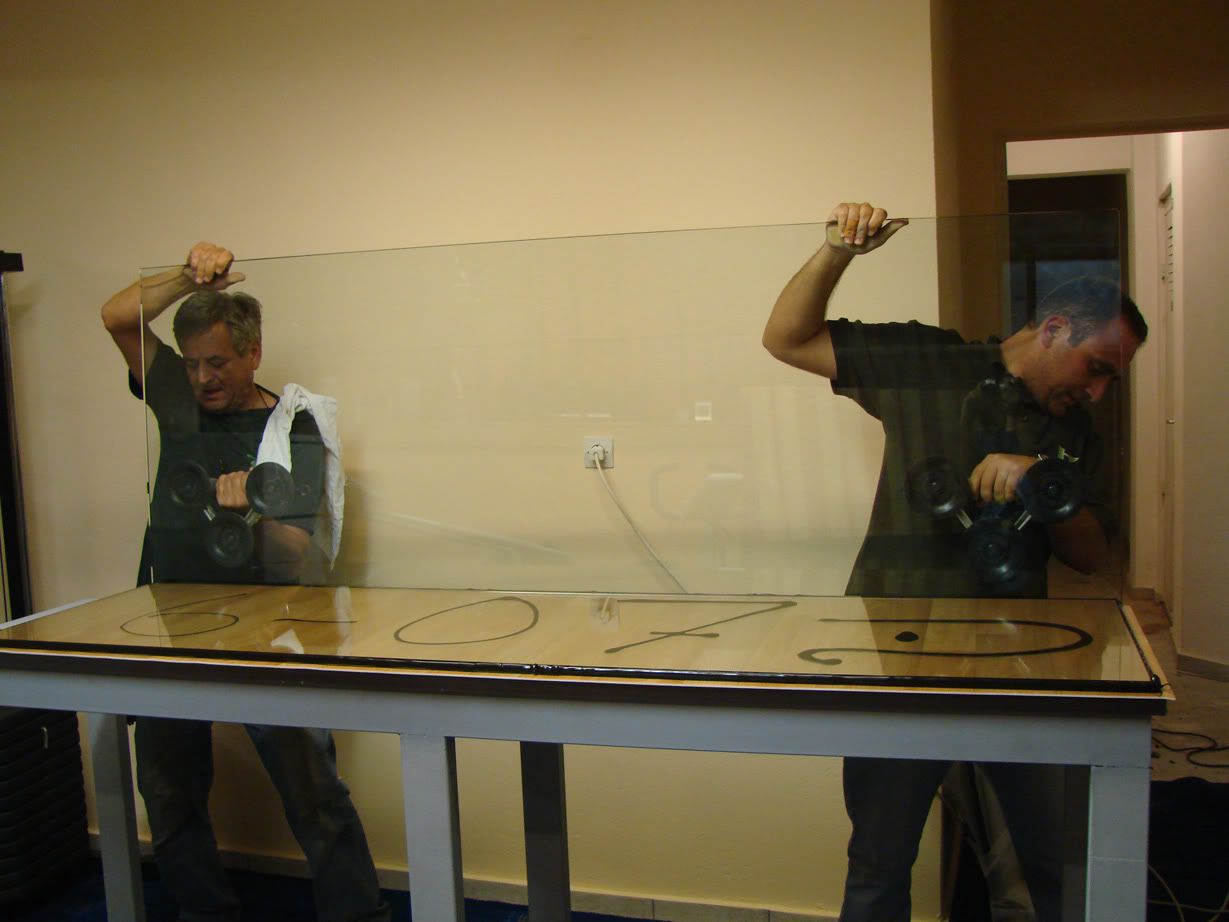
I am very excited and cant wait the glasses to come!!!!
As for the sump pumps,i am between three:Aqua medic Ocean Runner,Eheim Hobby pumps,Tunze Master electronic pumps...Which one would you suggest?I have heard the Tunze do the least heating of the water,something very good as in summer heat is a problem and a great one in Greece...
Thank you very much in advance
Really cant wait the glasses