2 meter Orinoco basin tank setting up...
- MatsP
- Posts: 21038
- Joined: 06 Oct 2004, 13:58
- My articles: 4
- My images: 28
- My cats species list: 117 (i:33, k:0)
- My aquaria list: 10 (i:8)
- My BLogs: 4 (i:0, p:97)
- Spotted: 187
- Location 1: North of Cambridge
- Location 2: England.
There are good and bad things with everything you can choose here. I would try to finish any exposed piece of material with the PU-based varnish. Just covering it up with whatever material you can think of will trap water between the two pieces of material, and not water-proof it as such.
Once you've sealed the original material against damp, you pick whatever you prefer for covering it up.
I understand what you're saying about the "anti-rust" coating on the metal - I think the English term is primer, but that can also be a "undercoat" of paint for painting over. I still don't think it contains anything harmfull, but I would ask the manufacturer of the frame exactly what manufacturer and what product from that manufacturer and follow that up with the manufacturer, stating that you want to understand the toxicity of the final cured (dried) product.
As I said before, there's a big difference in the toxic properties of a final cured paint and the base-components in the tin. As long as you don't paint the stuff when the fish are in the tank (or very shortly before), you should be OK with something that is not toxic when cured.
Also bear in mind that you need to make sure that the paint you're coating it with is completely safe too (and there aren't too many "holes").
I'm not sure if any manufacturer would GUARANTEE any non-toxicity of the final component.
--
Mats
- Kostas
- Posts: 791
- Joined: 23 Apr 2003, 10:57
- I've donated: $256.00!
- My images: 19
- My cats species list: 14 (i:0, k:0)
- My aquaria list: 1 (i:1)
- Spotted: 6
- Location 1: Greece,Athens
- Location 2: Greece,Athens
- Interests: Fishkeeping,diving,skiing,r/c modeling,growing Palm trees,ferns and tropical plants
- Contact:
Thank you very much for you advice Mats 
I will take it into account on what i will do...
When you say,the paint must be completely safe too(not have too many ''holes'') what do you mean?
Thank you very much in advance
I will take it into account on what i will do...
When you say,the paint must be completely safe too(not have too many ''holes'') what do you mean?
Thank you very much in advance
Last edited by Kostas on 07 Jun 2007, 11:56, edited 1 time in total.
- grokefish
- Posts: 1554
- Joined: 13 Apr 2006, 19:28
- My images: 3
- My aquaria list: 1 (i:0)
- Spotted: 2
- Location 1: The Vandart Aquarium South Wales
- Interests: Life the universe and everything
- Kostas
- Posts: 791
- Joined: 23 Apr 2003, 10:57
- I've donated: $256.00!
- My images: 19
- My cats species list: 14 (i:0, k:0)
- My aquaria list: 1 (i:1)
- Spotted: 6
- Location 1: Greece,Athens
- Location 2: Greece,Athens
- Interests: Fishkeeping,diving,skiing,r/c modeling,growing Palm trees,ferns and tropical plants
- Contact:
- MatsP
- Posts: 21038
- Joined: 06 Oct 2004, 13:58
- My articles: 4
- My images: 28
- My cats species list: 117 (i:33, k:0)
- My aquaria list: 10 (i:8)
- My BLogs: 4 (i:0, p:97)
- Spotted: 187
- Location 1: North of Cambridge
- Location 2: England.
A good weld should fill the entire gap between the two pieces of material, with a nice even "bead" [http://www.four-h.purdue.edu/NAENGR/weld.htm]here[/url] Scroll down a bit to show the picture of a "proper" weld.Kostas wrote:Thank you very much for your comments grokefish!
I hope so...
Why do you think the welding is not good?
I wouldn't worry about it much tho'.
--
Mats
- Kostas
- Posts: 791
- Joined: 23 Apr 2003, 10:57
- I've donated: $256.00!
- My images: 19
- My cats species list: 14 (i:0, k:0)
- My aquaria list: 1 (i:1)
- Spotted: 6
- Location 1: Greece,Athens
- Location 2: Greece,Athens
- Interests: Fishkeeping,diving,skiing,r/c modeling,growing Palm trees,ferns and tropical plants
- Contact:
- WhitePine
- Posts: 354
- Joined: 07 Feb 2004, 07:54
- I've donated: $51.00!
- Location 1: Washington State
Check this link for some great pictures and info on the Orinoco river basin.
Cheers, Whitepine
River Tank with Rio HF 20 (1290 gph), Eheim 2236.
- Apon boivinianus, Bolbitis, Crypt balansae, Microsorum Windelov, Vallisneria americana, Crinum calamistratum, Nymphaea zenkerii, Anubias barterii.
River Tank with Rio HF 20 (1290 gph), Eheim 2236.
- Apon boivinianus, Bolbitis, Crypt balansae, Microsorum Windelov, Vallisneria americana, Crinum calamistratum, Nymphaea zenkerii, Anubias barterii.
- Kostas
- Posts: 791
- Joined: 23 Apr 2003, 10:57
- I've donated: $256.00!
- My images: 19
- My cats species list: 14 (i:0, k:0)
- My aquaria list: 1 (i:1)
- Spotted: 6
- Location 1: Greece,Athens
- Location 2: Greece,Athens
- Interests: Fishkeeping,diving,skiing,r/c modeling,growing Palm trees,ferns and tropical plants
- Contact:
Hi steady,
Welcome to planetcatfish! I am sure you will have a great time there as you share our passion for catfish and especially plecos
Hi whitepine,
Thank you very very much for this post The pictures and info on the river were really great!!!
  I too am envious of you...
  Hope someday i will make it there...
Something i didnt understand very well is which of the photos belongs to the upper Orinoco...From what i understand,there mustnt be any photo of that part of the river as reading your description,i would say the first photo is of an area you visited near the mouth of the river,the second,of the middle Orinoco and the third of a mountain stream that feeds the upper Orinoco...Am i correct?
I would really like to see some photos of the upper Orinoco and llanos as these are the areas i am trying to recreate...Do they have sand there?How fine and what color(a photo would help ) is it?Are there fallen leaves on the bottom of the river?Did you happen to measure water temprature,ph and hardness on these parts of the river?(taking in mind that you went for fish and aquatic plants,i think there is a good chance you did
  )Did you found any submersed or semiaquatic plants growing there?Also,from emersed trees and bushes,was there any that must had its roots in water during dry season too?Do you maybe know its name?Another question,were there any ferns growing on fallen logs?
And another last question,at night,with full moon,could you clearly see the river bottom where the river close to the banks wehere the depth was about 1meter?
Sorry for the so many question...
Also an update for the tank:The constructors will come on Tuesday morning to finish the tank
 I hope to be able to be there and take an equal amount of photos of the rest of the construction...

Thank you very much in advance!
Welcome to planetcatfish!
Hi whitepine,
Thank you very very much for this post
Something i didnt understand very well is which of the photos belongs to the upper Orinoco...From what i understand,there mustnt be any photo of that part of the river as reading your description,i would say the first photo is of an area you visited near the mouth of the river,the second,of the middle Orinoco and the third of a mountain stream that feeds the upper Orinoco...Am i correct?
I would really like to see some photos of the upper Orinoco and llanos as these are the areas i am trying to recreate...Do they have sand there?How fine and what color(a photo would help
And another last question,at night,with full moon,could you clearly see the river bottom where the river close to the banks wehere the depth was about 1meter?
Sorry for the so many question...
Also an update for the tank:The constructors will come on Tuesday morning to finish the tank
Thank you very much in advance!
- WhitePine
- Posts: 354
- Joined: 07 Feb 2004, 07:54
- I've donated: $51.00!
- Location 1: Washington State
Shane spent much more time in the Llanos than I did. but from my memory, the second picture is from the Llanos area. lots of light sand, few rocks, almost no veggitation, no leaves on the bottom of the main river, still very stained from the tanins. a few trees and bushes with roots into the river. Most of the side streams slow to a trickle and lots of areas dry up.
Check out the Venezuelan Diary in Shane's world.
I think most of your questions will be answered there...or maybe Shane will chime in.
Check out the Venezuelan Diary in Shane's world.
I think most of your questions will be answered there...or maybe Shane will chime in.
Cheers, Whitepine
River Tank with Rio HF 20 (1290 gph), Eheim 2236.
- Apon boivinianus, Bolbitis, Crypt balansae, Microsorum Windelov, Vallisneria americana, Crinum calamistratum, Nymphaea zenkerii, Anubias barterii.
River Tank with Rio HF 20 (1290 gph), Eheim 2236.
- Apon boivinianus, Bolbitis, Crypt balansae, Microsorum Windelov, Vallisneria americana, Crinum calamistratum, Nymphaea zenkerii, Anubias barterii.
- grokefish
- Posts: 1554
- Joined: 13 Apr 2006, 19:28
- My images: 3
- My aquaria list: 1 (i:0)
- Spotted: 2
- Location 1: The Vandart Aquarium South Wales
- Interests: Life the universe and everything
I say again I would be more worried about the welding.
There is a lot of weight there and the welding has got to be up to it.
I'm sorry if I sound like a sceptic but that is an easy weld to perform correctly, much esier than the welding on the backs of the legs (especially if they didn't turn it over to do the upper joints as he would have been welding overhand which is much harder to get right.) and it hasn't really been done very well. He probably didn't want to do it because he knew he would have to grind it back flush revealing the asolute lack of penetration into the parent metal.
He also should have welded all round the joint for absolute security or at least on opposite sides.
My apprentices weld better than that.
But like Mats said it will probably be alright, for a time.
I'm not trying to be a Kill joy but I expect you paid a substantial price for the stand and you should have quality craftsmanship for your money.
One more bucket of water and the farce is complete.
- Kostas
- Posts: 791
- Joined: 23 Apr 2003, 10:57
- I've donated: $256.00!
- My images: 19
- My cats species list: 14 (i:0, k:0)
- My aquaria list: 1 (i:1)
- Spotted: 6
- Location 1: Greece,Athens
- Location 2: Greece,Athens
- Interests: Fishkeeping,diving,skiing,r/c modeling,growing Palm trees,ferns and tropical plants
- Contact:
Thank you very much whitepine for the info and for the link...I have read the Venezuelan diary in the past but i guess its time for a reread...Will take my time and do it...
Do you have any picture of the upper Orinoco?Are there fallen leaves etc in the bottom?
Thank you very much grokefish for carring
They did turn it over for welding the upper joints...I think this is shown in the first welding picture(they weld the upper joints in that picture...).They did a good job on the inside,i will get a picture for you to see and tell me if i am right...They just didnt do a good weld on the outer side because they said there was no need for it...I hope they were right and dont face any problems...
Yep,it wasnt cheap at all...I too expect excellent job from them...
And now an update,they did came yesterday as programmed and constructed some of the things that had been left...They didnt finished though and plan to come and finish it whithin this week...
The construction lasted 4hours again,they came at 11:30 and finished at 3:30...But they didnt left until 4 and something because we had a coversation again on exactly how the overflow will be made because they had planned it differently from what i had in mind...
During the construction,i took only about 122 photos... I will try to have them up as soon as i can because i am very bussy this period...
Do you have any picture of the upper Orinoco?Are there fallen leaves etc in the bottom?
Thank you very much grokefish for carring
They did turn it over for welding the upper joints...I think this is shown in the first welding picture(they weld the upper joints in that picture...).They did a good job on the inside,i will get a picture for you to see and tell me if i am right...They just didnt do a good weld on the outer side because they said there was no need for it...I hope they were right and dont face any problems...
Yep,it wasnt cheap at all...I too expect excellent job from them...
And now an update,they did came yesterday as programmed and constructed some of the things that had been left...They didnt finished though and plan to come and finish it whithin this week...
The construction lasted 4hours again,they came at 11:30 and finished at 3:30...But they didnt left until 4 and something because we had a coversation again on exactly how the overflow will be made because they had planned it differently from what i had in mind...
During the construction,i took only about 122 photos...
- Kostas
- Posts: 791
- Joined: 23 Apr 2003, 10:57
- I've donated: $256.00!
- My images: 19
- My cats species list: 14 (i:0, k:0)
- My aquaria list: 1 (i:1)
- Spotted: 6
- Location 1: Greece,Athens
- Location 2: Greece,Athens
- Interests: Fishkeeping,diving,skiing,r/c modeling,growing Palm trees,ferns and tropical plants
- Contact:
Ok,here are the first photos...
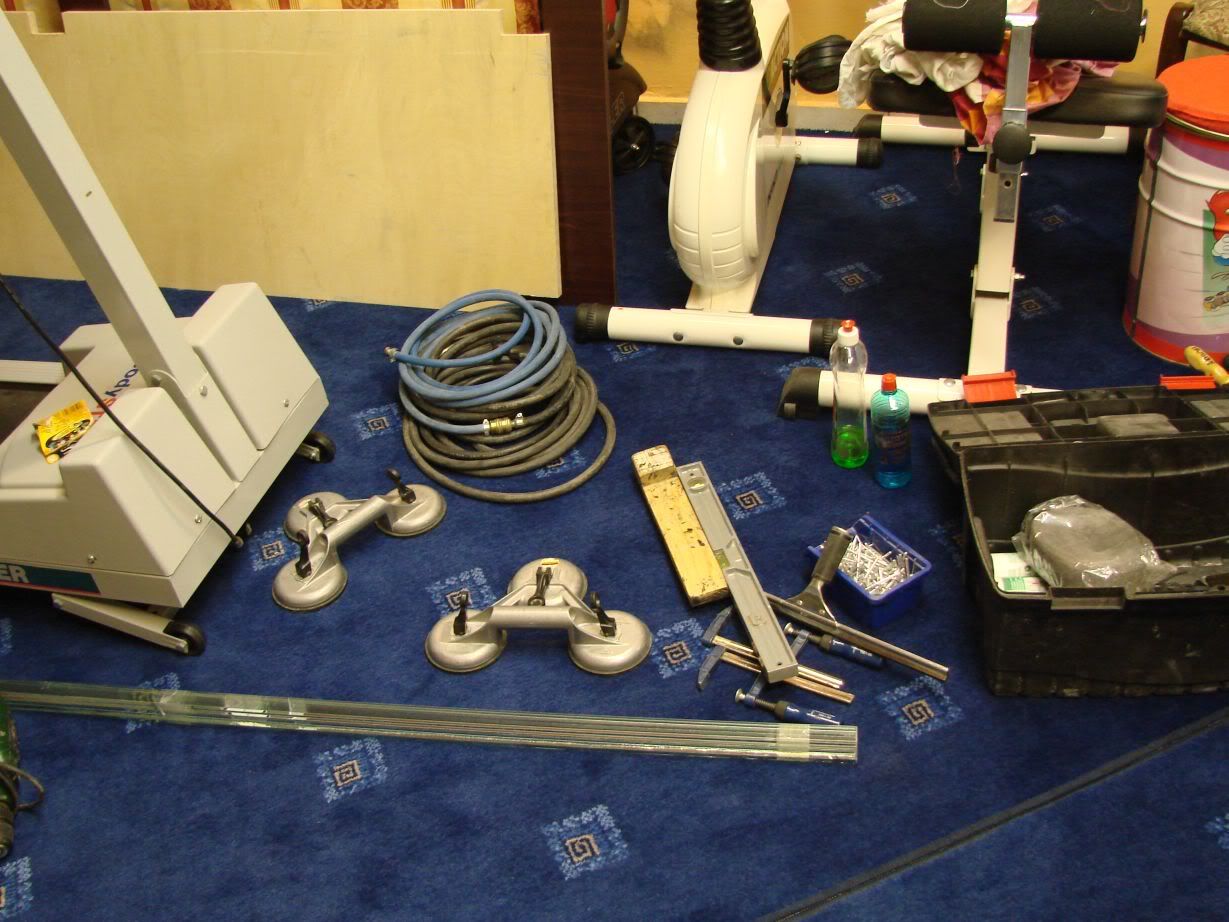
Some photos of the tools used in this part of the construction along with the bottom glasses that will be used to fortify the construction...
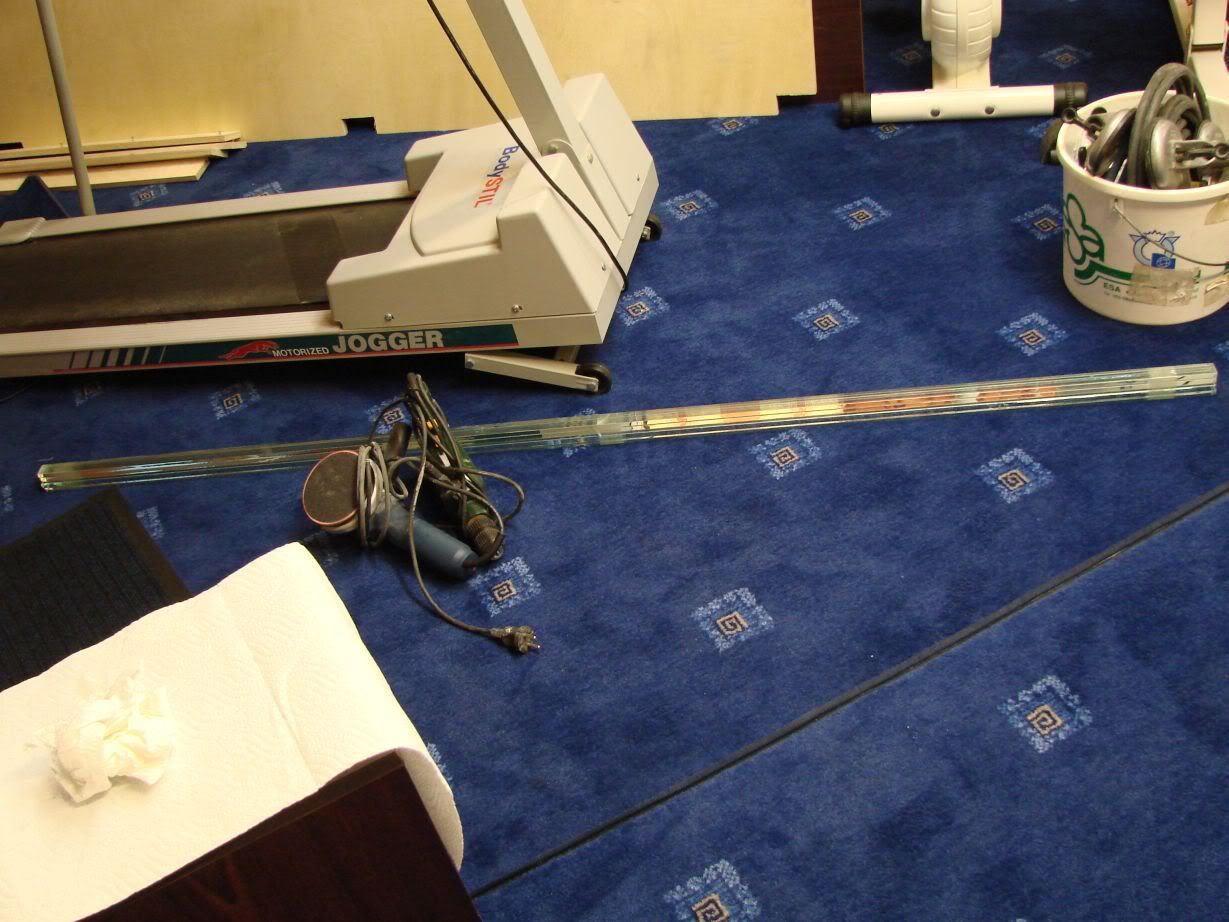
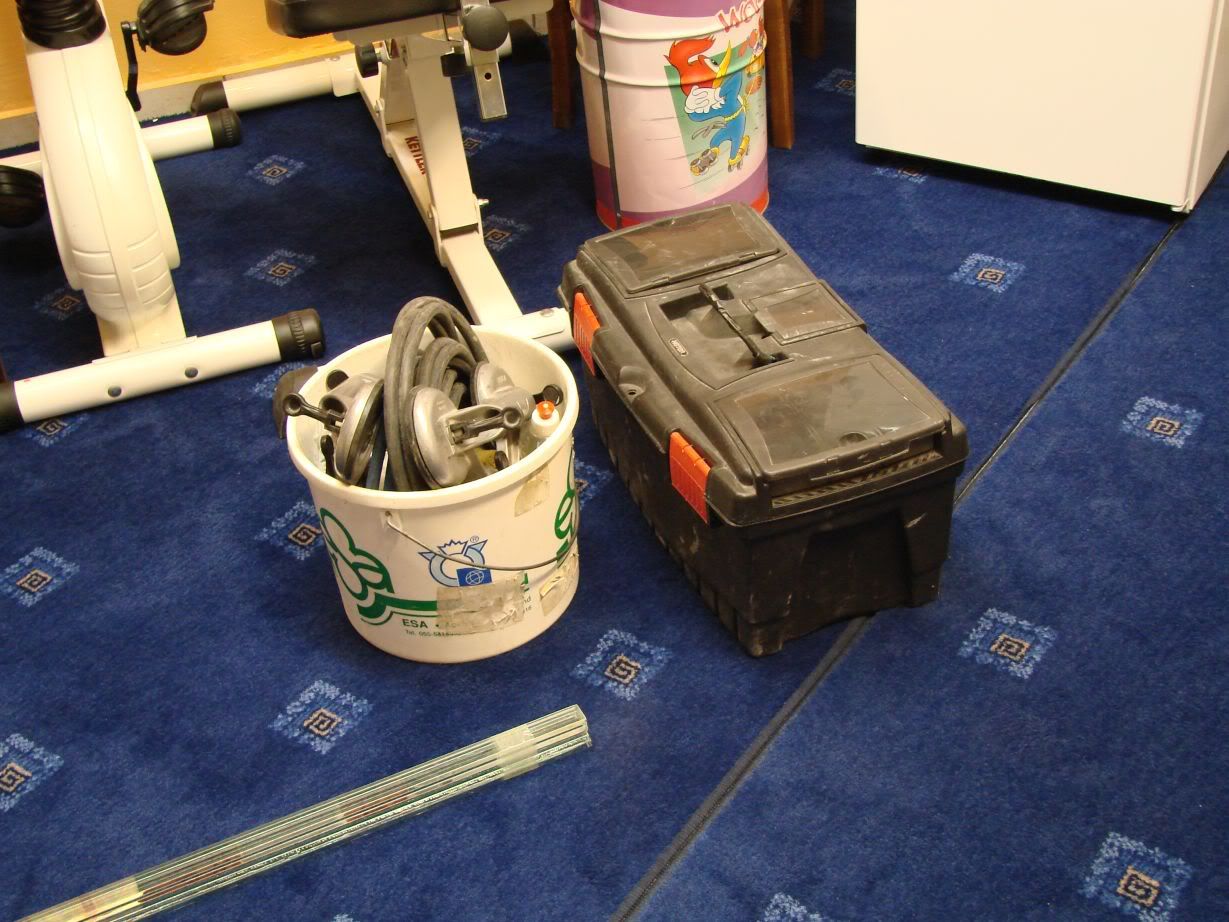
Here you see some tools and parts of the wood dressing of the stand but also the vertical glasses of the upper tank part...
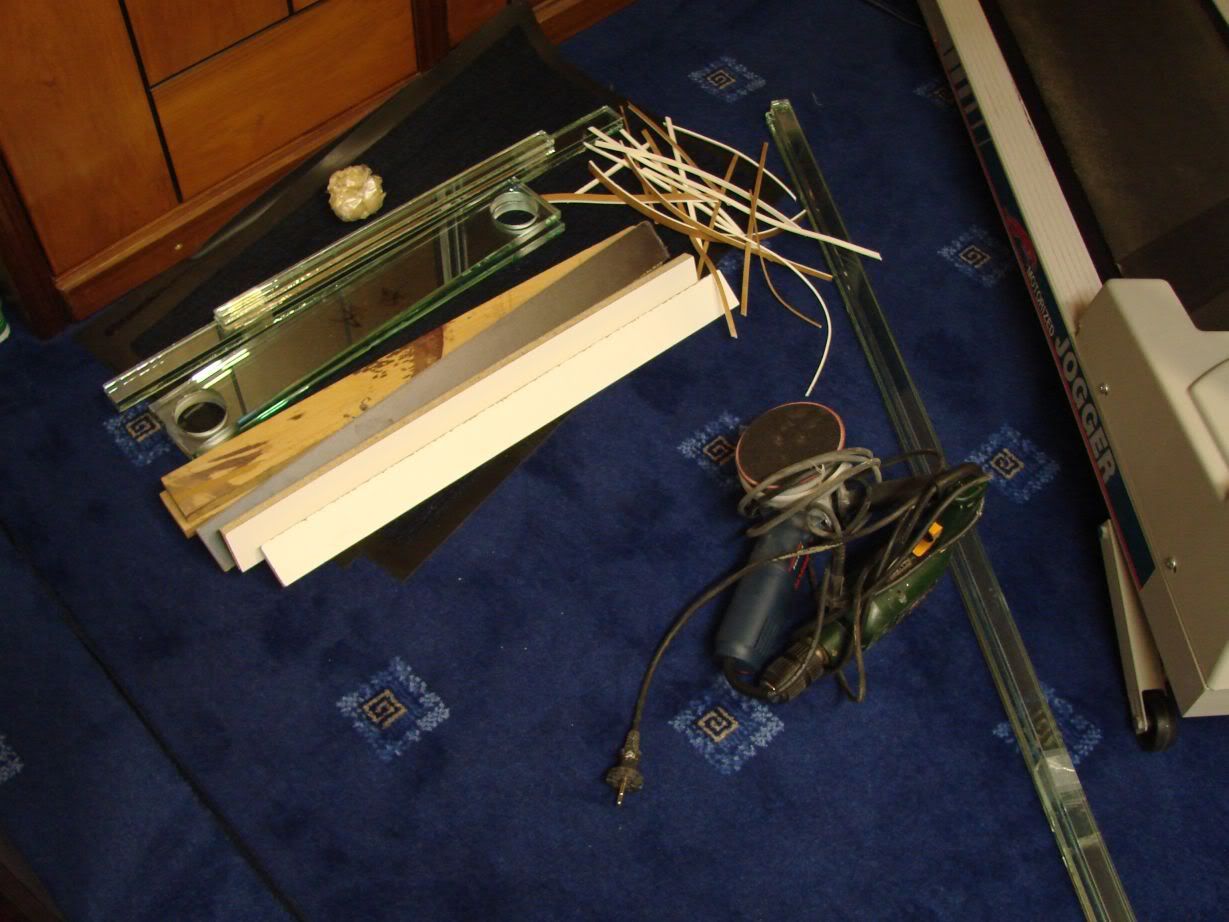
More tools...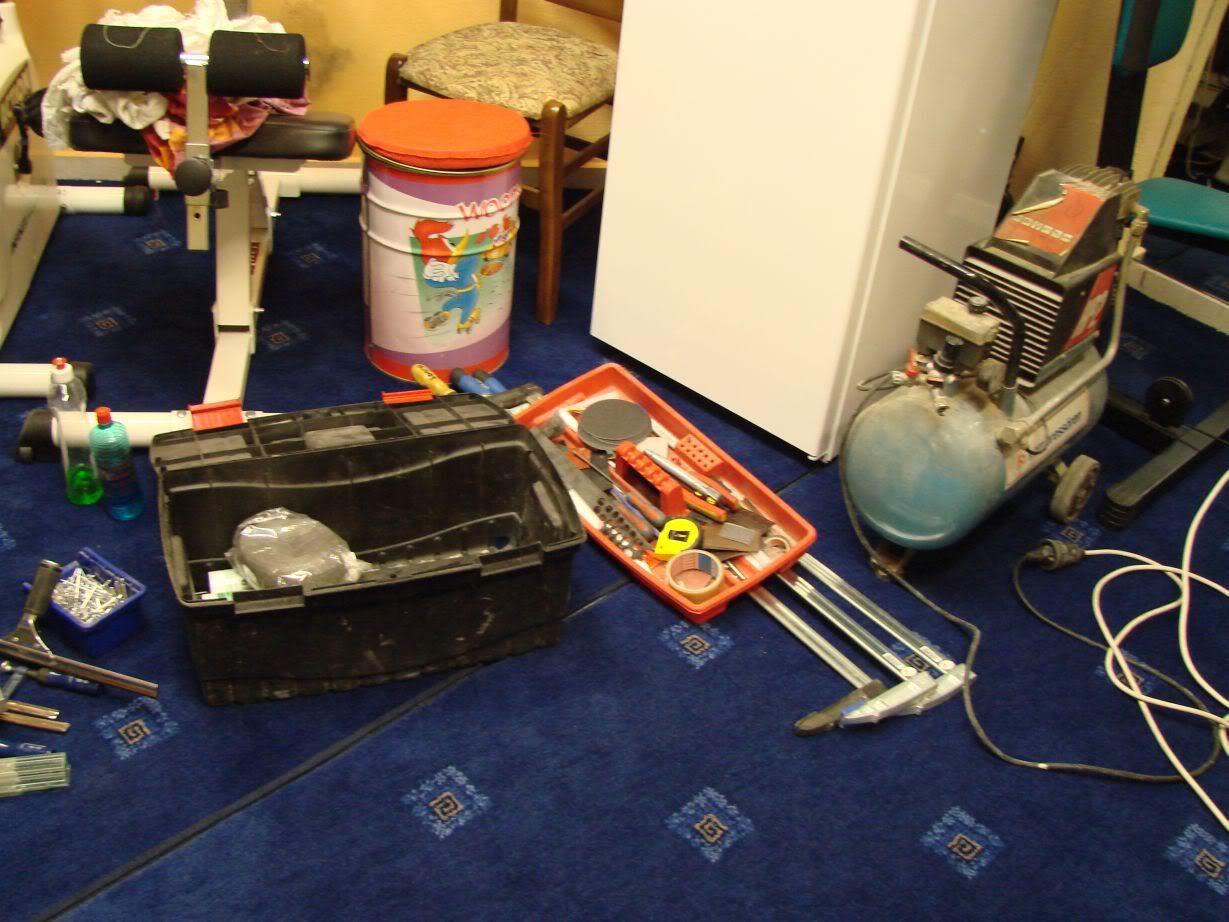
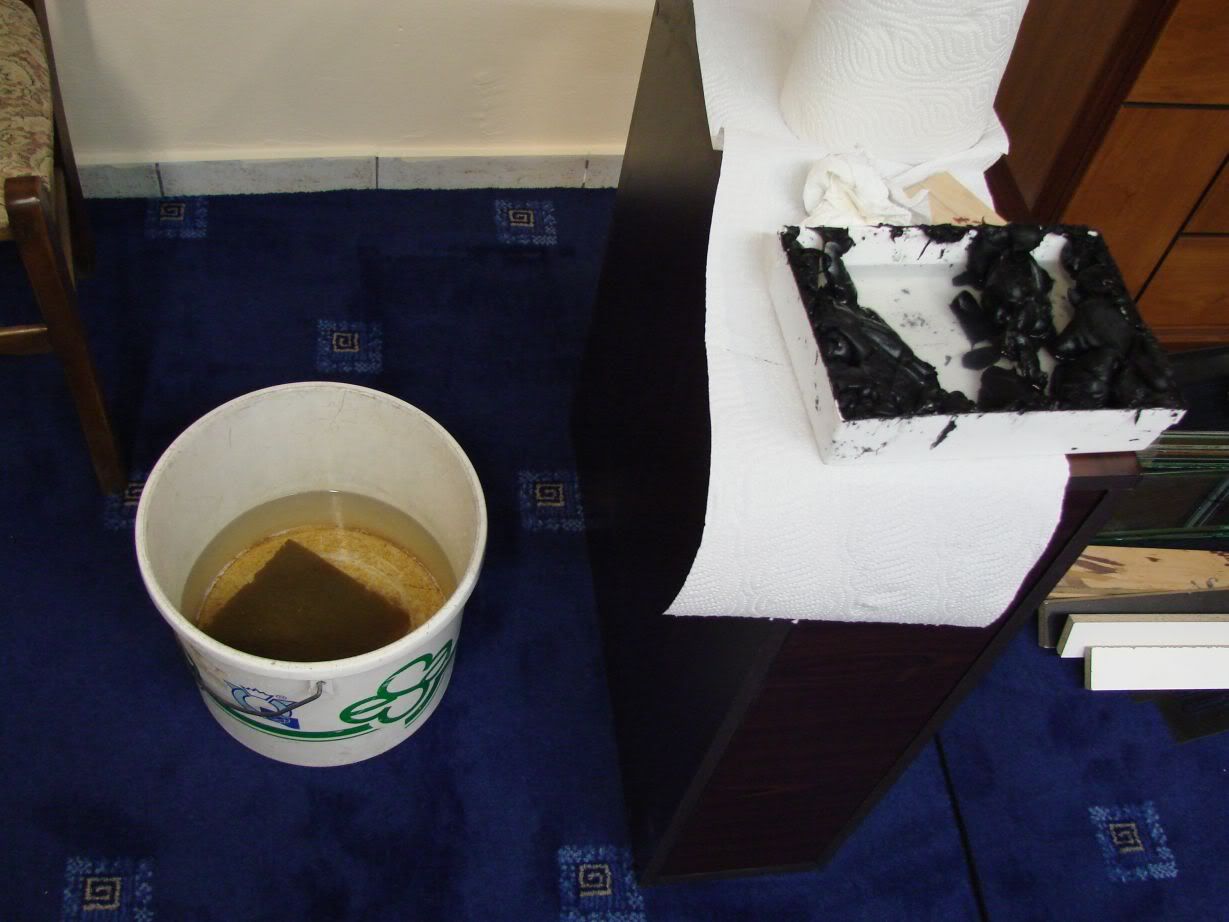
The bucket used for cleaning the glasses and the container with the soap used to clean the excess silicone...
Some photos of the tools used in this part of the construction along with the bottom glasses that will be used to fortify the construction...


Here you see some tools and parts of the wood dressing of the stand but also the vertical glasses of the upper tank part...

More tools...


The bucket used for cleaning the glasses and the container with the soap used to clean the excess silicone...

- Kostas
- Posts: 791
- Joined: 23 Apr 2003, 10:57
- I've donated: $256.00!
- My images: 19
- My cats species list: 14 (i:0, k:0)
- My aquaria list: 1 (i:1)
- Spotted: 6
- Location 1: Greece,Athens
- Location 2: Greece,Athens
- Interests: Fishkeeping,diving,skiing,r/c modeling,growing Palm trees,ferns and tropical plants
- Contact:
The tank with the clamps and the woods holding the horizontial glasses removed...
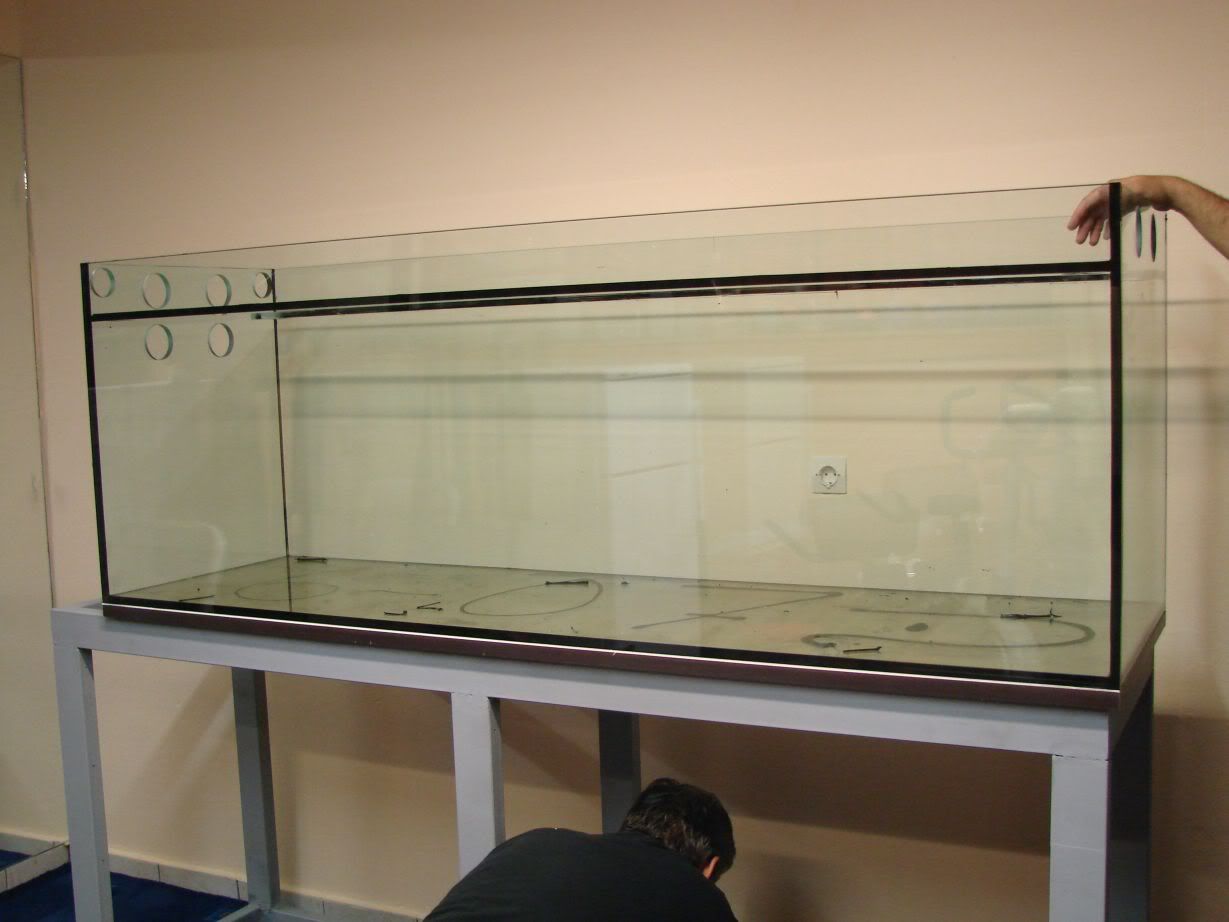
Moving the tank to its final place...
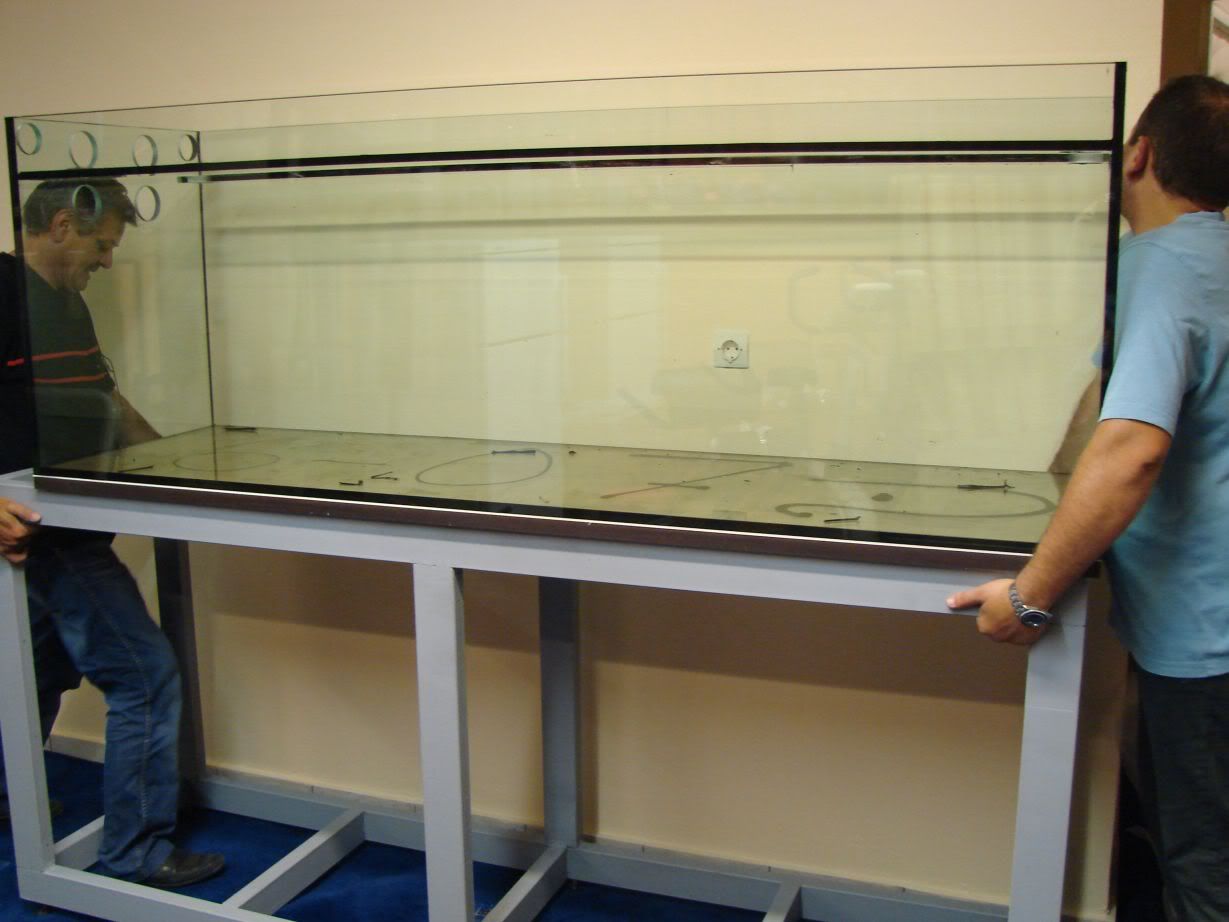
and regulating the stand legs again...
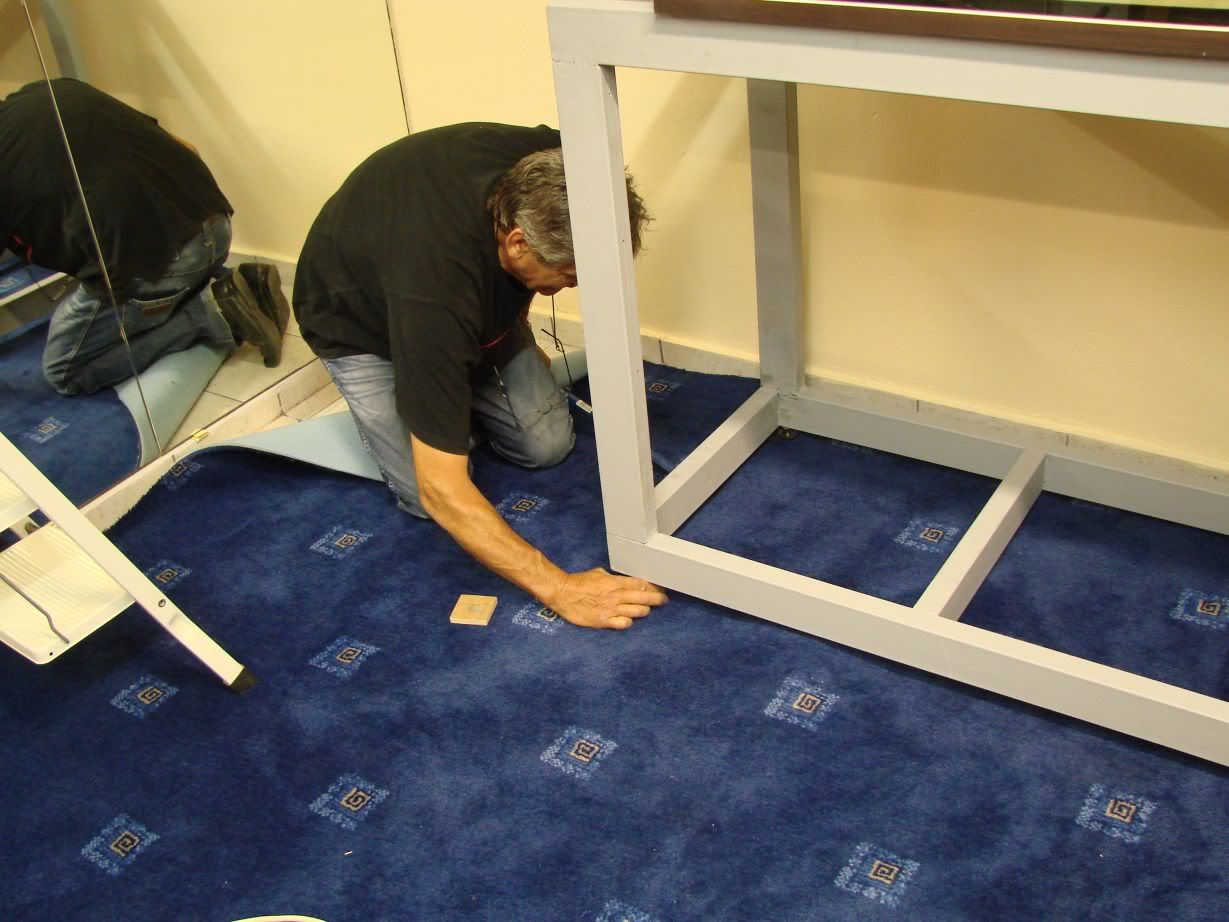
...but this time...its not that easy... As you can see it required the use of wood pieces and slate(because they run out af the wooden ones...
  ) because the floor was not the best possible in construction and it was sloping...
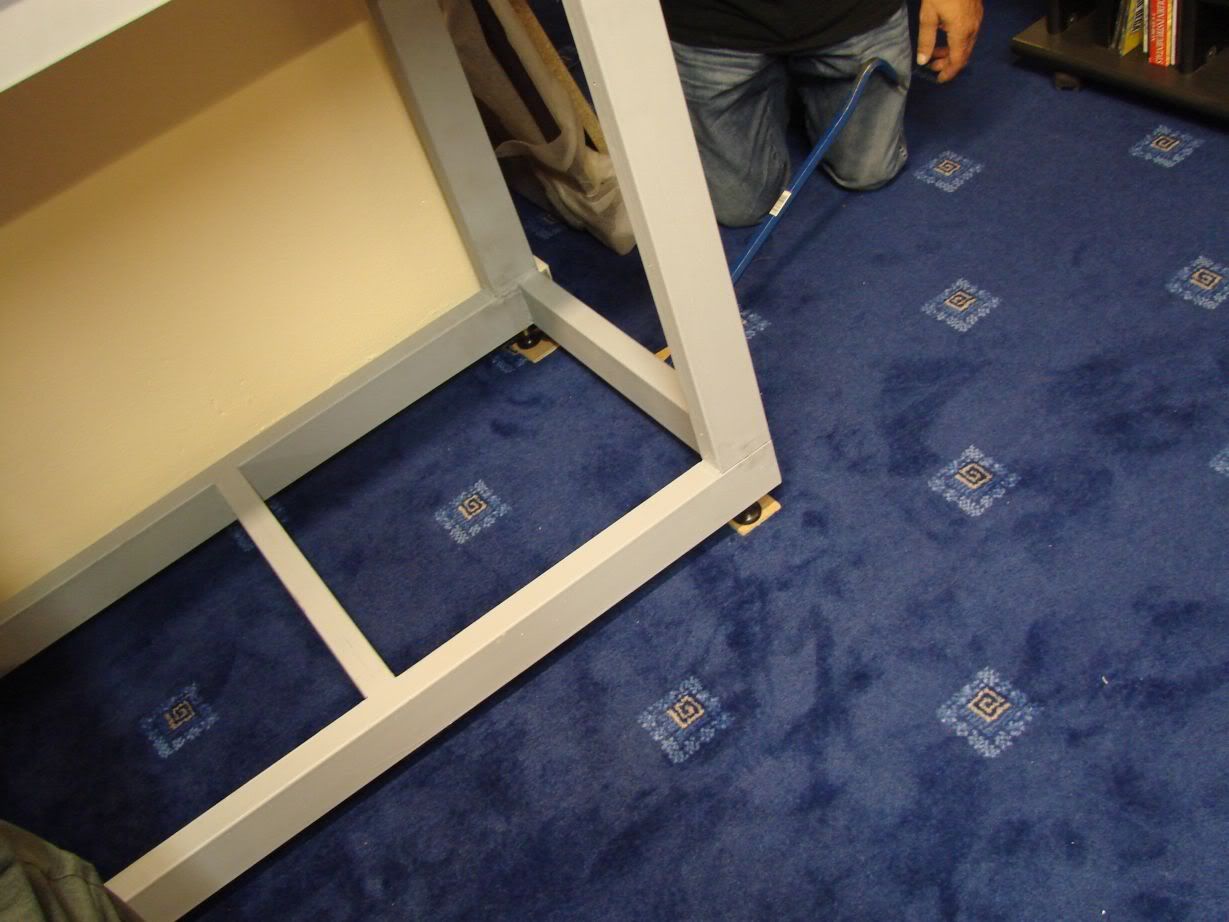
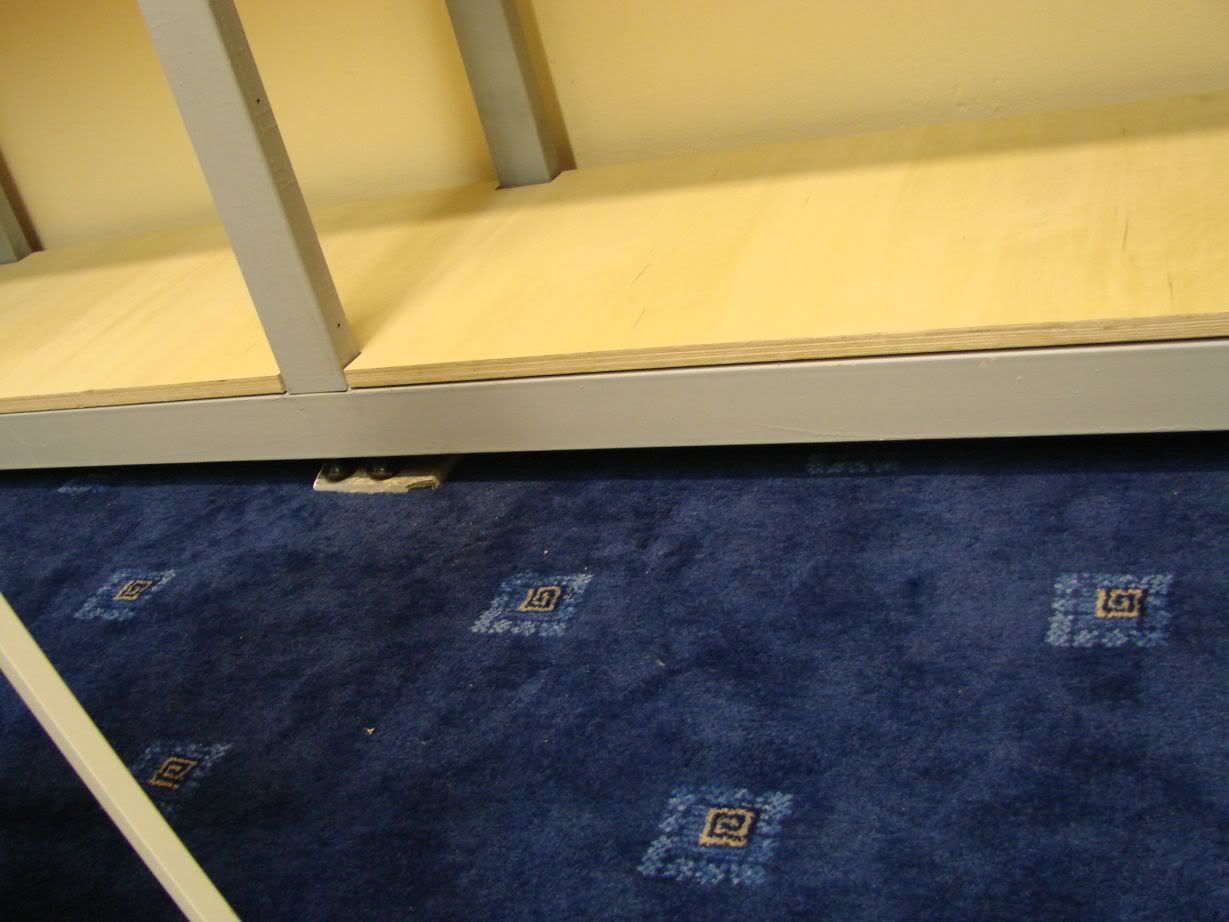
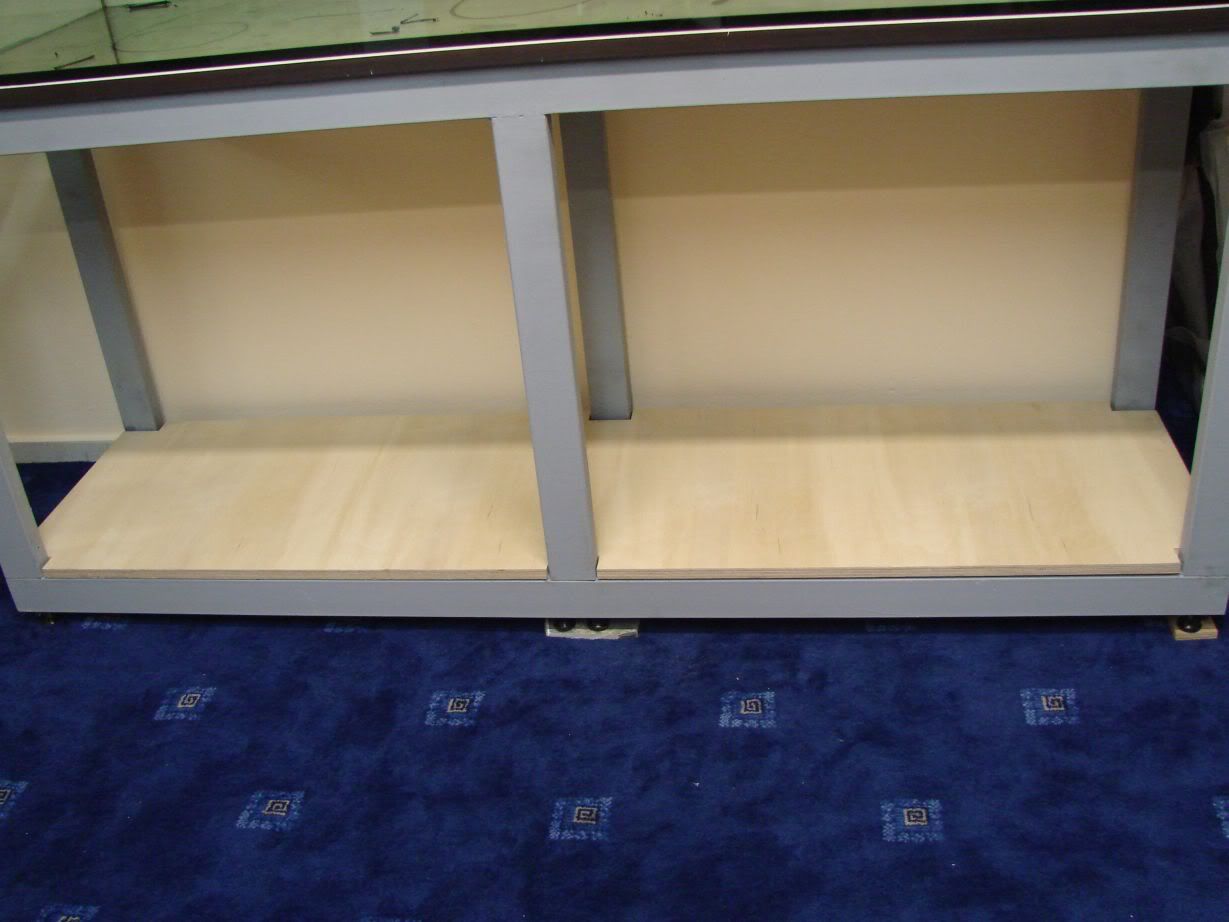

Moving the tank to its final place...

and regulating the stand legs again...

...but this time...its not that easy...


- Kostas
- Posts: 791
- Joined: 23 Apr 2003, 10:57
- I've donated: $256.00!
- My images: 19
- My cats species list: 14 (i:0, k:0)
- My aquaria list: 1 (i:1)
- Spotted: 6
- Location 1: Greece,Athens
- Location 2: Greece,Athens
- Interests: Fishkeeping,diving,skiing,r/c modeling,growing Palm trees,ferns and tropical plants
- Contact:
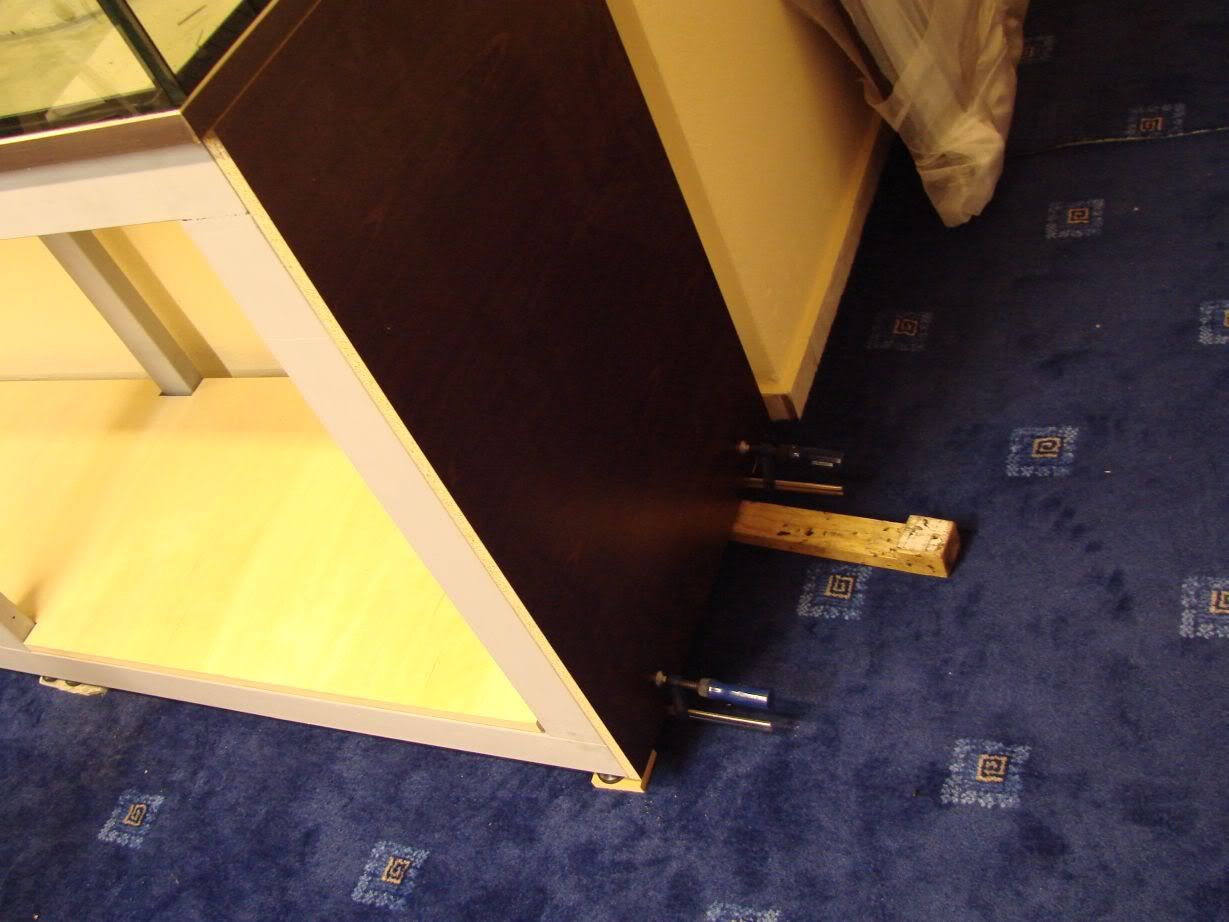
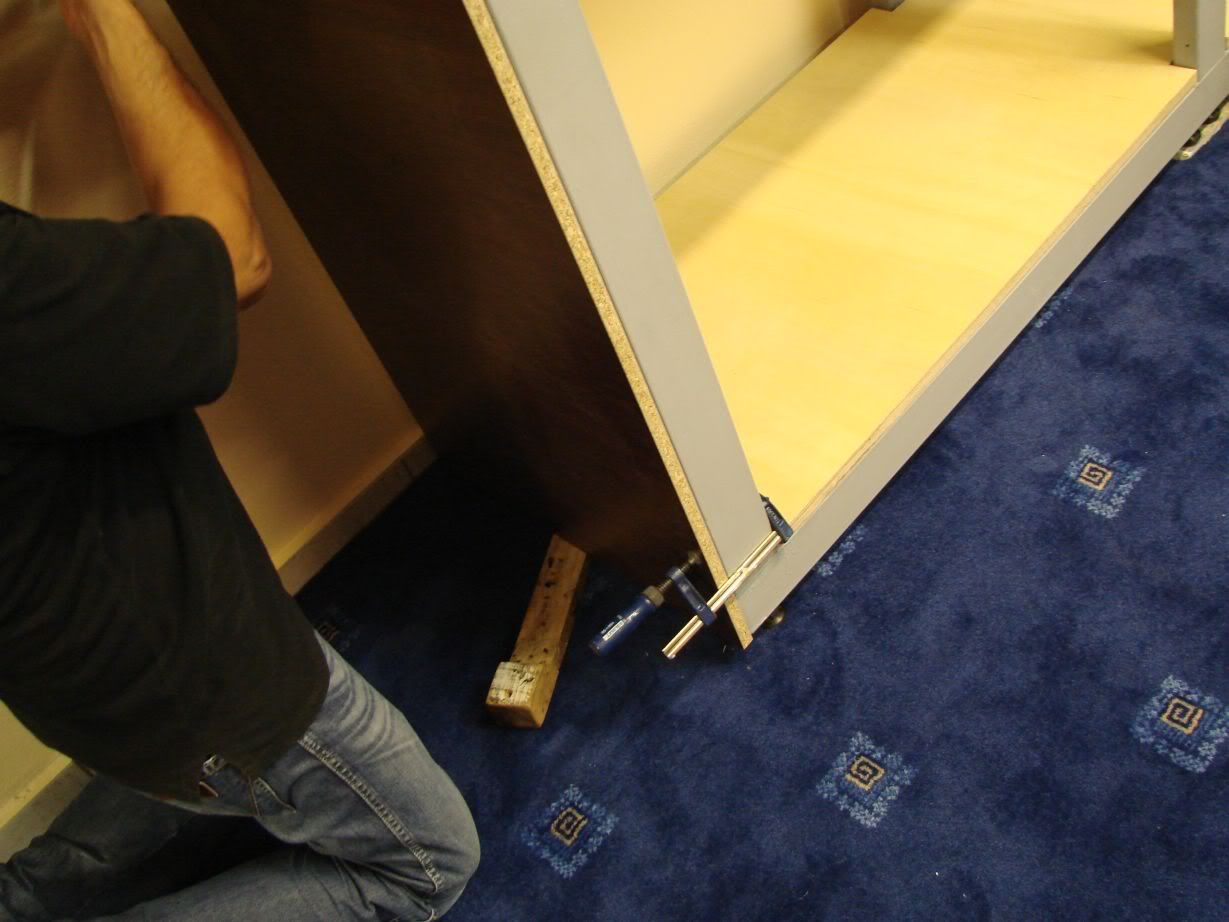
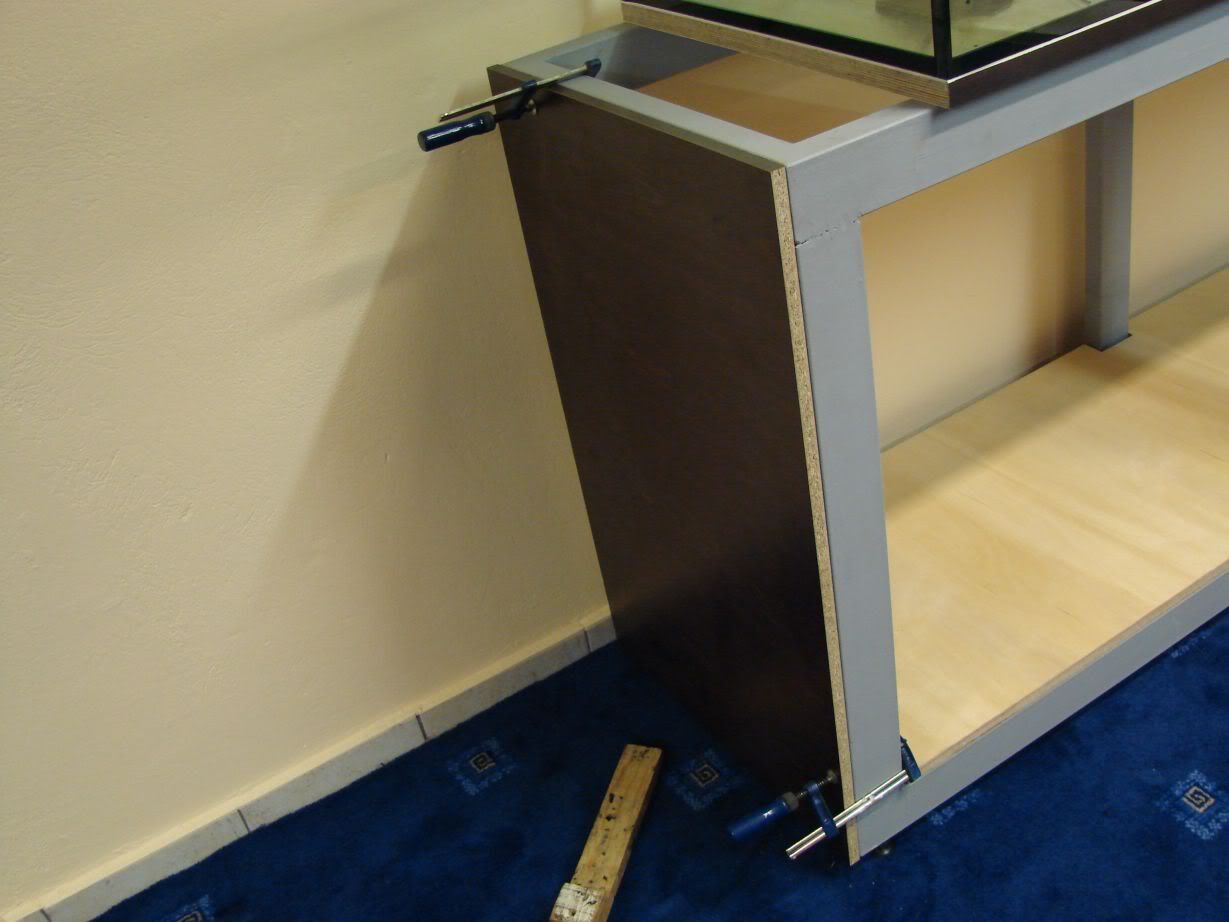
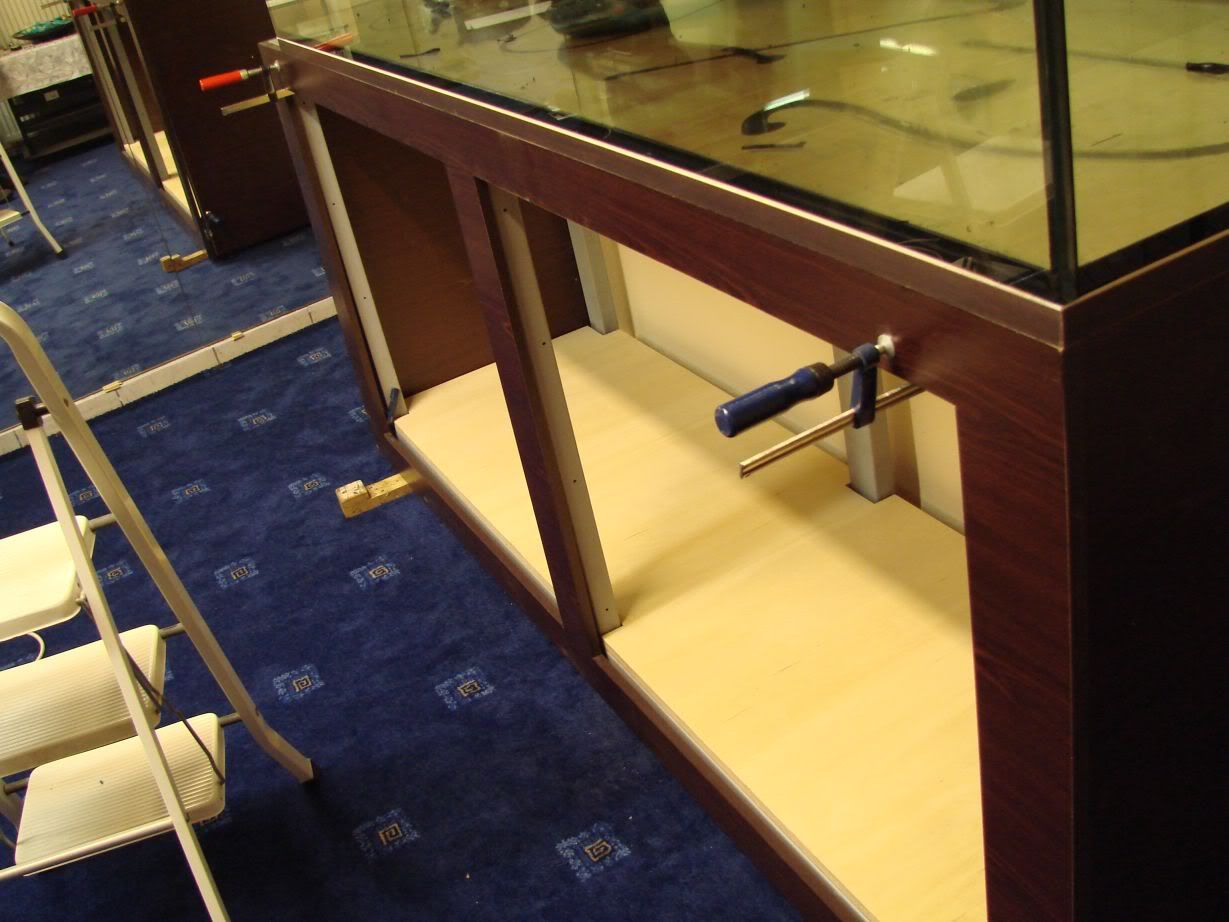
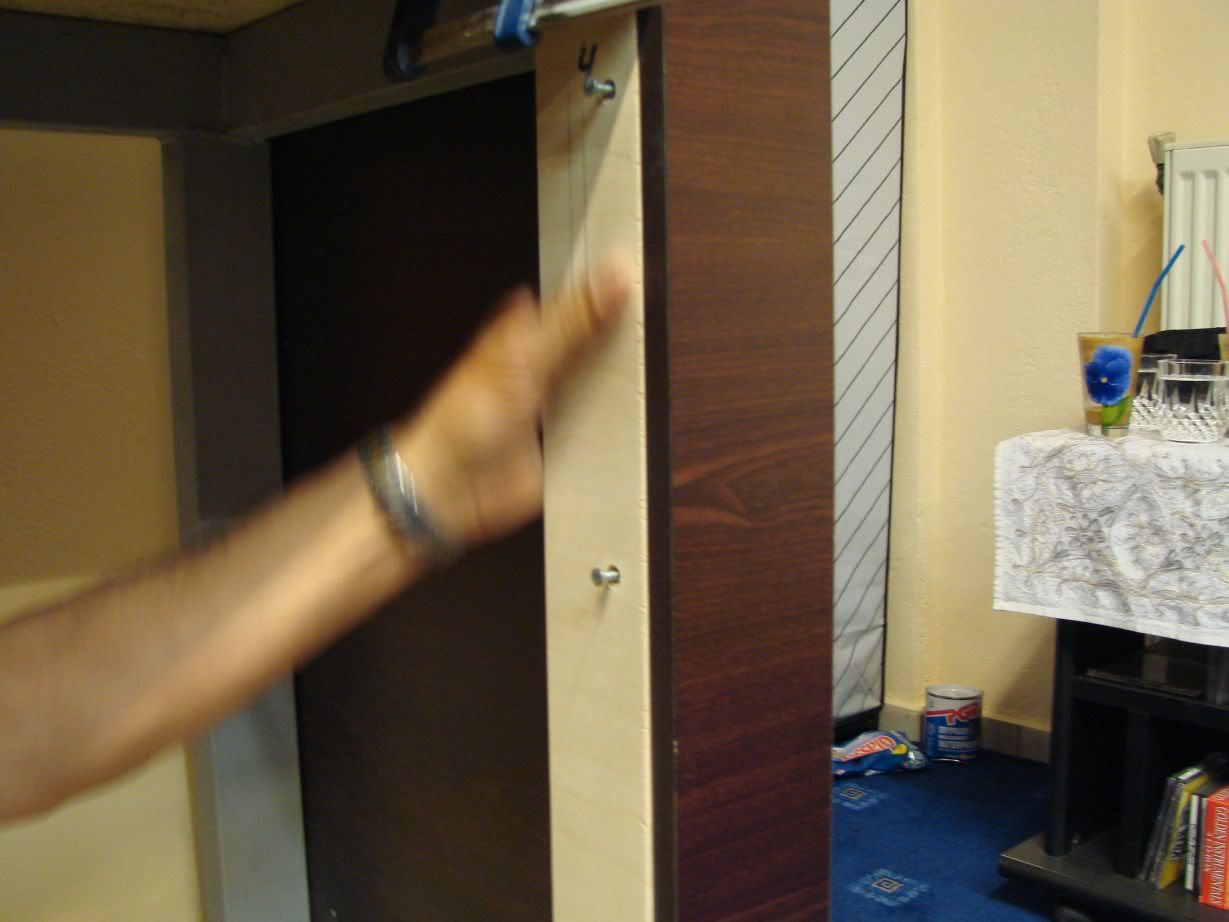
Dressing the metal stand...
Testing firstly how they fit together the wood pieces with the help of clamps...
Right side...
Left side...
The front piece laid in front of the stand...
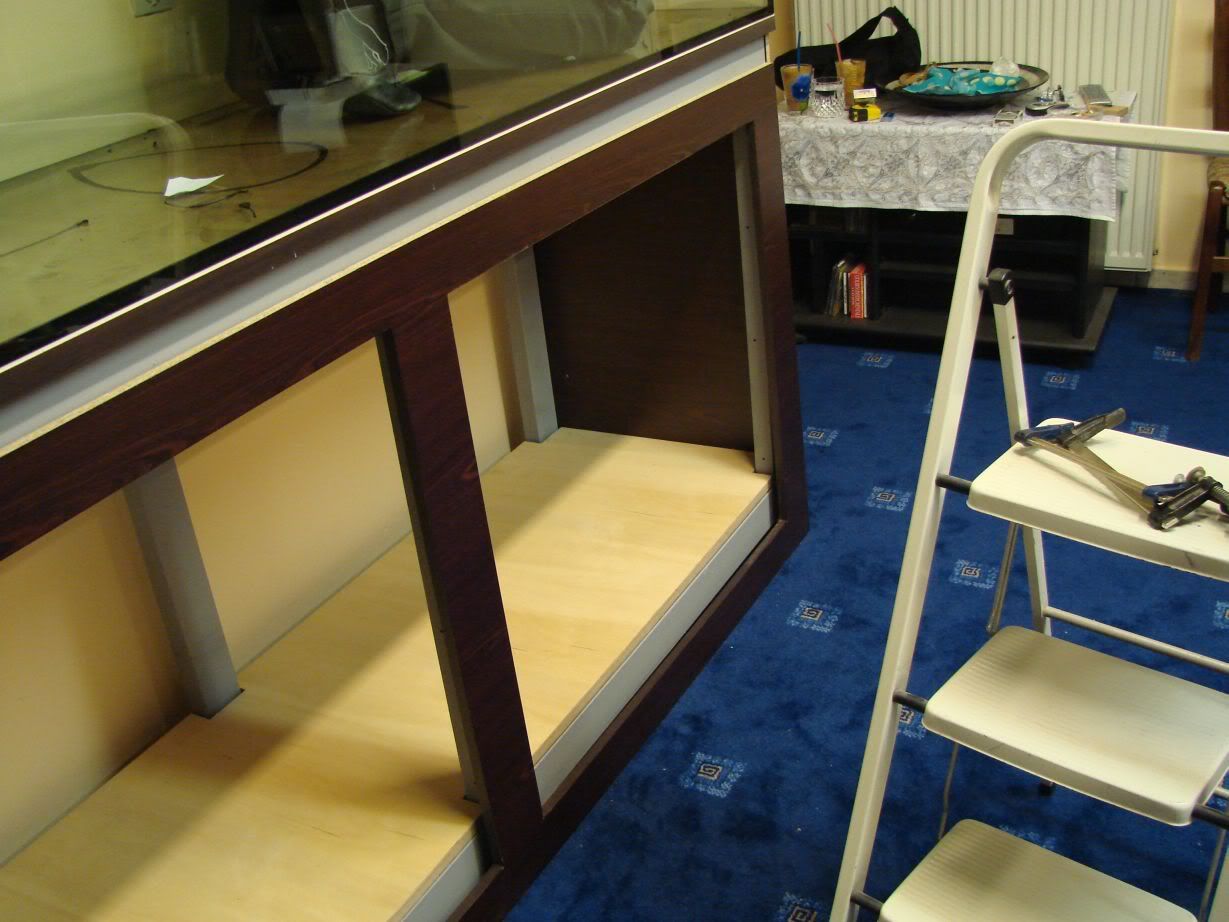
And positioned...
In this picture you can see the a wood piece screwed on the metal stand towards the left side...This is for screwing on the stand doors...
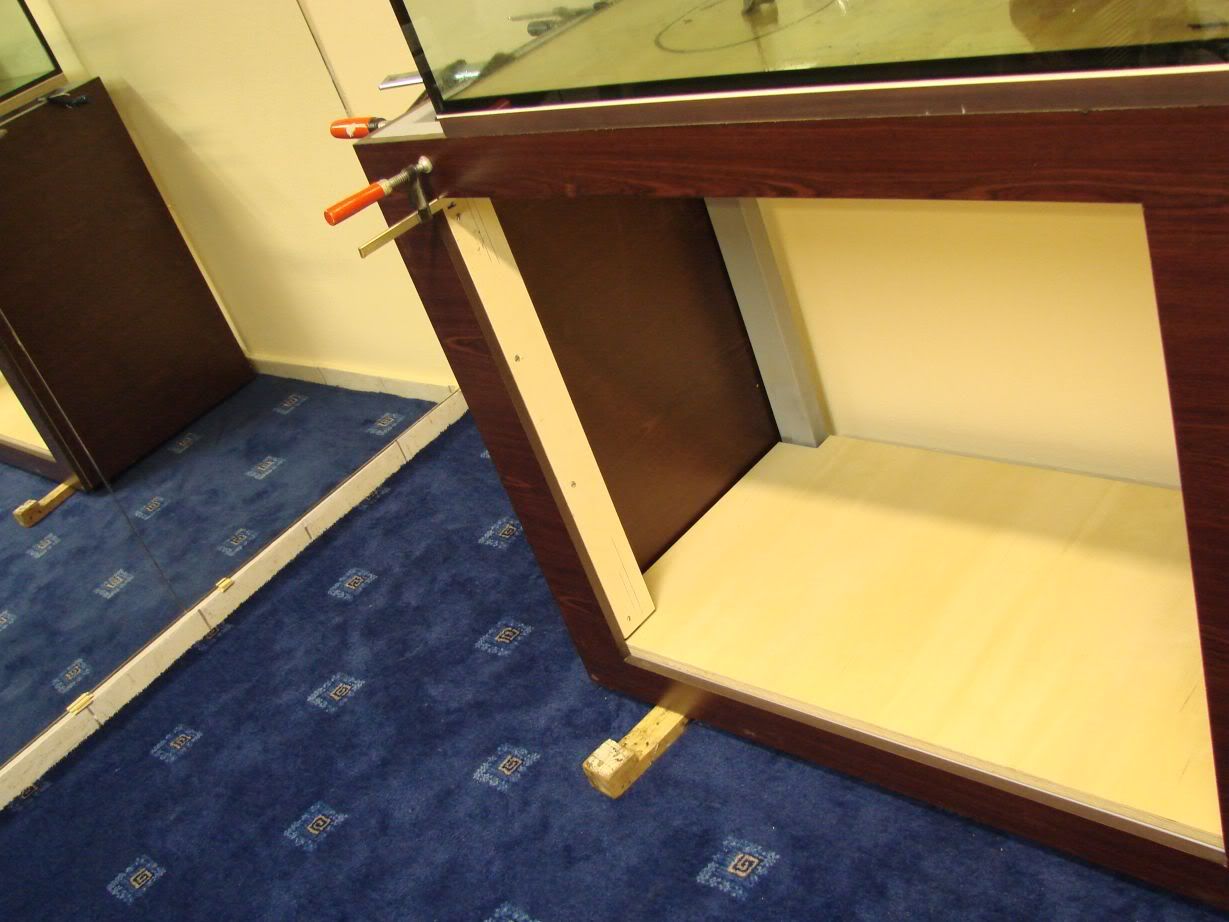
Another one in place...
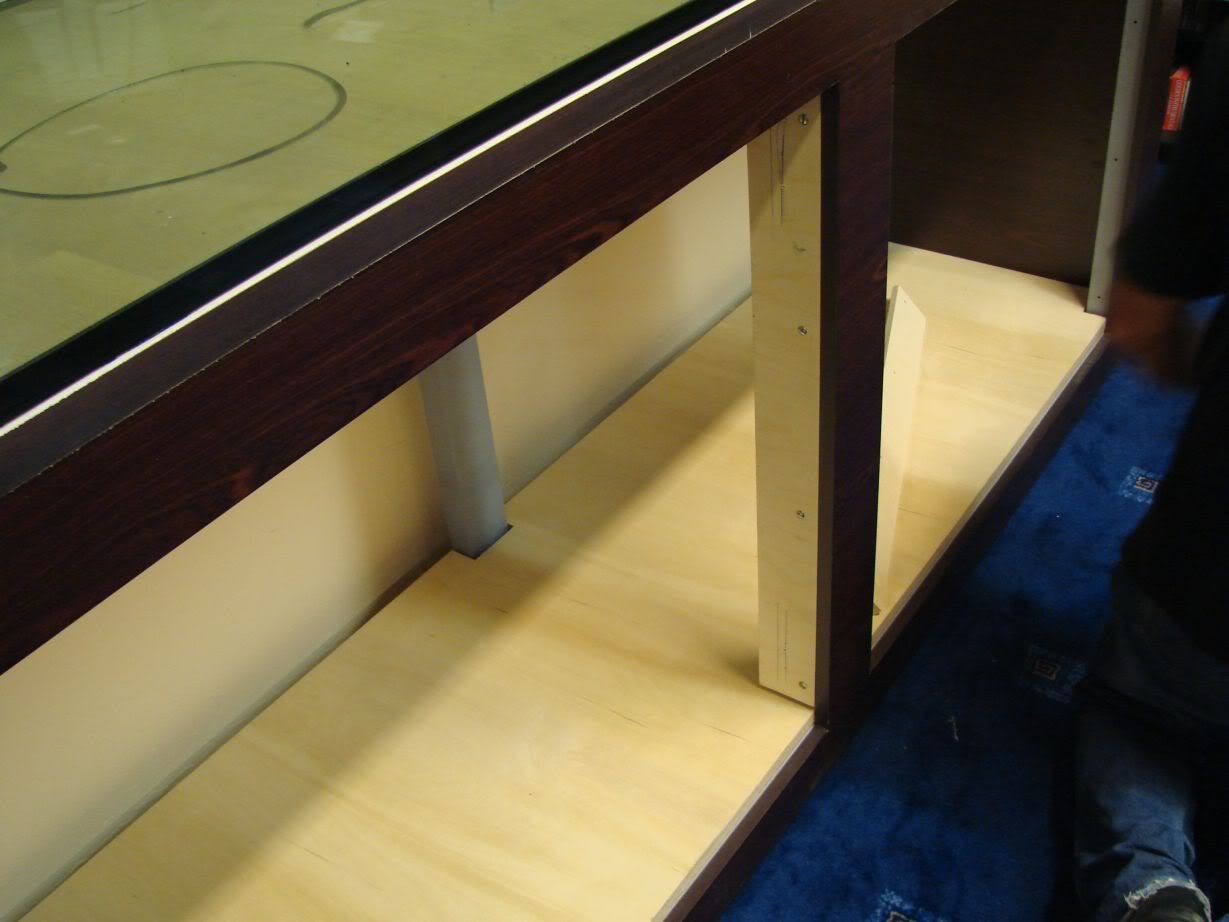
And a close up of the positioning and how it looks...
During the test fitting with the clamps,thin pieces of melamine were inserted where needed so that the pieces fit well with each other...
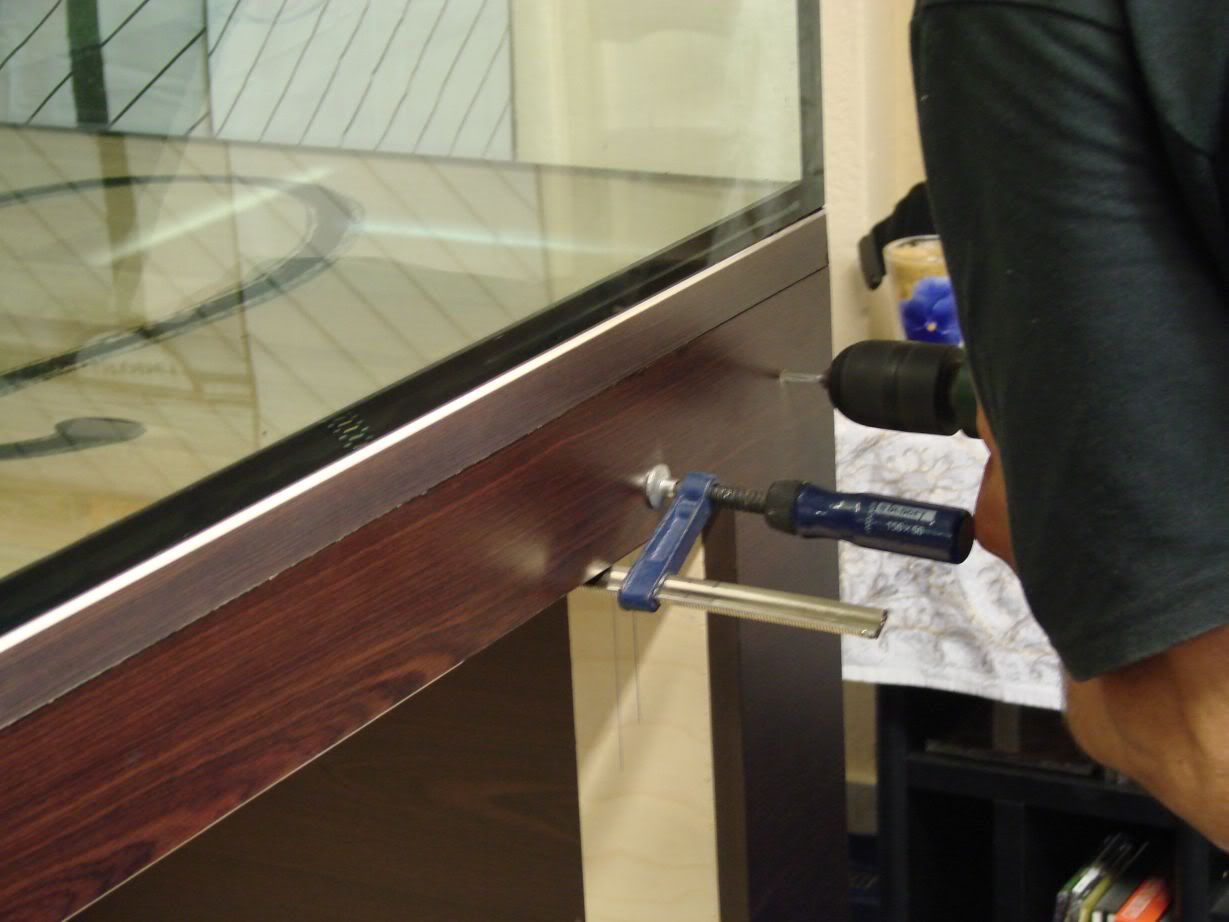
Drilling the front piece so that a anchoring ''things''(i dont know how they are called in English ) will be placed...
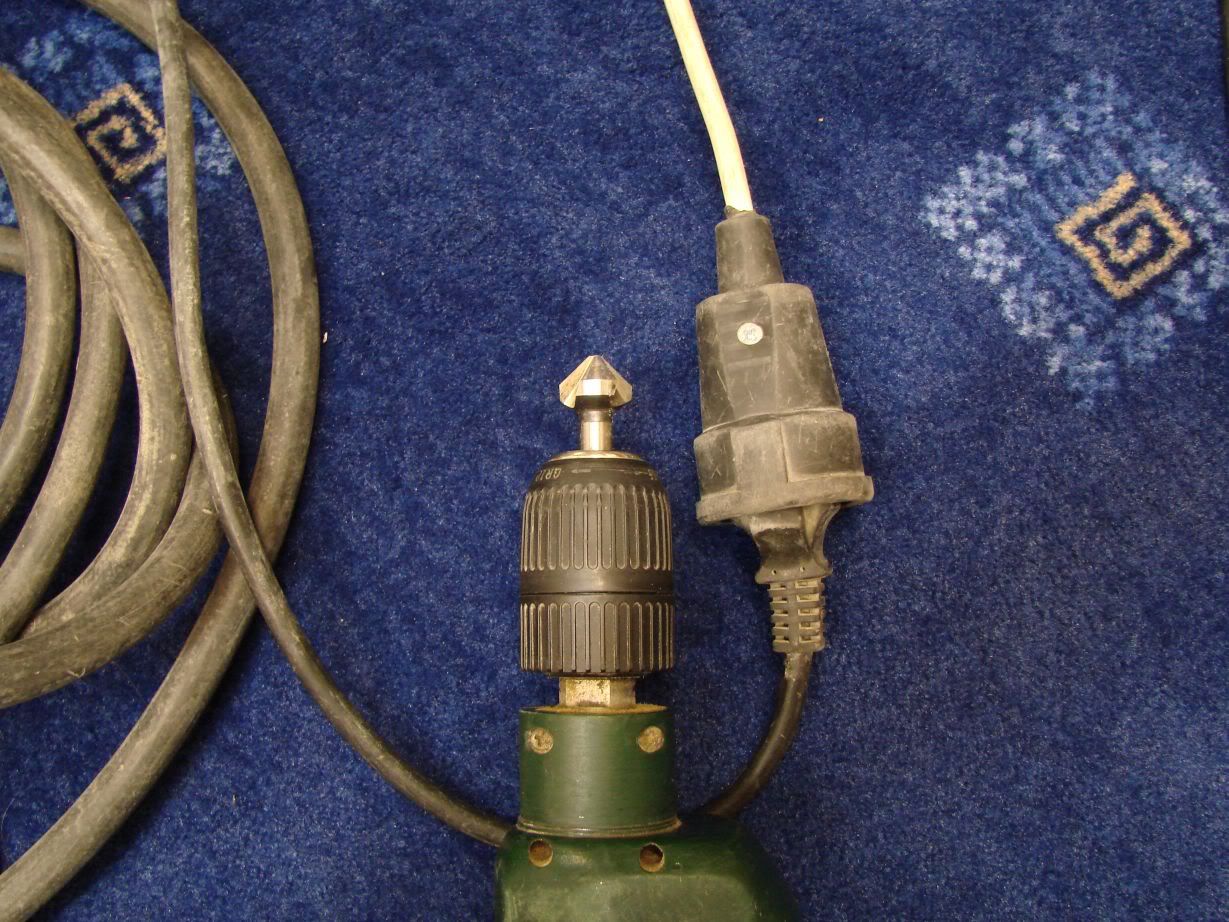
The tool and accessory used to widen the holes so that the ''thing'' 's head doesnt protrude...
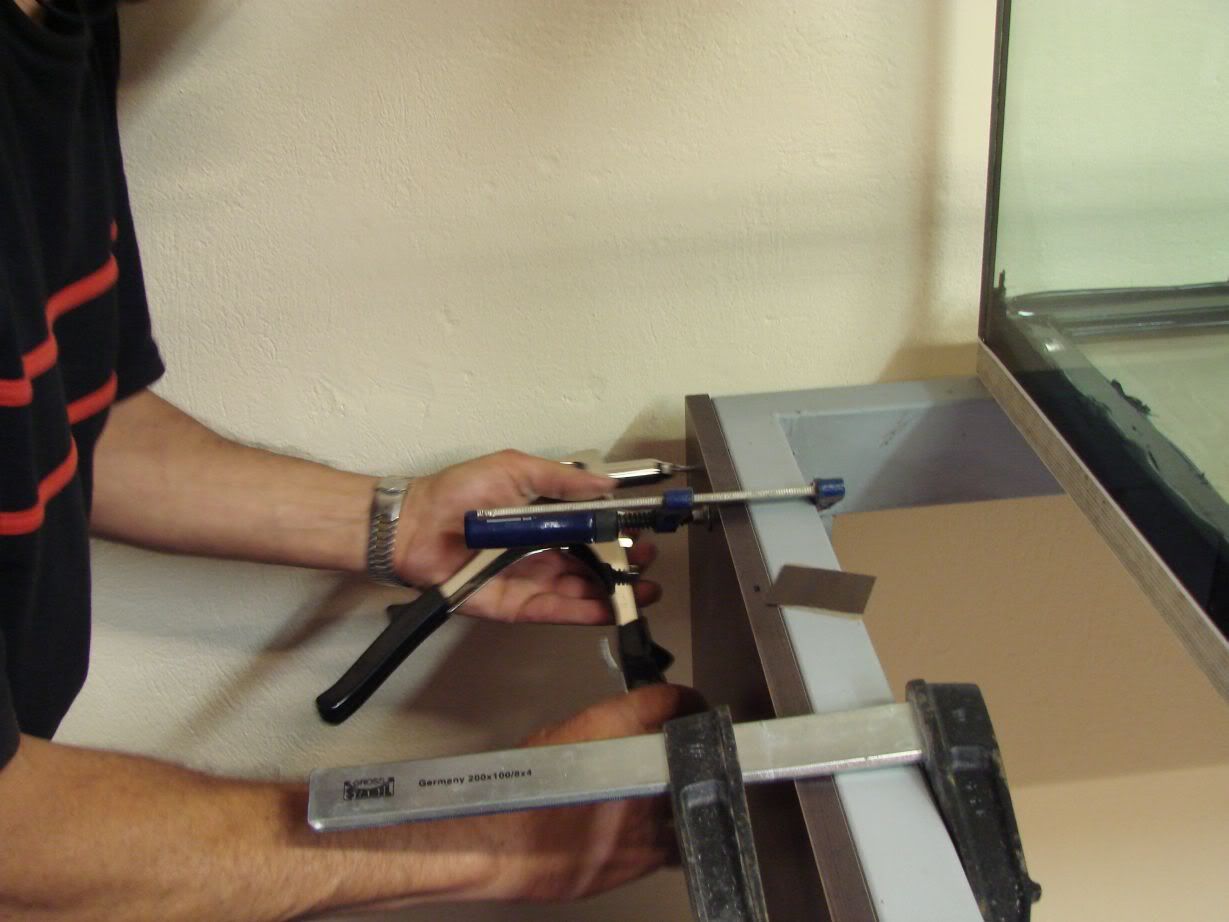
The tool used to put the ''things''
The ''thing'' in place...I know you will know what it is when you see it...
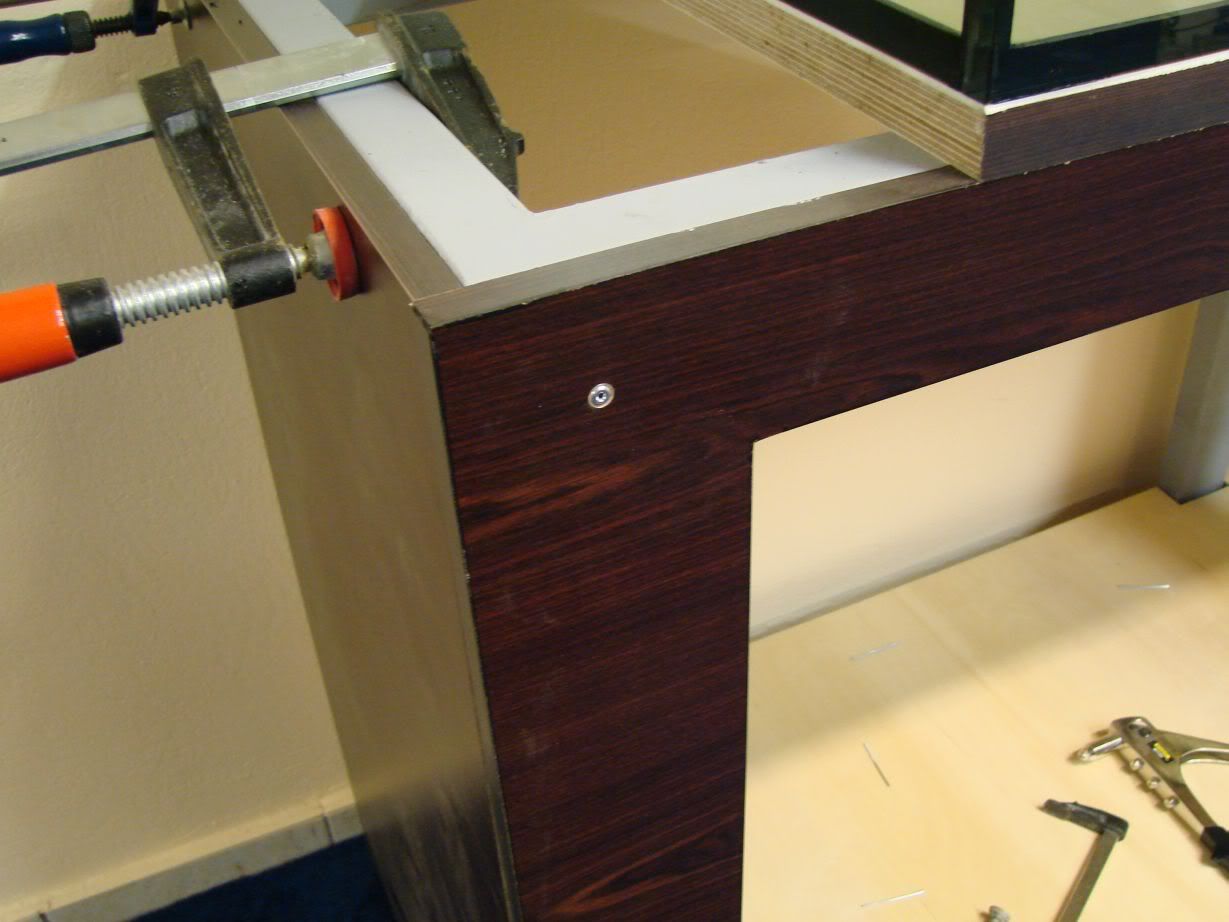
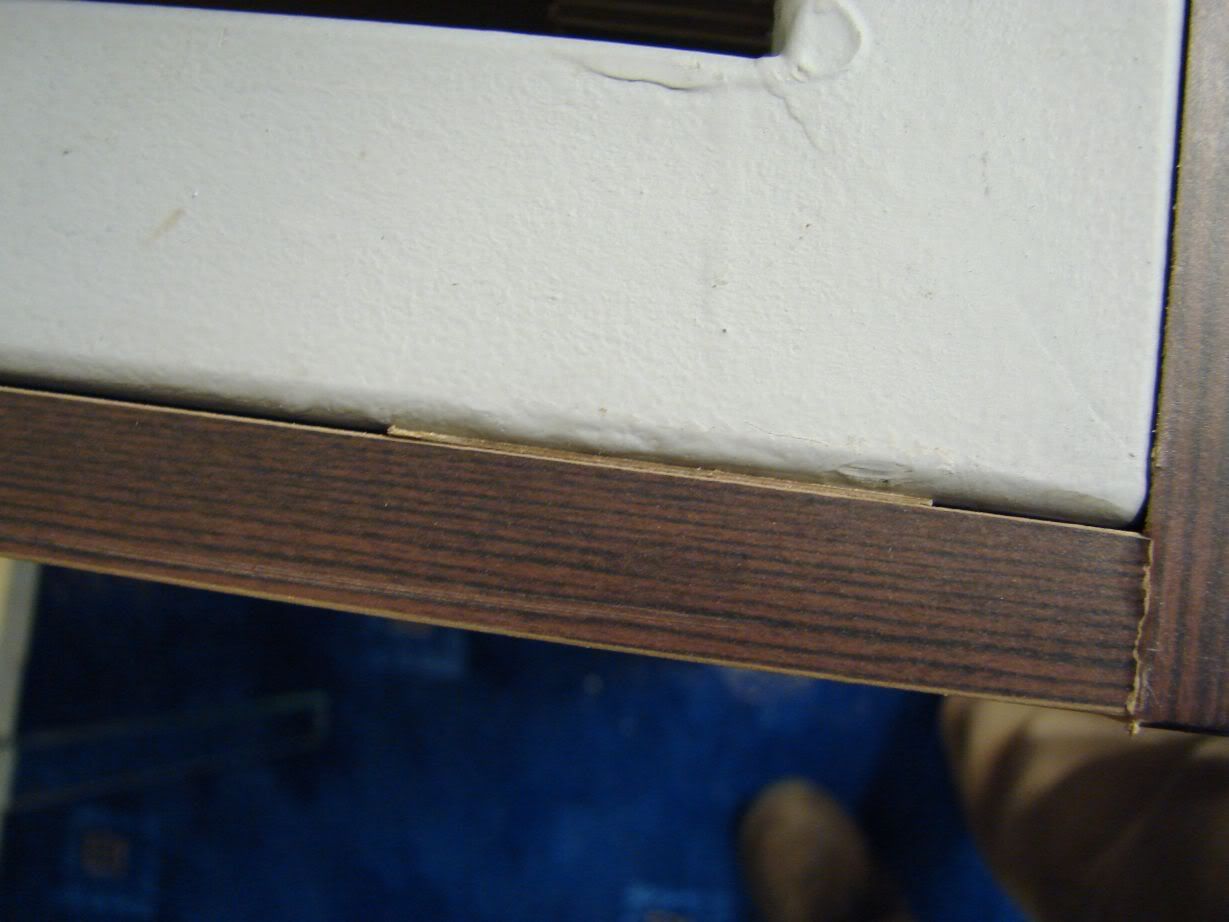
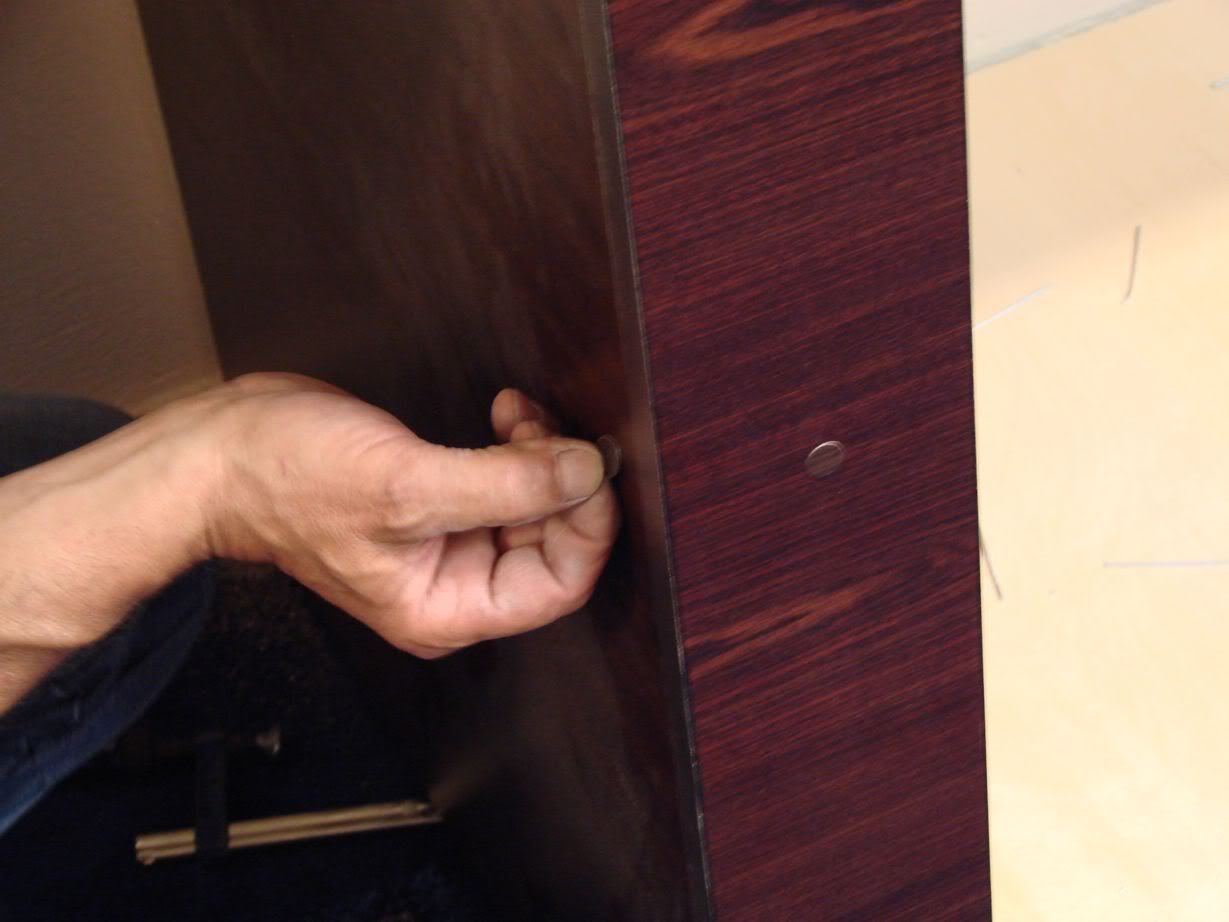
Covers for the things in the color and texture of the melamin used...
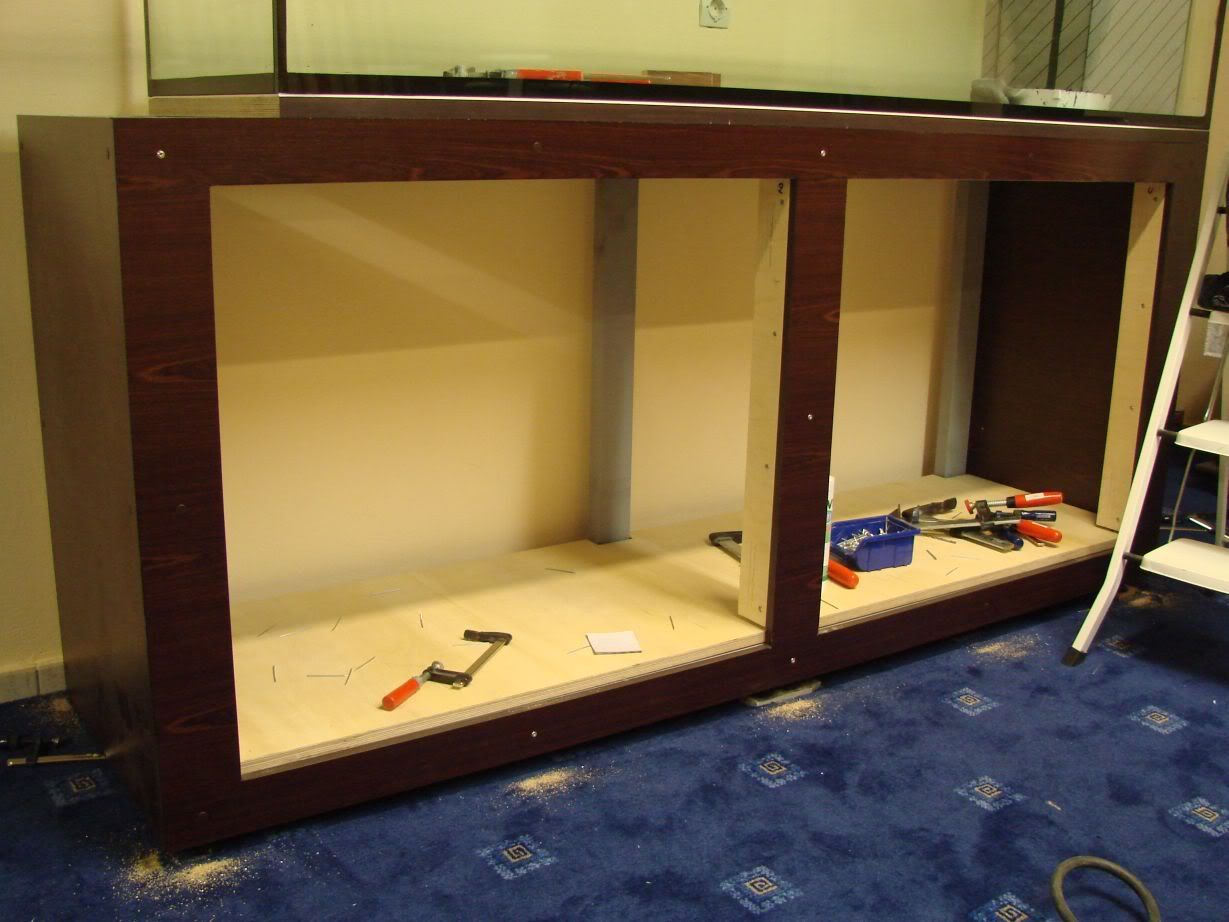
The stand with front and sides in place...
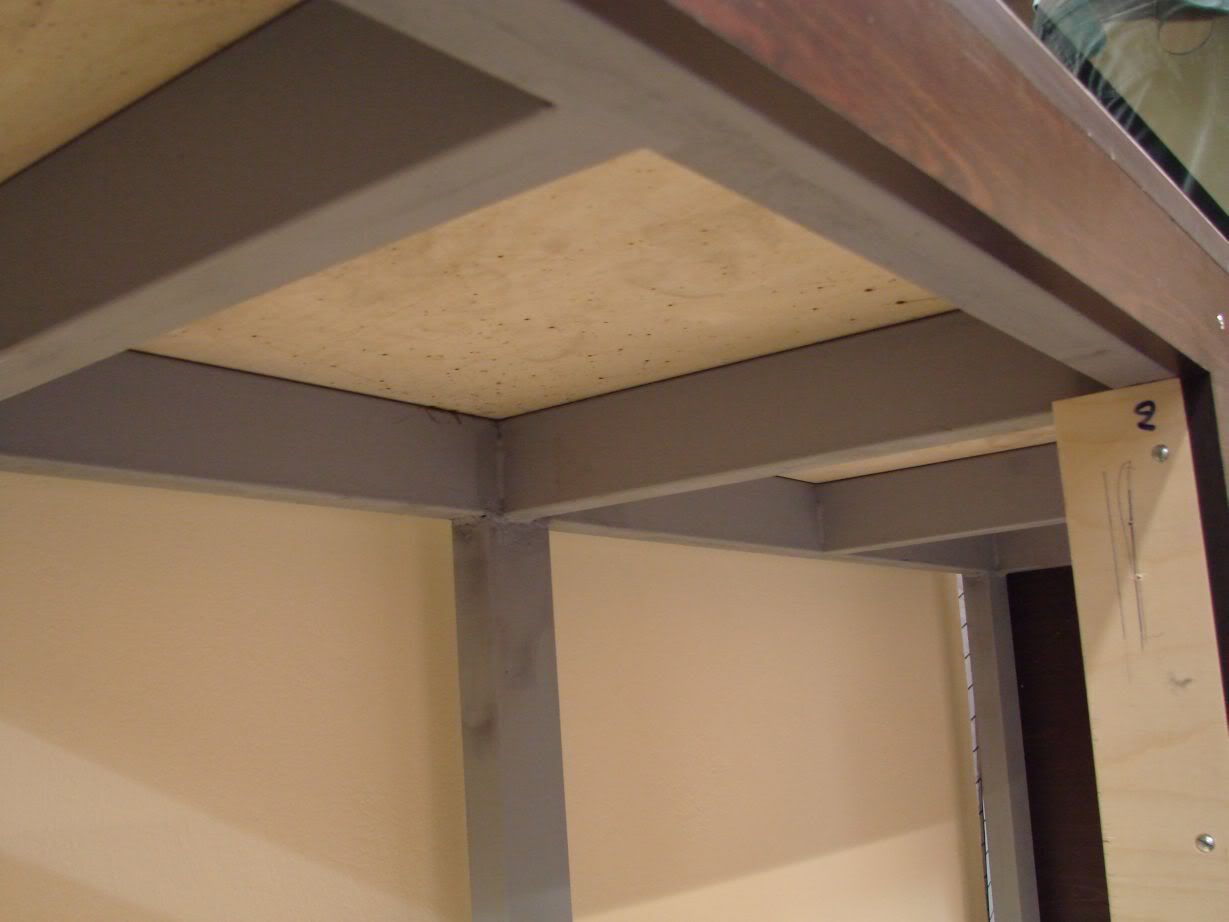
Looking in the stand from under...In other words the upper part of the stand...The one i wanted to finish with varnish and polycarbonate...I have now decided to simply clean it up with sandpaper and leave it as it is...If of course you think that it will be ok...
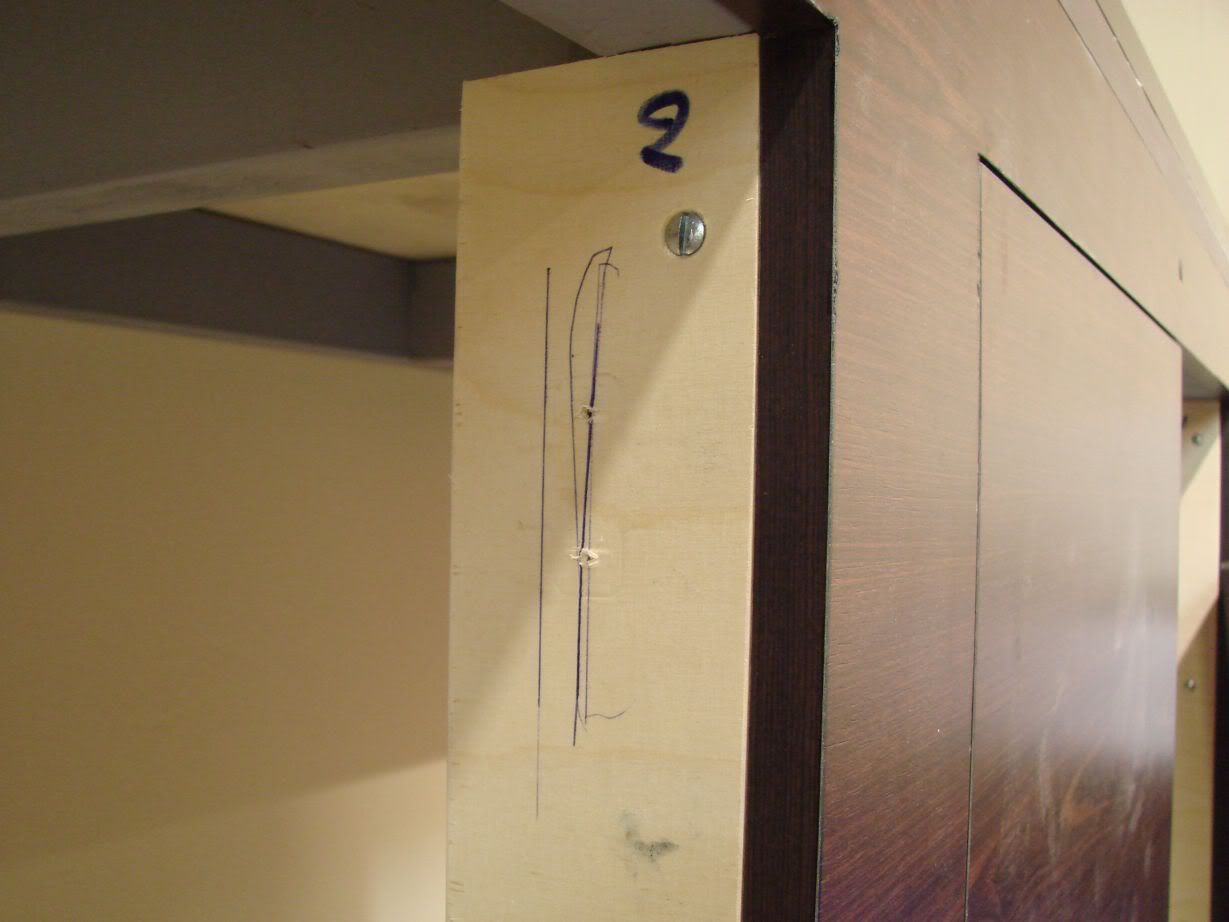
Here you see the piece of wood used for door mounting...You can see the holes left by the screws from previous test mounting...
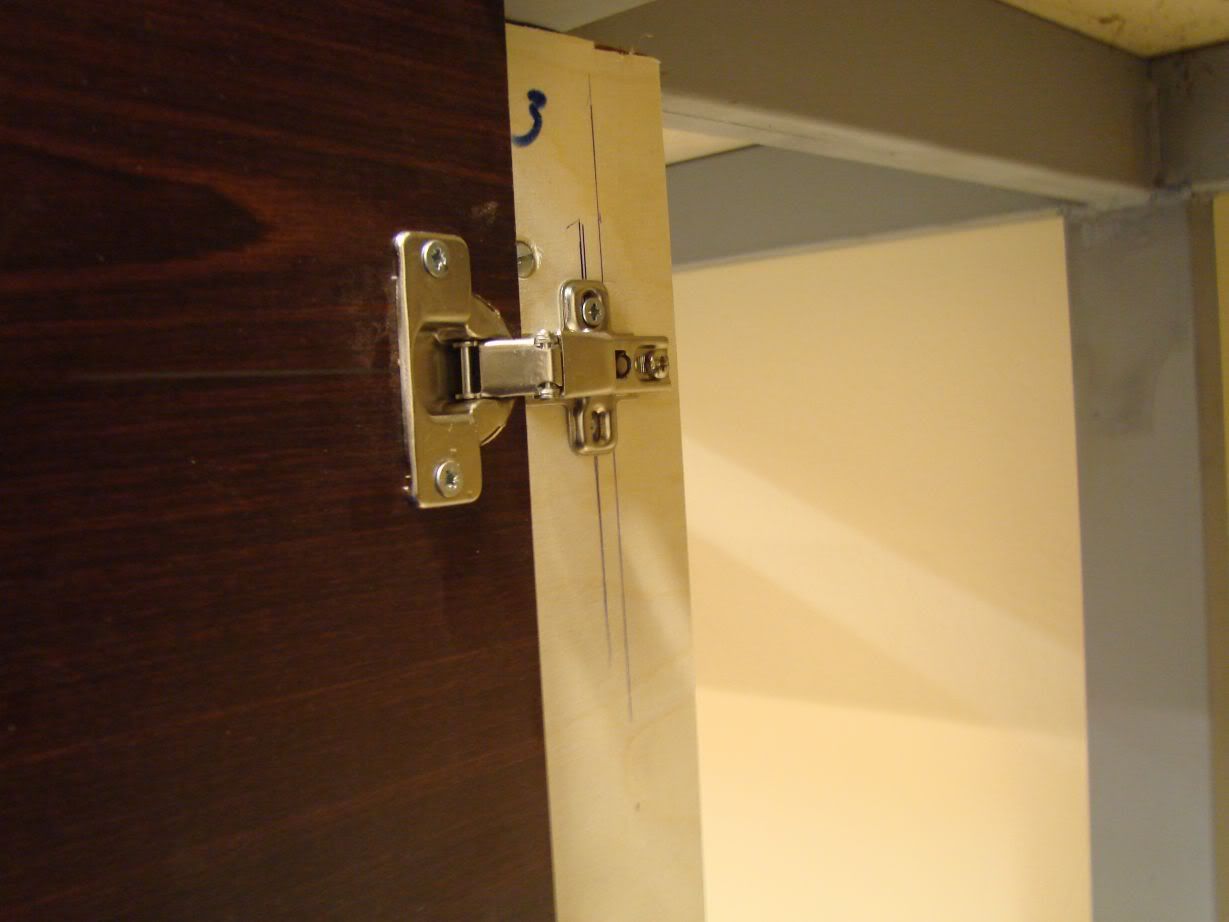
A door in place...
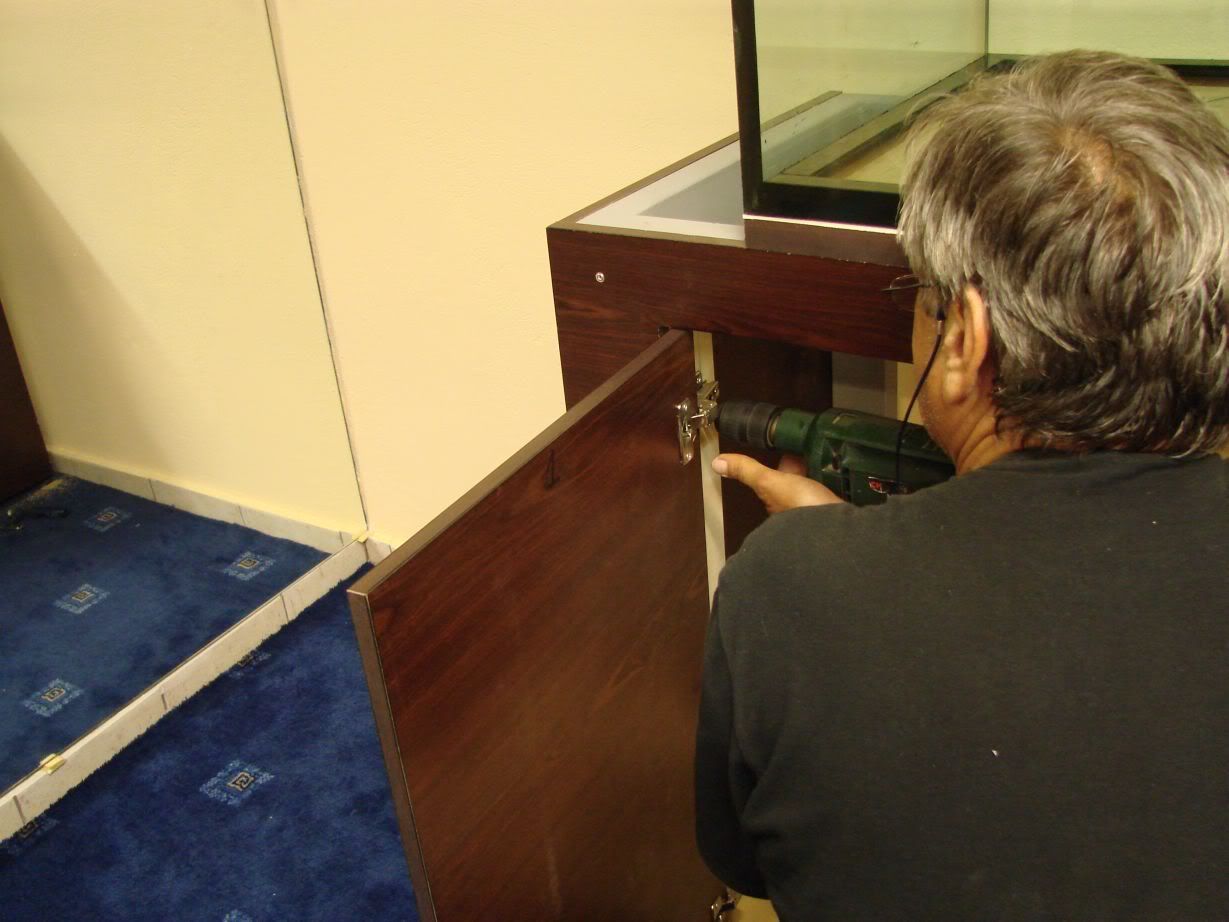
Doing some basic regulation...Correct regulation will be done the next time they come...
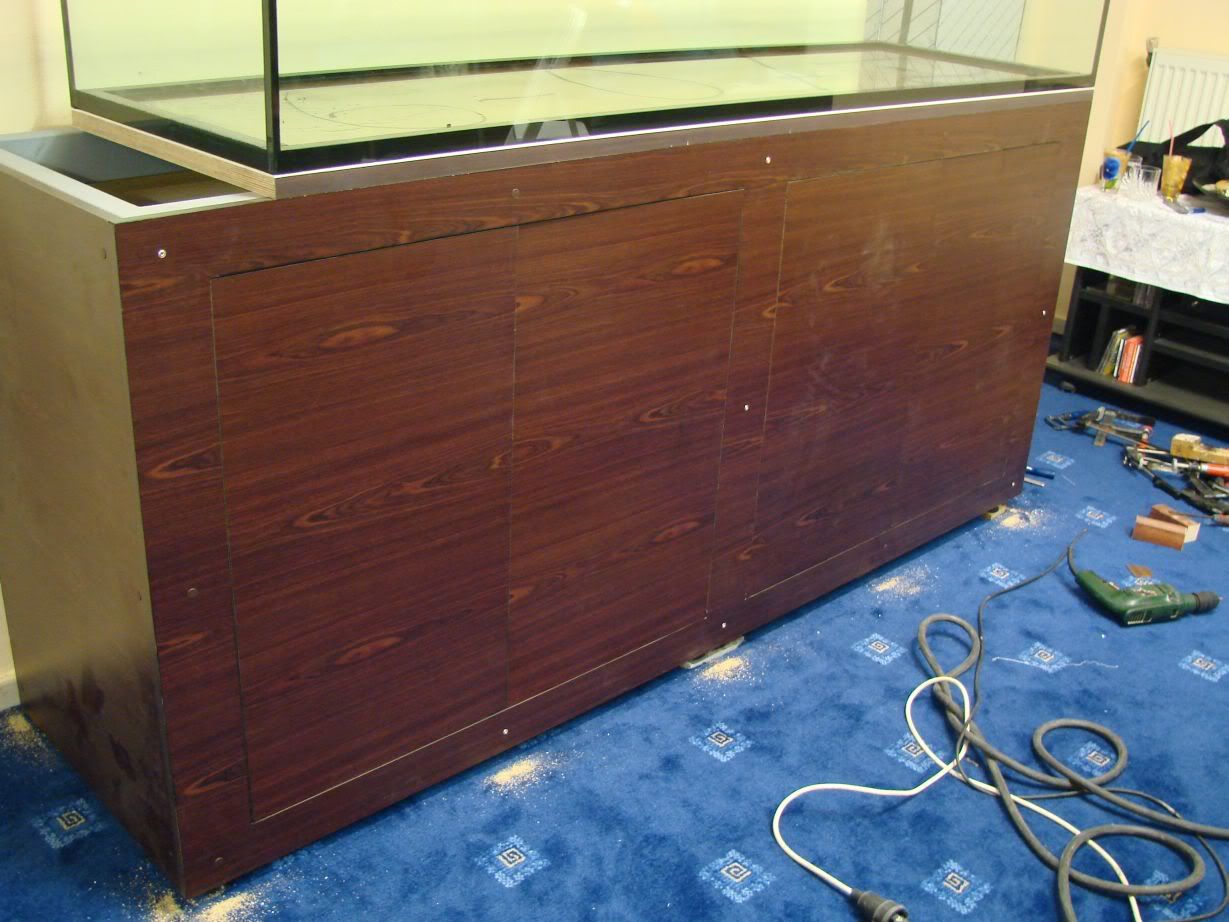
Tank stand with the doors in place...
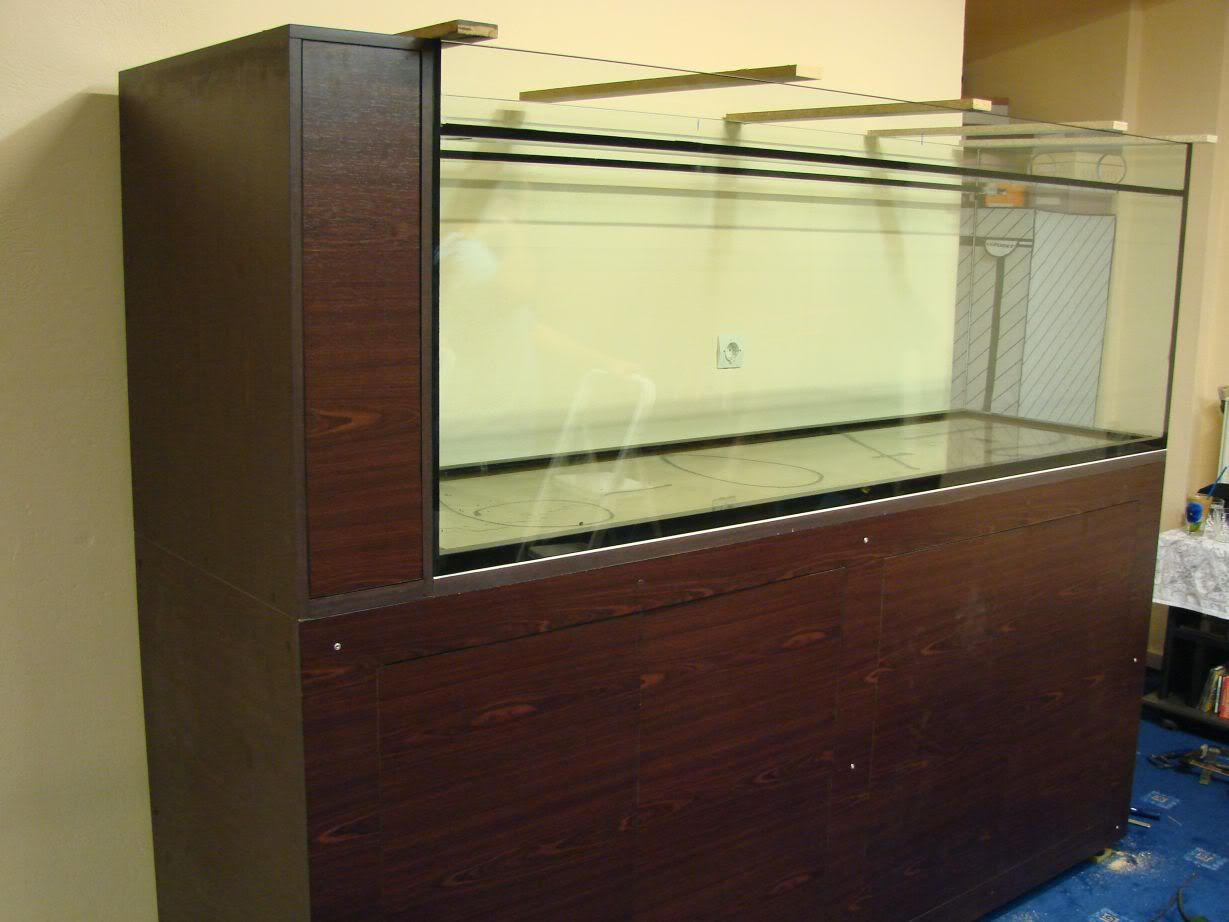
And test fitting the box next to the aquarium,used to hide the tank plumbing...This is about how the stand will look like when finished...The ''things'' left uncovered will be covered next time because they werent very well possisioned and they need a tool to place them furter in so that they dont protrude...The doors are not yet regulated and also there are no tank handles as of yet...I will be buying them soon and they will put them next time they come to finish everything...
Testing firstly how they fit together the wood pieces with the help of clamps...
Right side...

Left side...


The front piece laid in front of the stand...

And positioned...

In this picture you can see the a wood piece screwed on the metal stand towards the left side...This is for screwing on the stand doors...

Another one in place...

And a close up of the positioning and how it looks...

During the test fitting with the clamps,thin pieces of melamine were inserted where needed so that the pieces fit well with each other...

Drilling the front piece so that a anchoring ''things''(i dont know how they are called in English

The tool and accessory used to widen the holes so that the ''thing'' 's head doesnt protrude...

The tool used to put the ''things''

The ''thing'' in place...I know you will know what it is when you see it...

Covers for the things in the color and texture of the melamin used...

The stand with front and sides in place...

Looking in the stand from under...In other words the upper part of the stand...The one i wanted to finish with varnish and polycarbonate...I have now decided to simply clean it up with sandpaper and leave it as it is...If of course you think that it will be ok...

Here you see the piece of wood used for door mounting...You can see the holes left by the screws from previous test mounting...

A door in place...

Doing some basic regulation...Correct regulation will be done the next time they come...

Tank stand with the doors in place...

And test fitting the box next to the aquarium,used to hide the tank plumbing...This is about how the stand will look like when finished...The ''things'' left uncovered will be covered next time because they werent very well possisioned and they need a tool to place them furter in so that they dont protrude...The doors are not yet regulated and also there are no tank handles as of yet...I will be buying them soon and they will put them next time they come to finish everything...

- Kostas
- Posts: 791
- Joined: 23 Apr 2003, 10:57
- I've donated: $256.00!
- My images: 19
- My cats species list: 14 (i:0, k:0)
- My aquaria list: 1 (i:1)
- Spotted: 6
- Location 1: Greece,Athens
- Location 2: Greece,Athens
- Interests: Fishkeeping,diving,skiing,r/c modeling,growing Palm trees,ferns and tropical plants
- Contact:
And now...some more work on the main tank...
Cleaning any excess silicone left with alcohol,kitchen wire and scraper...
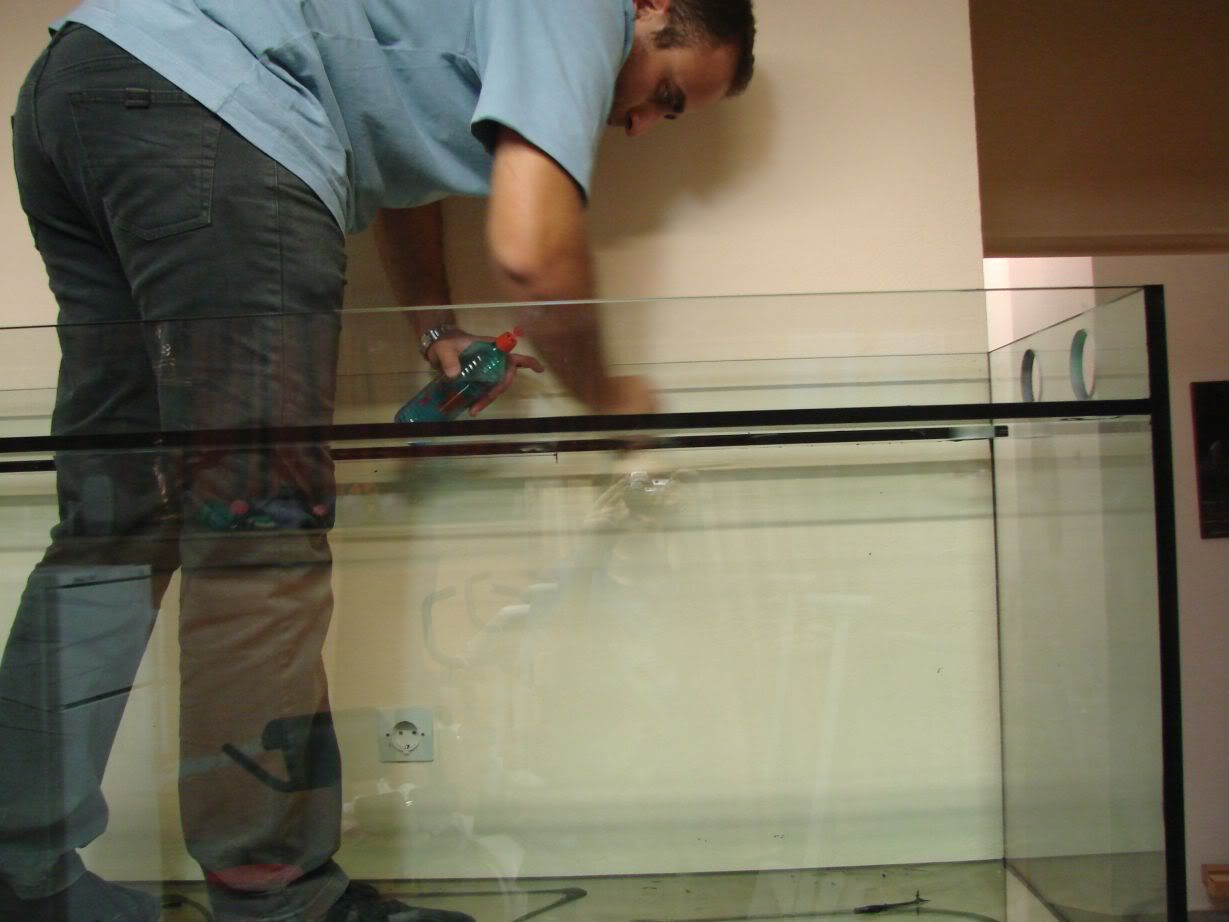
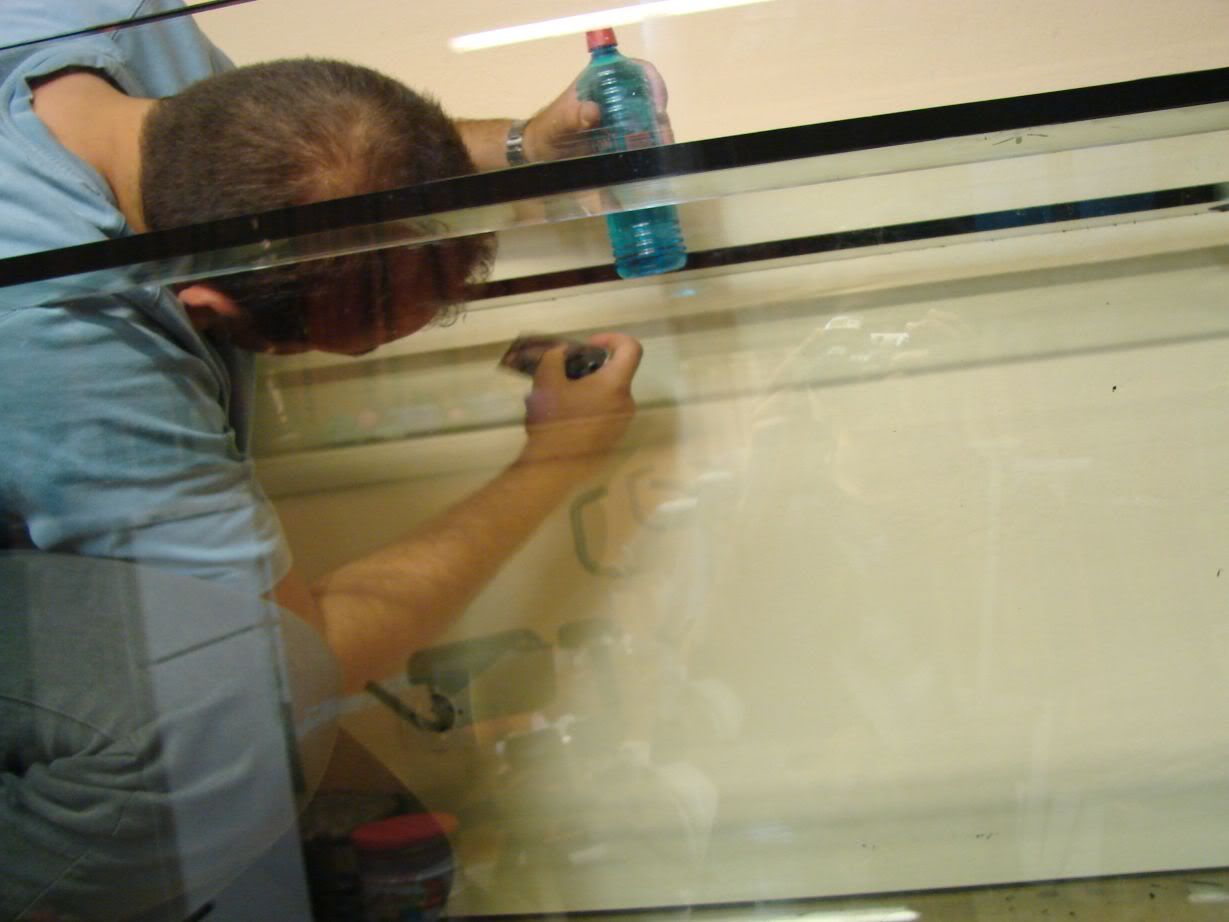
Cleaning the tank for better silicone adhession...
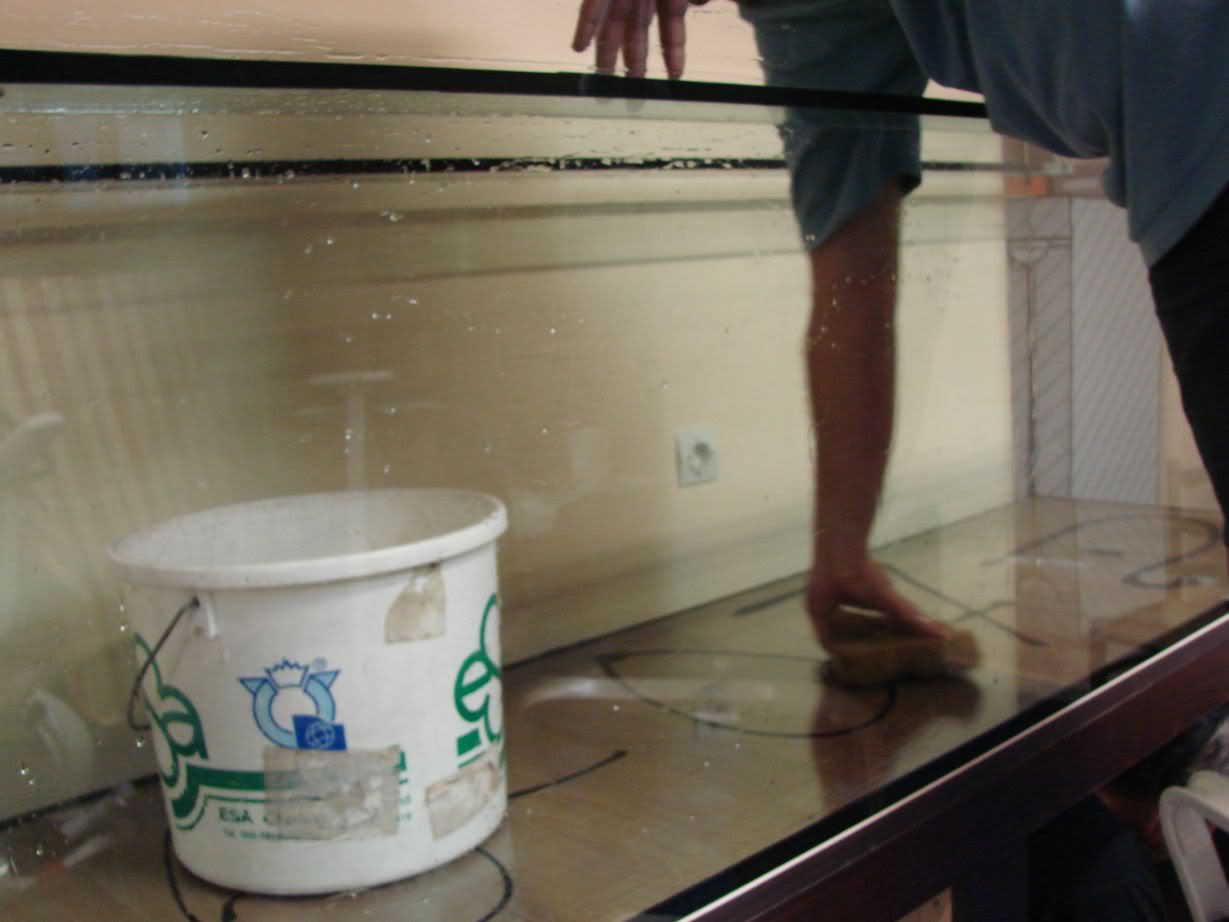
With water and a sponge...
..and then with a squeegee and after that with a cloth to remove every bit of water...
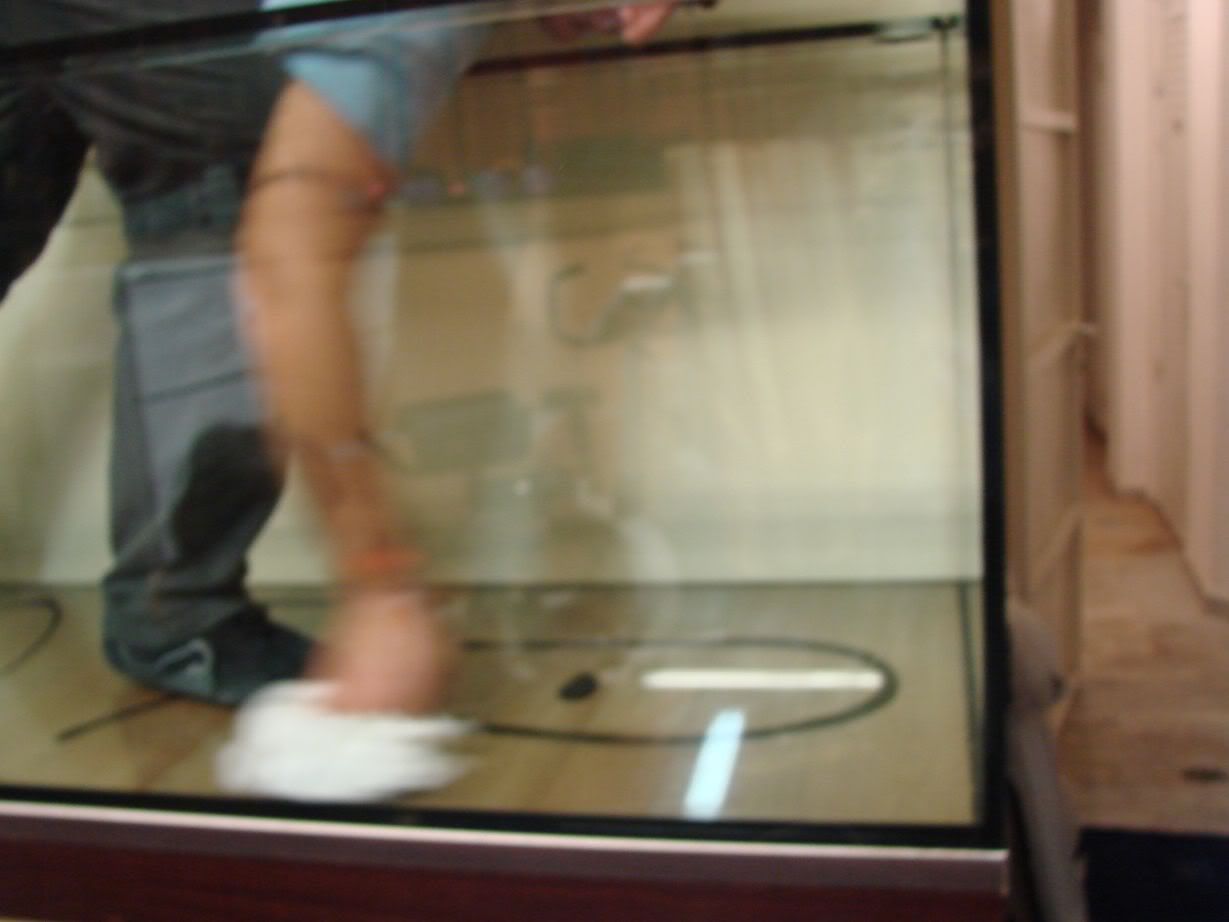
...then drying up any tiny bit of water that may have been left with air from an air compressor...
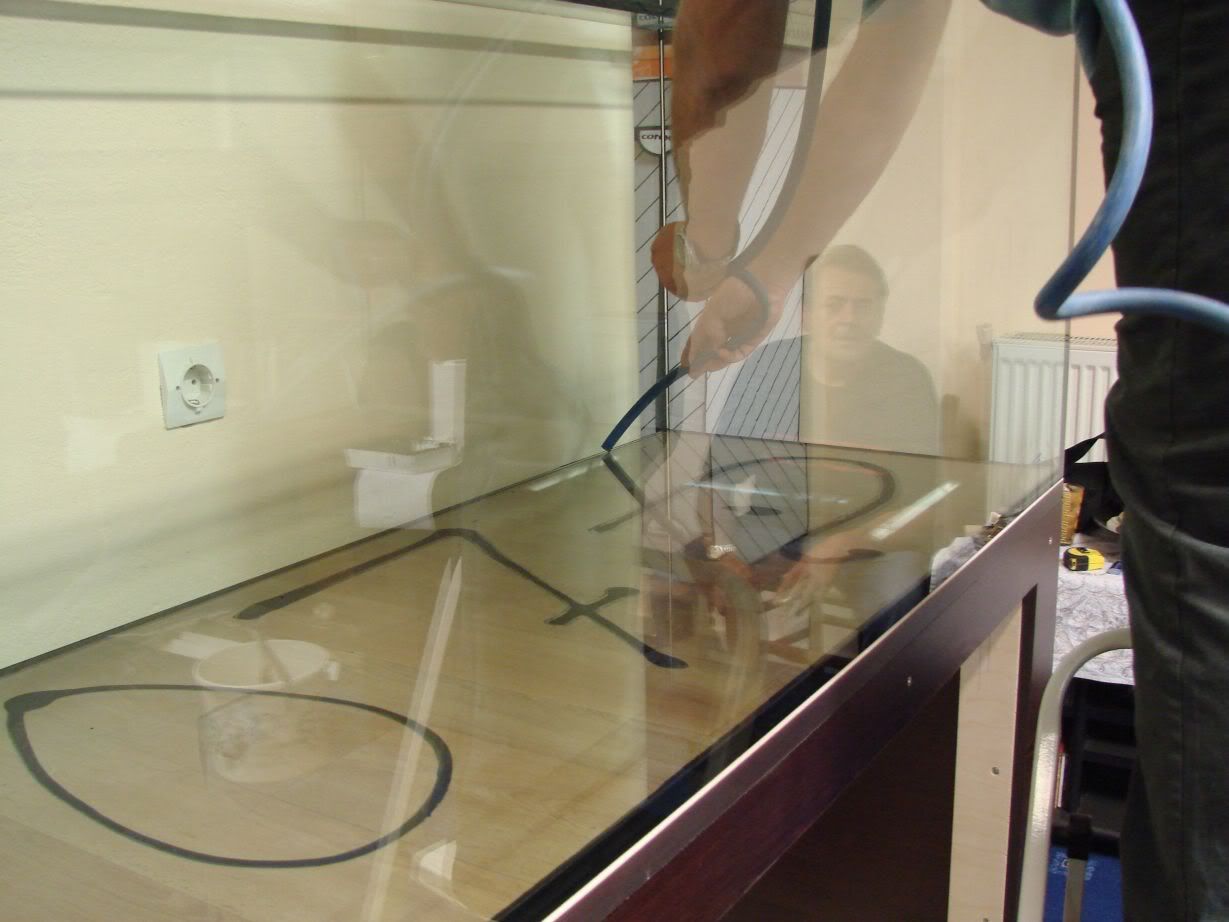
Test fitting the bottom glasses...
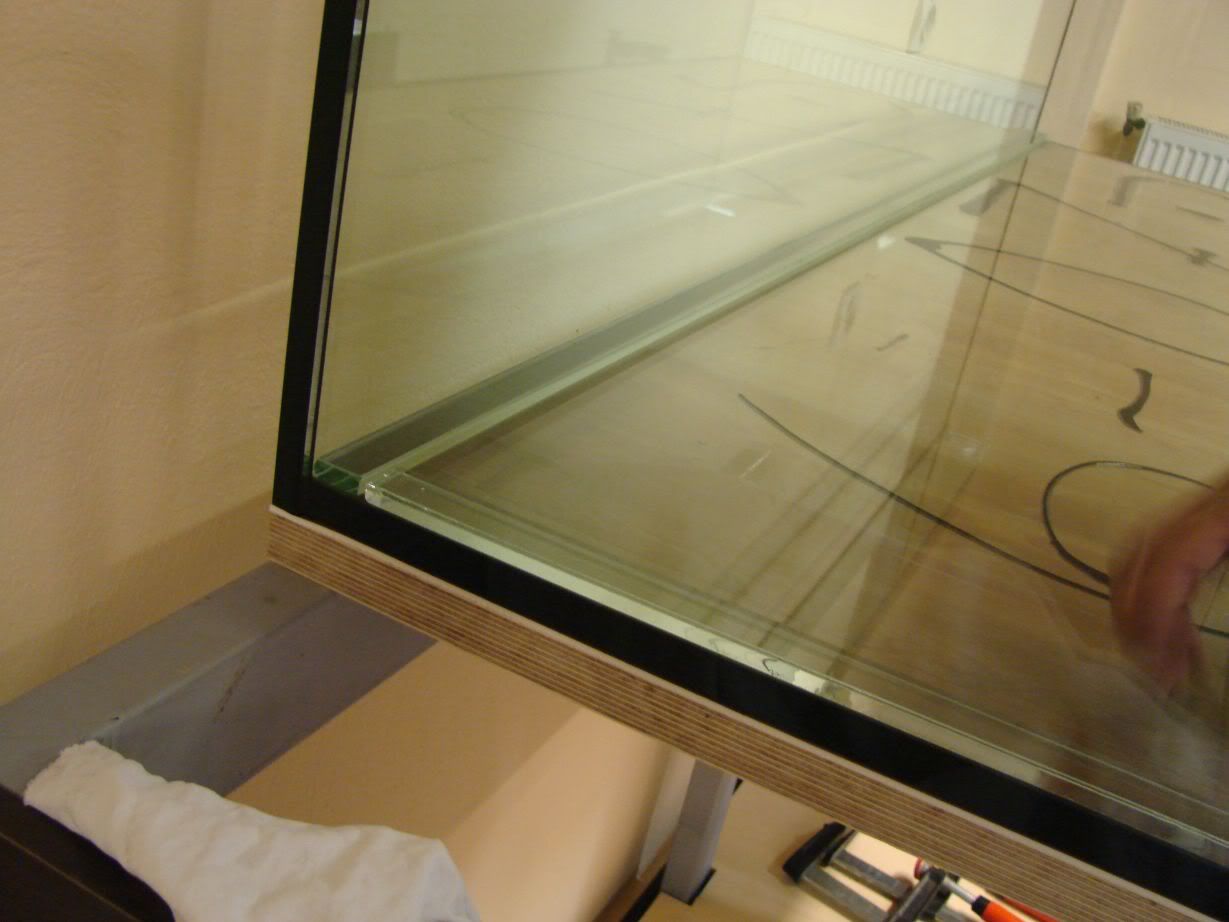
Then the glasses were removed and cleaned with a cloth...
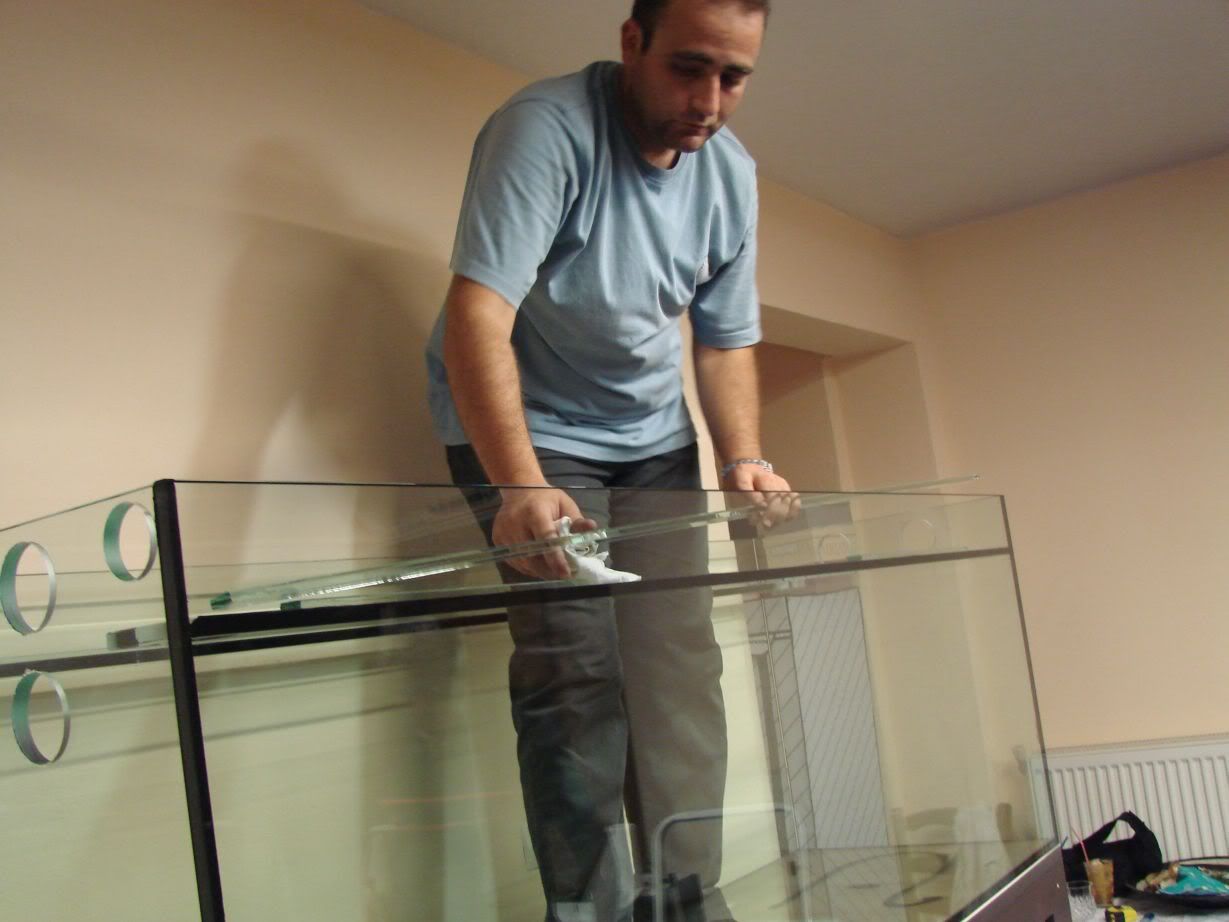
Applying silicone to the bottom...
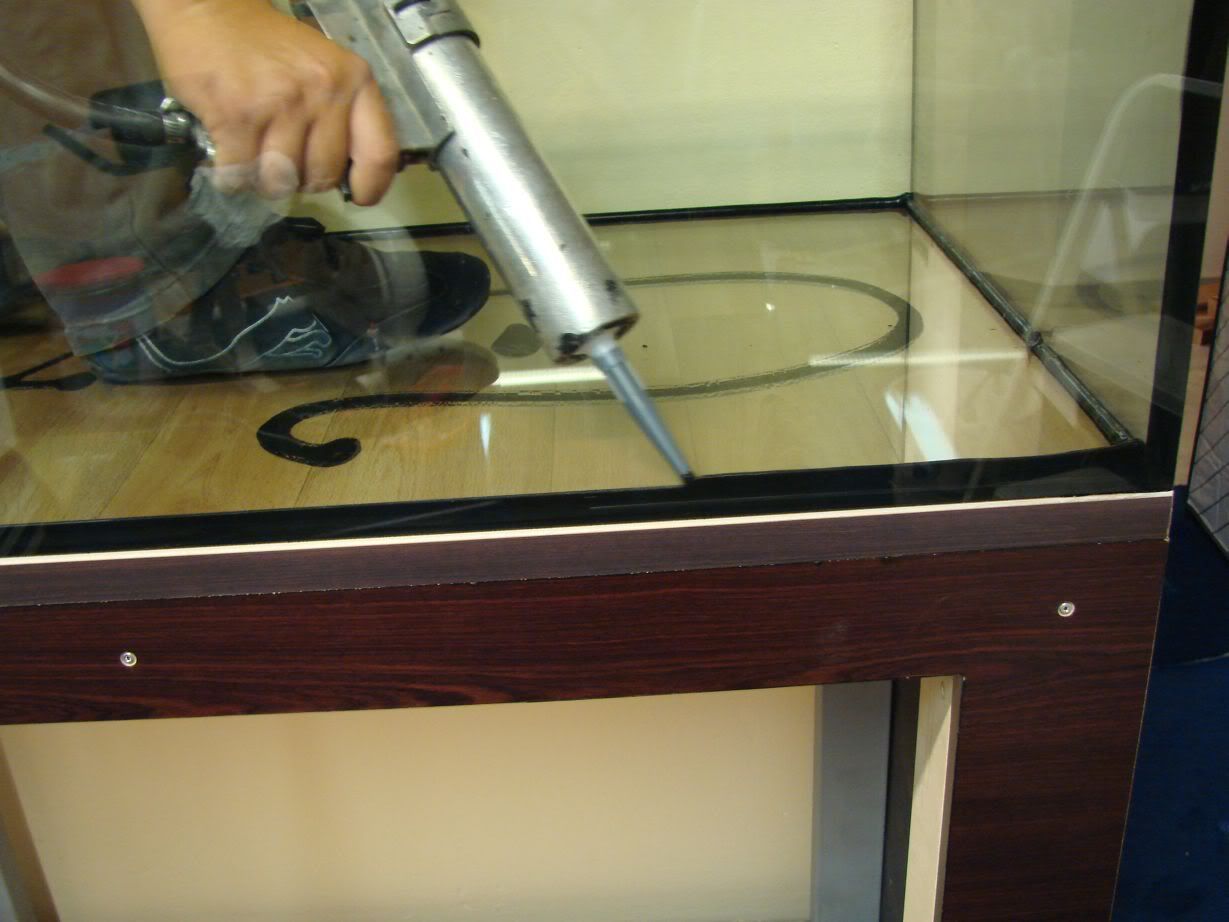
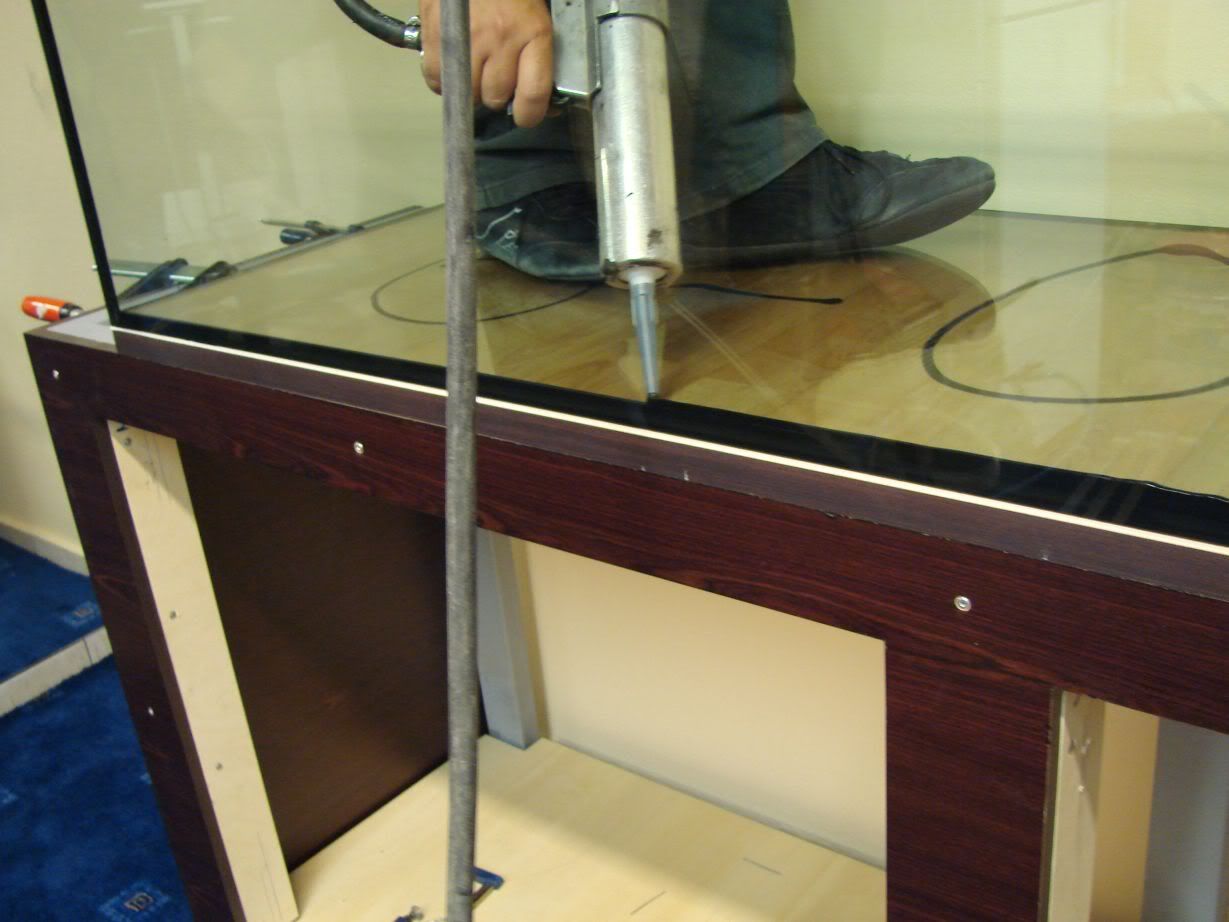
Positioning the first glass...
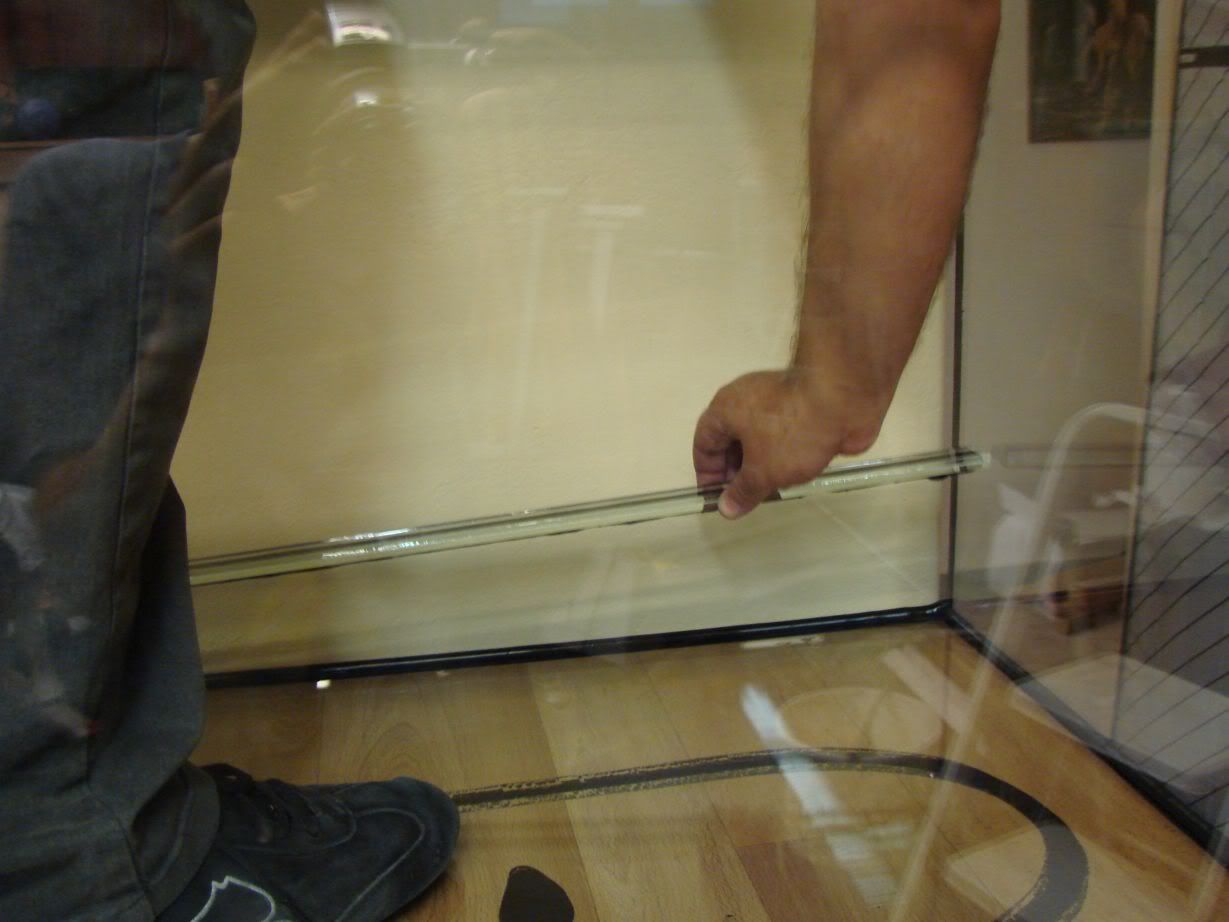
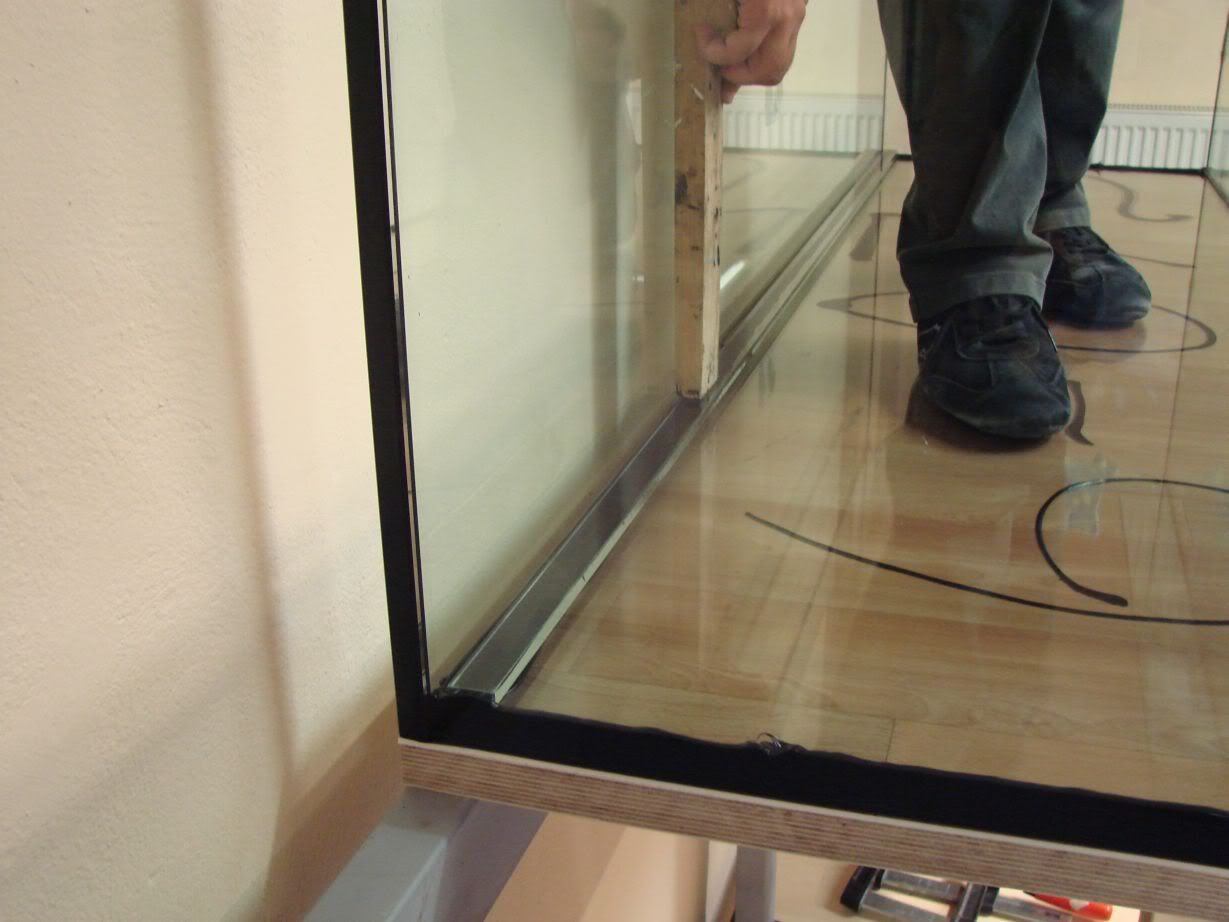
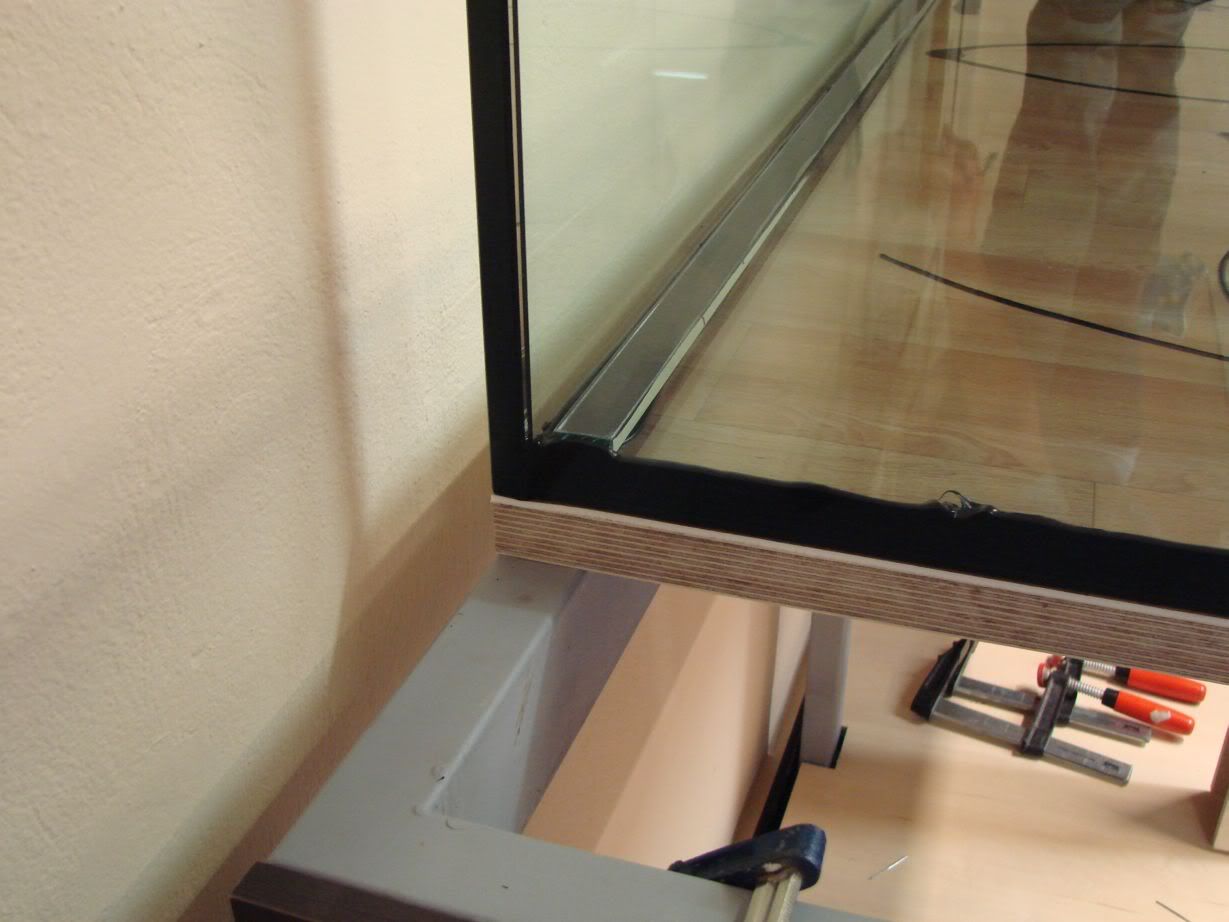
In place!
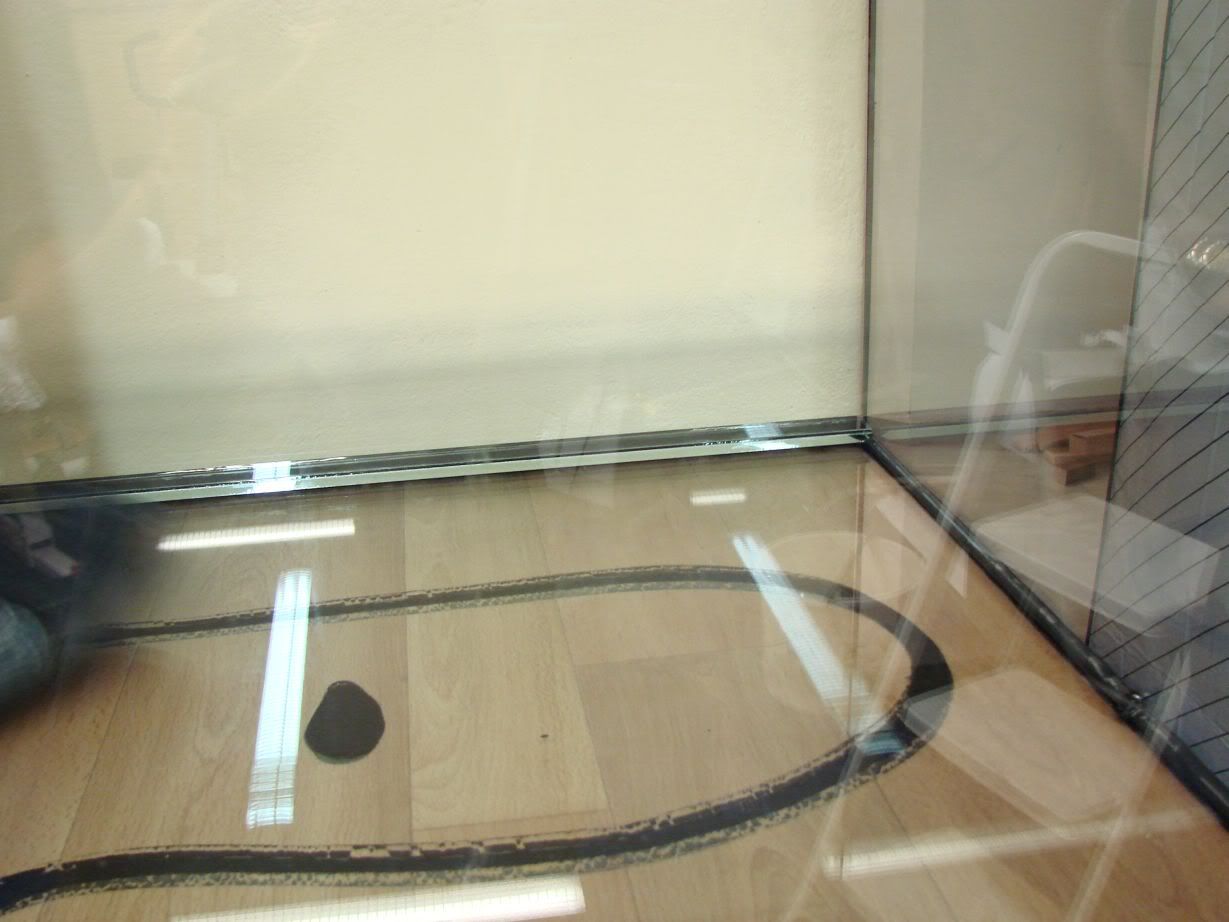
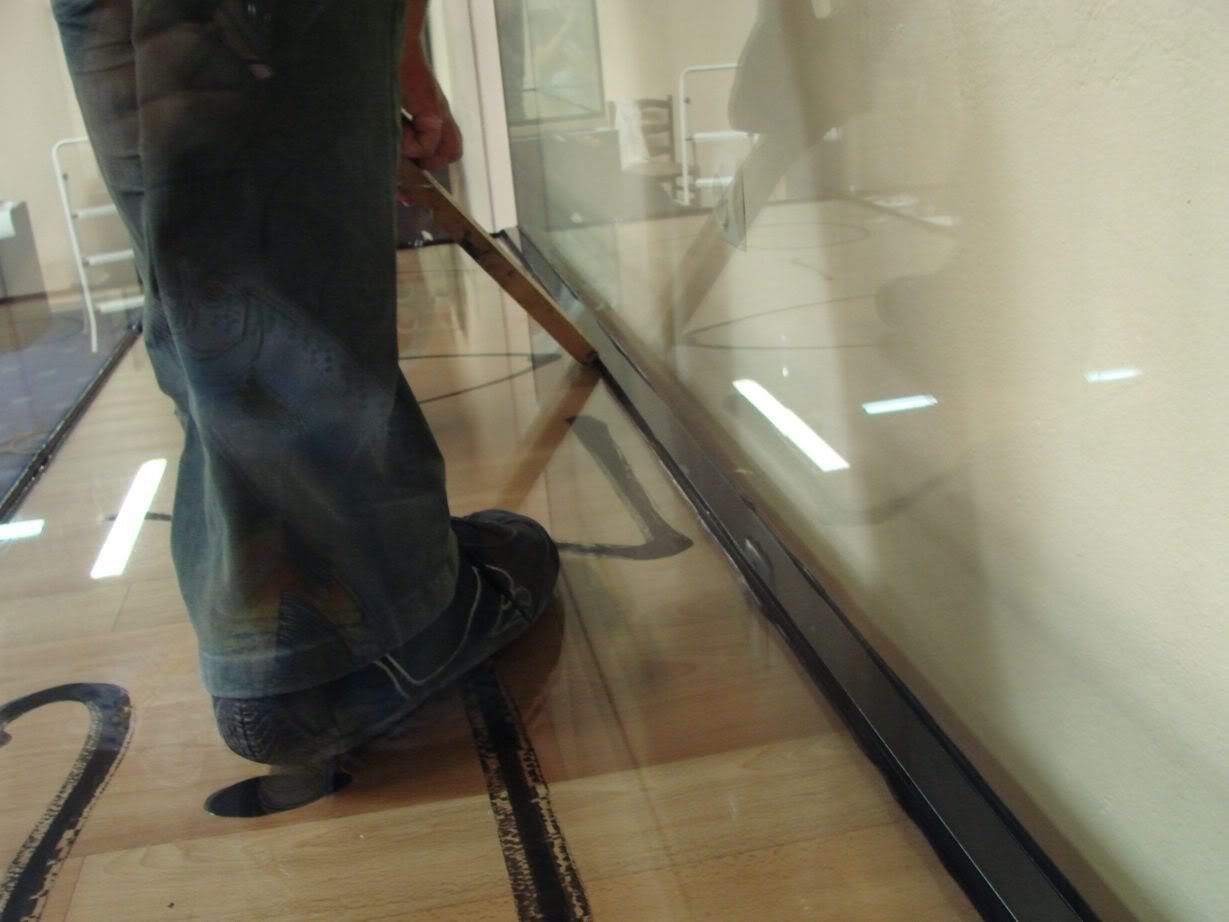
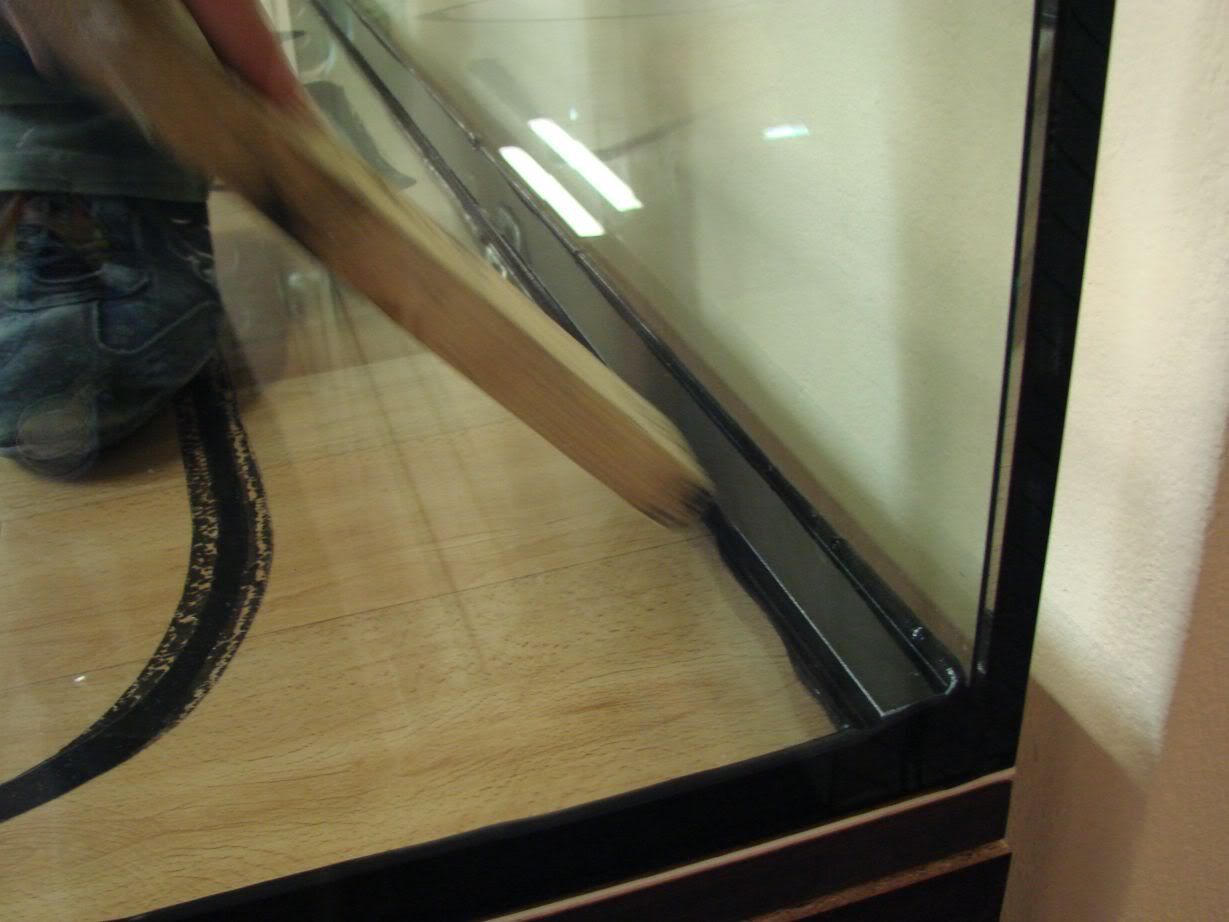
Pressing it in place with a wood piece to squeeze excess silicone out...
Applying silicone to the small,side bottom glasses...
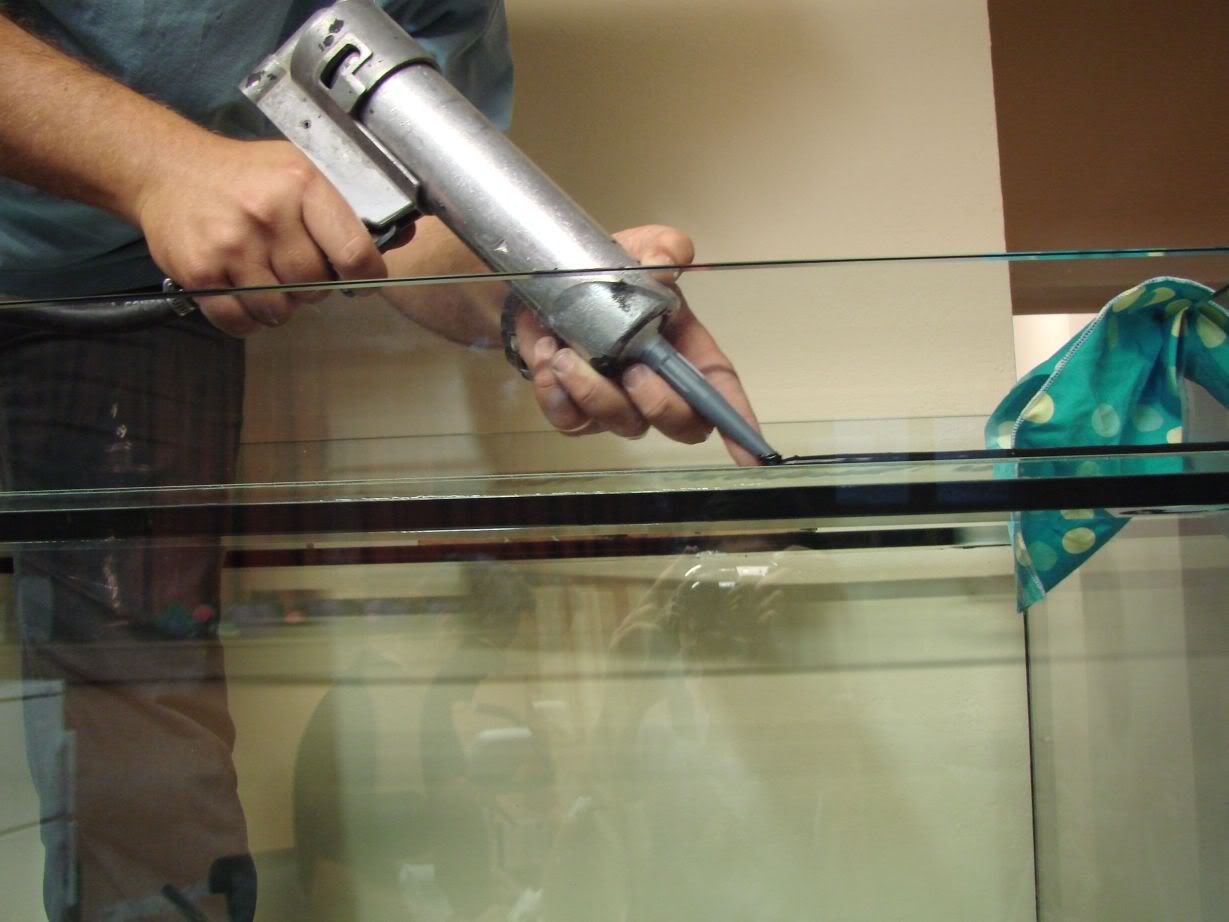
The silicone is applied in on the middle...
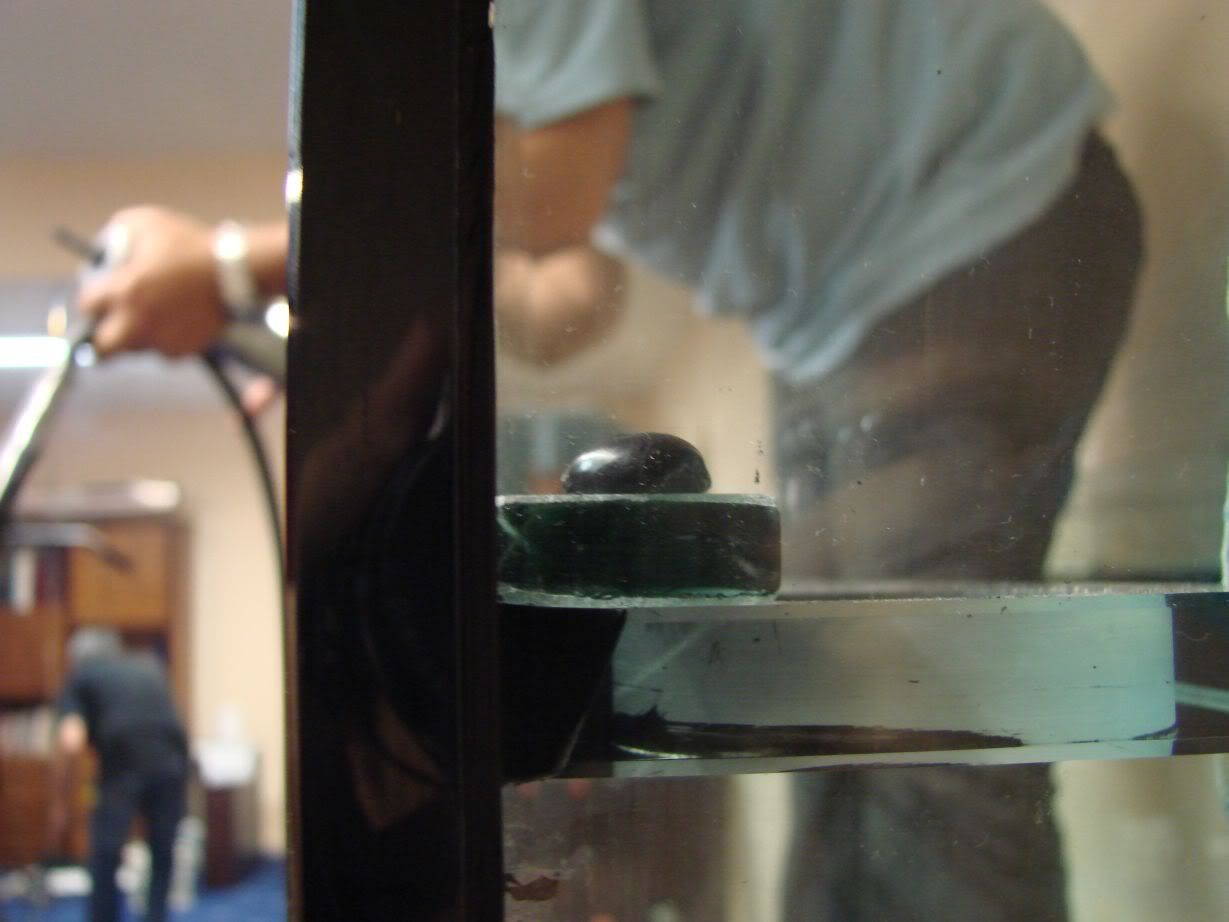
The glasses in their positions!
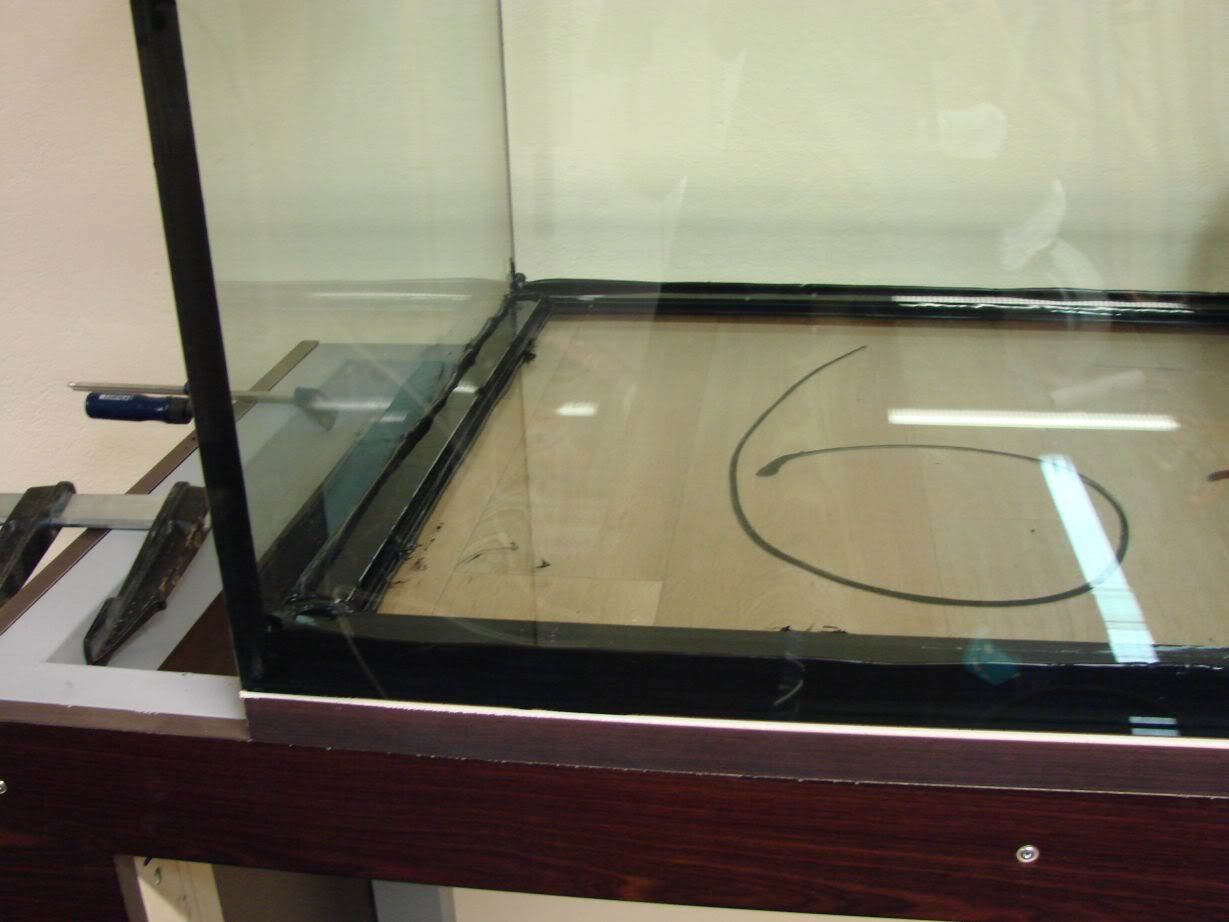
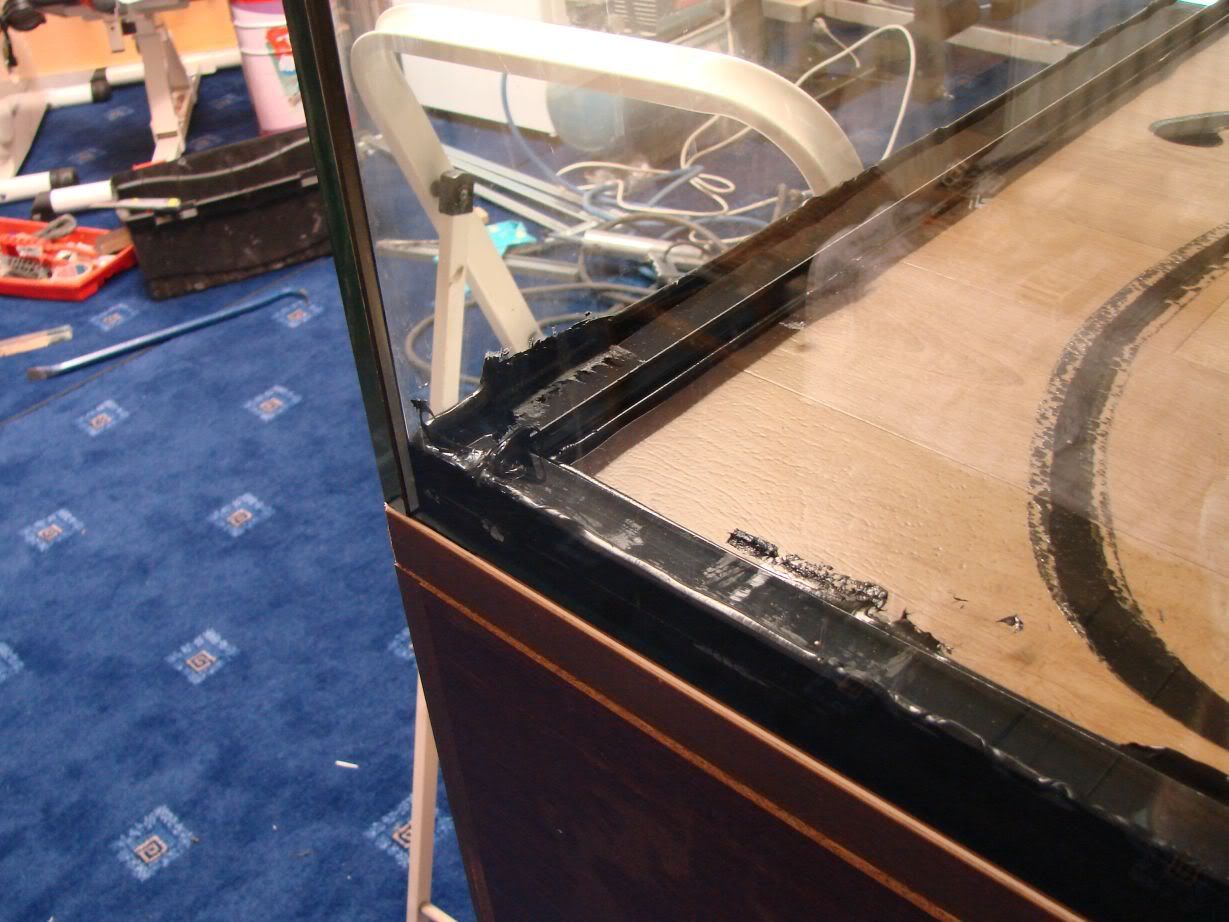
Now the excess silicone is removed...
The vertical upper glasses,which were taken at the company for drilling,were siliconed in place but then we realized that they were covering part of the holes for the fans and so it would not be possible to put them...
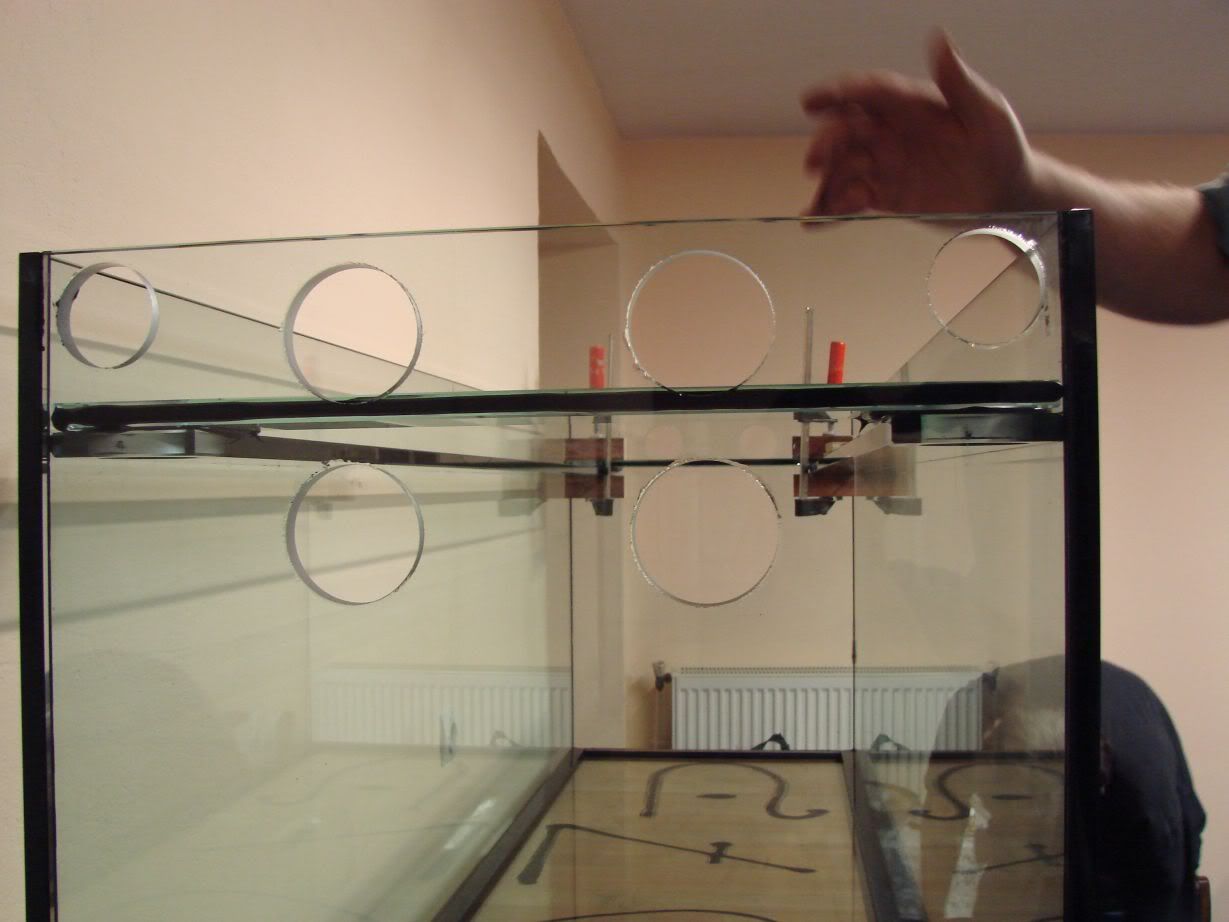
So they removed them again and they will take them for special cutting(to remove a parallelogram from were the fans will be mounted so that the fans can be mounted in place...)
Cleaning any excess silicone left with alcohol,kitchen wire and scraper...


Cleaning the tank for better silicone adhession...
With water and a sponge...

..and then with a squeegee and after that with a cloth to remove every bit of water...

...then drying up any tiny bit of water that may have been left with air from an air compressor...

Test fitting the bottom glasses...

Then the glasses were removed and cleaned with a cloth...

Applying silicone to the bottom...


Positioning the first glass...

In place!

Pressing it in place with a wood piece to squeeze excess silicone out...


Applying silicone to the small,side bottom glasses...

The silicone is applied in on the middle...

The glasses in their positions!


Now the excess silicone is removed...

The vertical upper glasses,which were taken at the company for drilling,were siliconed in place but then we realized that they were covering part of the holes for the fans and so it would not be possible to put them...

So they removed them again and they will take them for special cutting(to remove a parallelogram from were the fans will be mounted so that the fans can be mounted in place...)
- Kostas
- Posts: 791
- Joined: 23 Apr 2003, 10:57
- I've donated: $256.00!
- My images: 19
- My cats species list: 14 (i:0, k:0)
- My aquaria list: 1 (i:1)
- Spotted: 6
- Location 1: Greece,Athens
- Location 2: Greece,Athens
- Interests: Fishkeeping,diving,skiing,r/c modeling,growing Palm trees,ferns and tropical plants
- Contact:
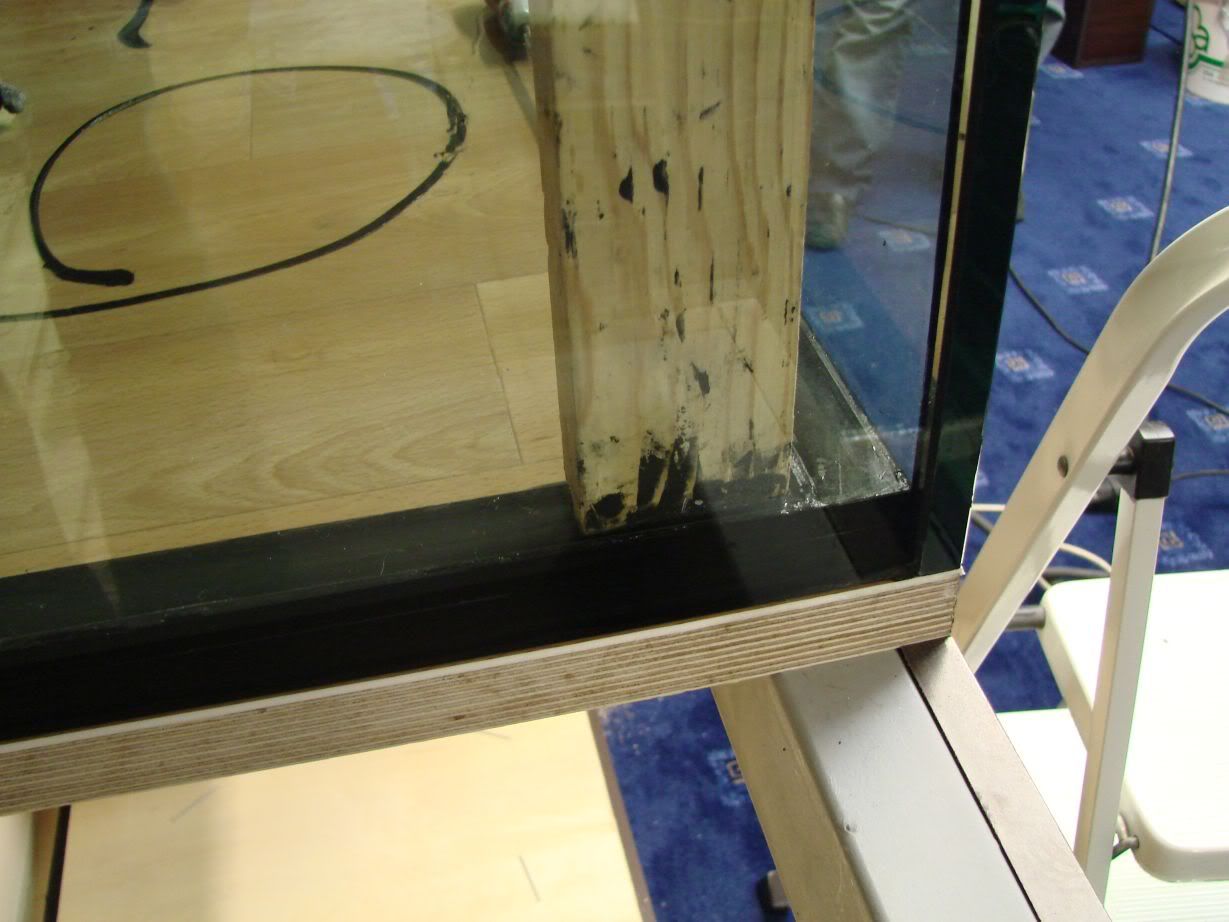
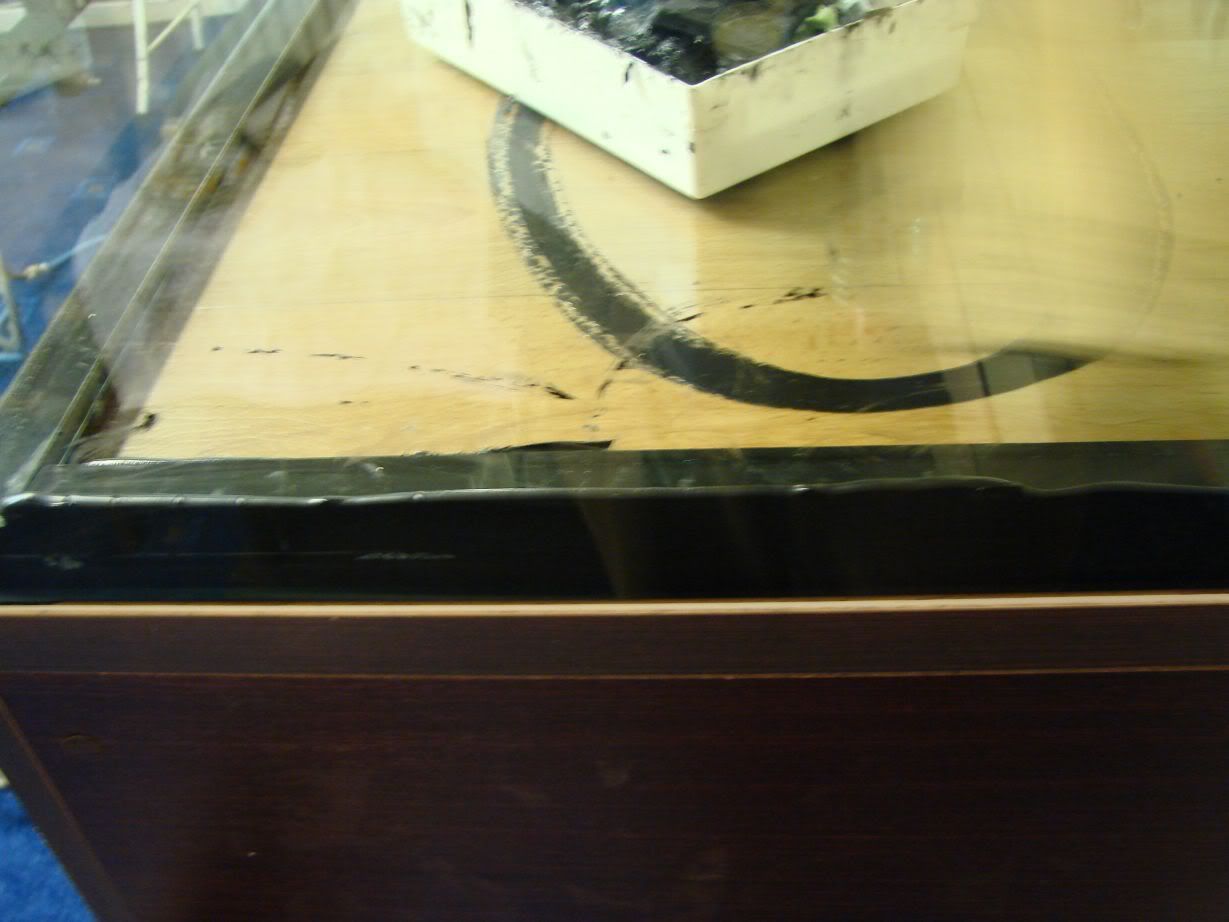
The side bottom side rims didnt adhered well and needed to be lifted a bit and enter more silicone...
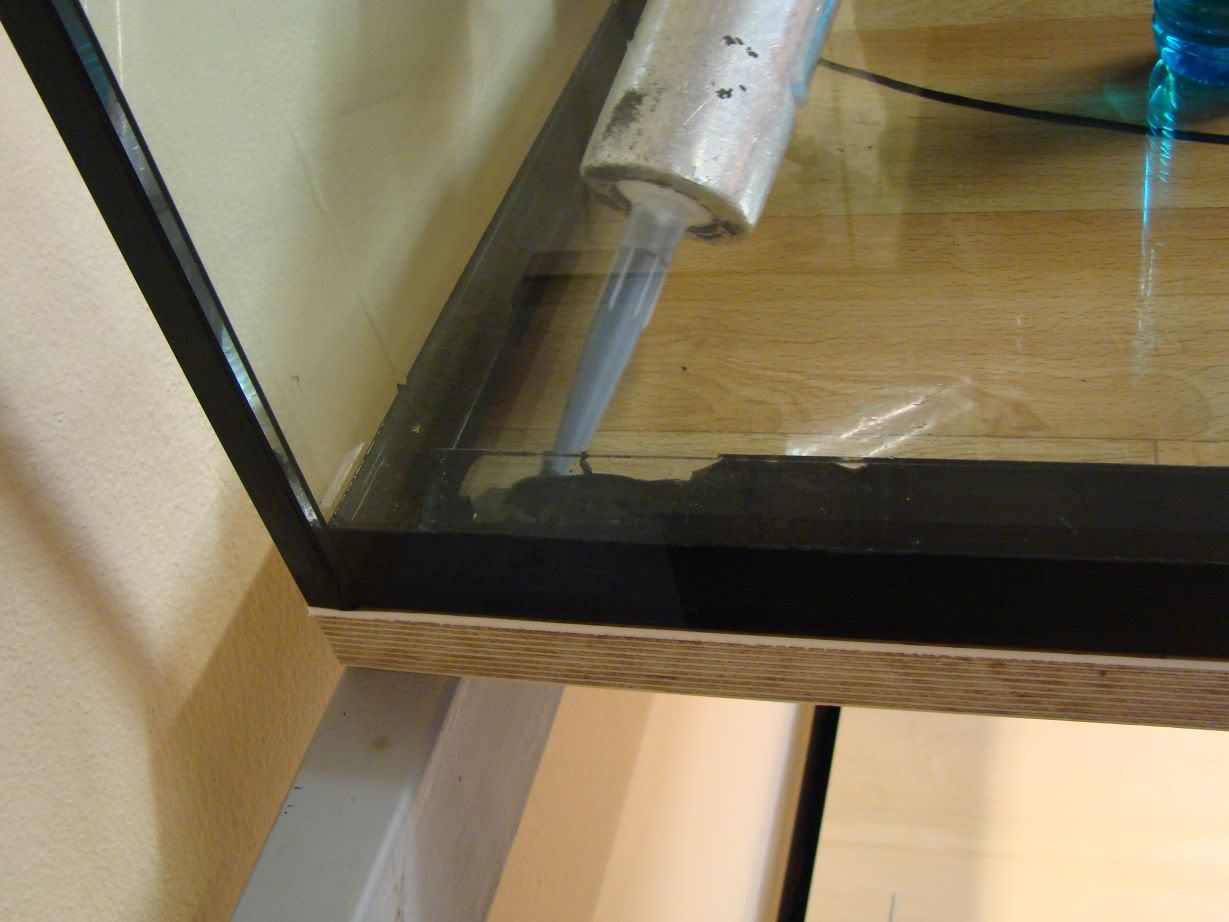
Then again pressing...
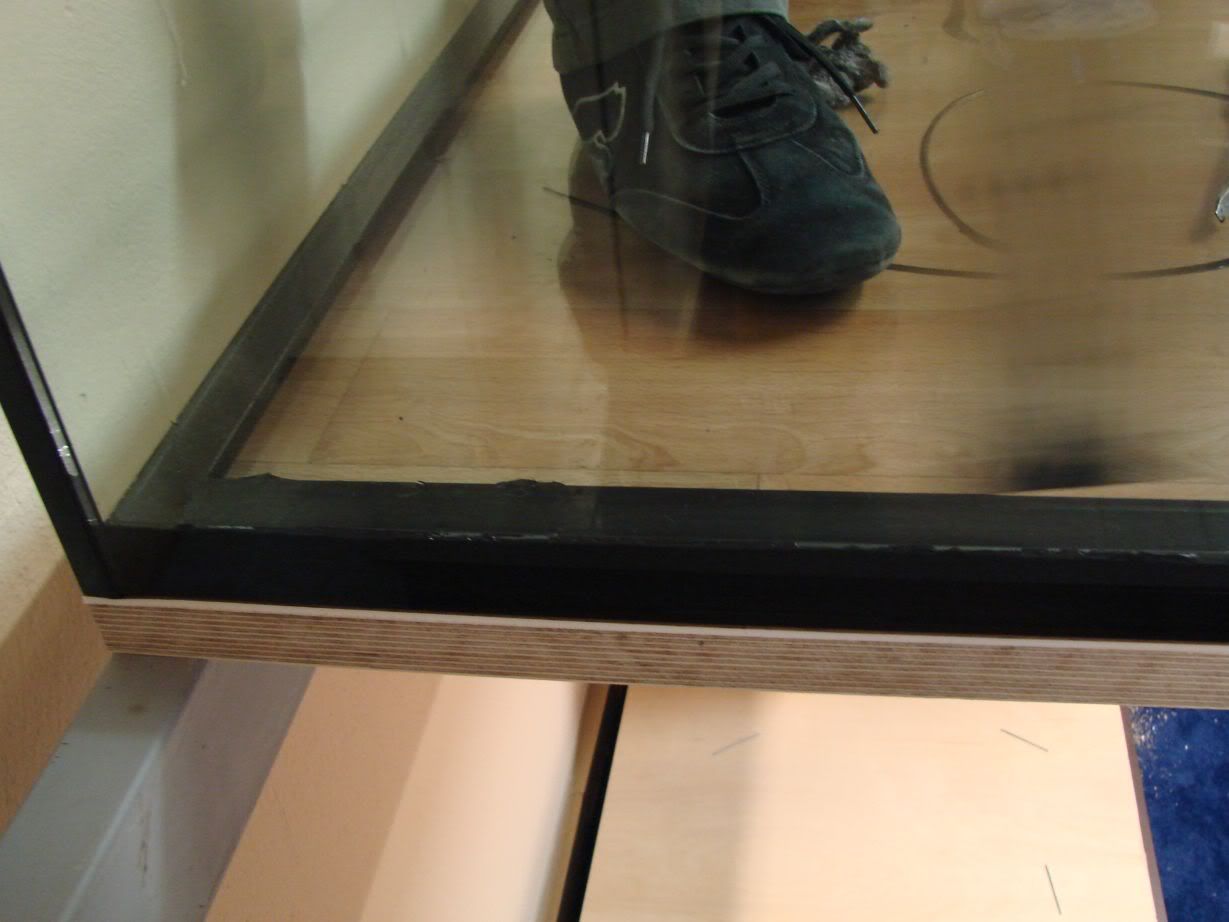
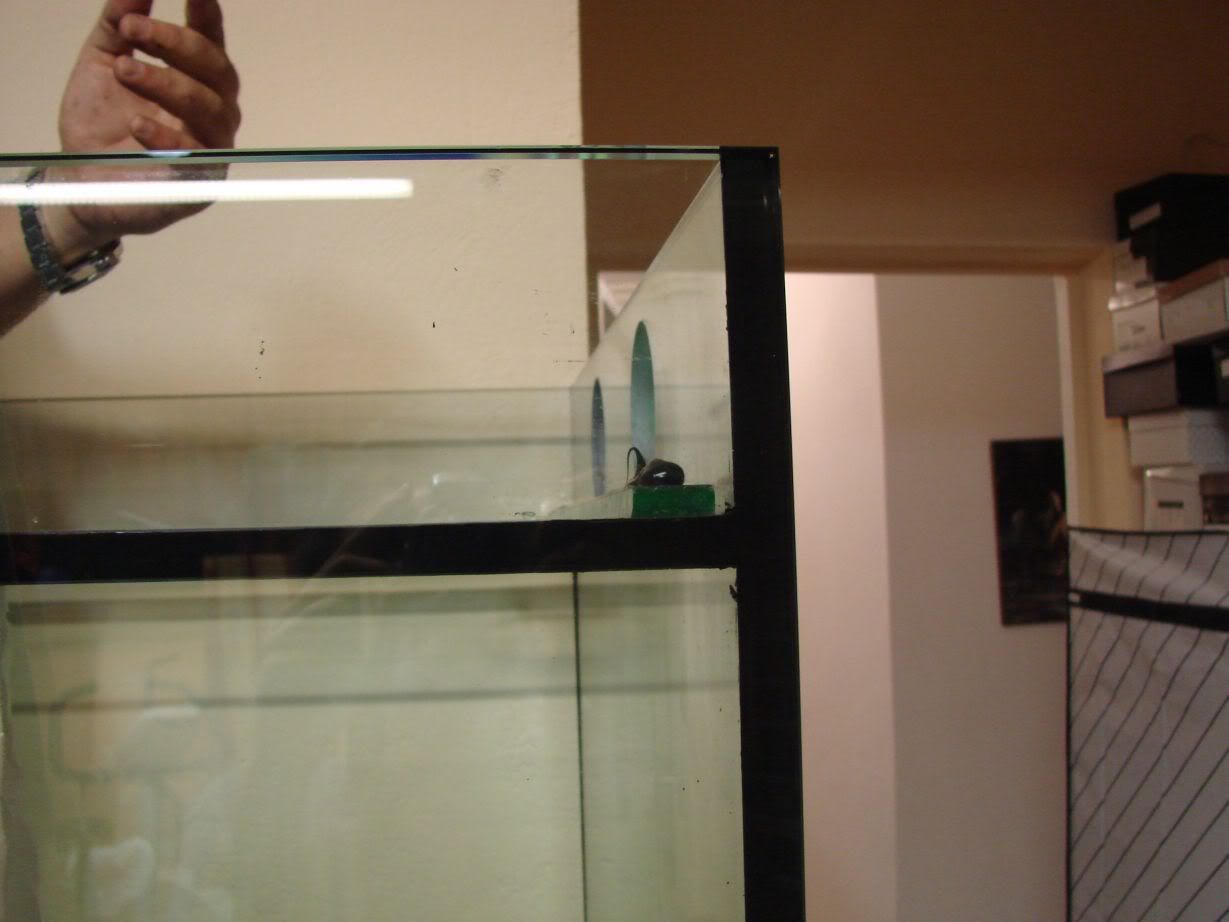
The right side bottom rim didnt adhered at all well and so it was completely removed and reapplied with silicone...
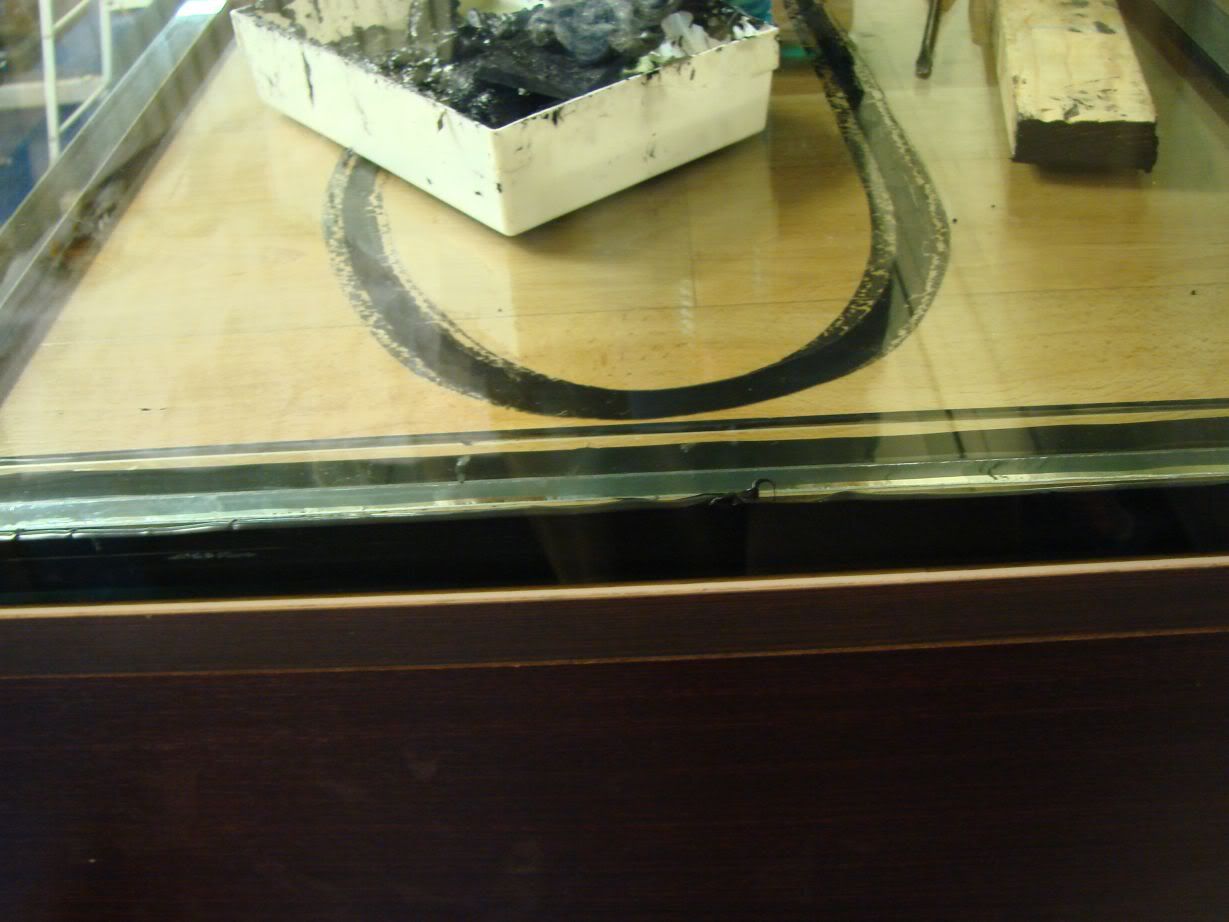
Then again pressing...
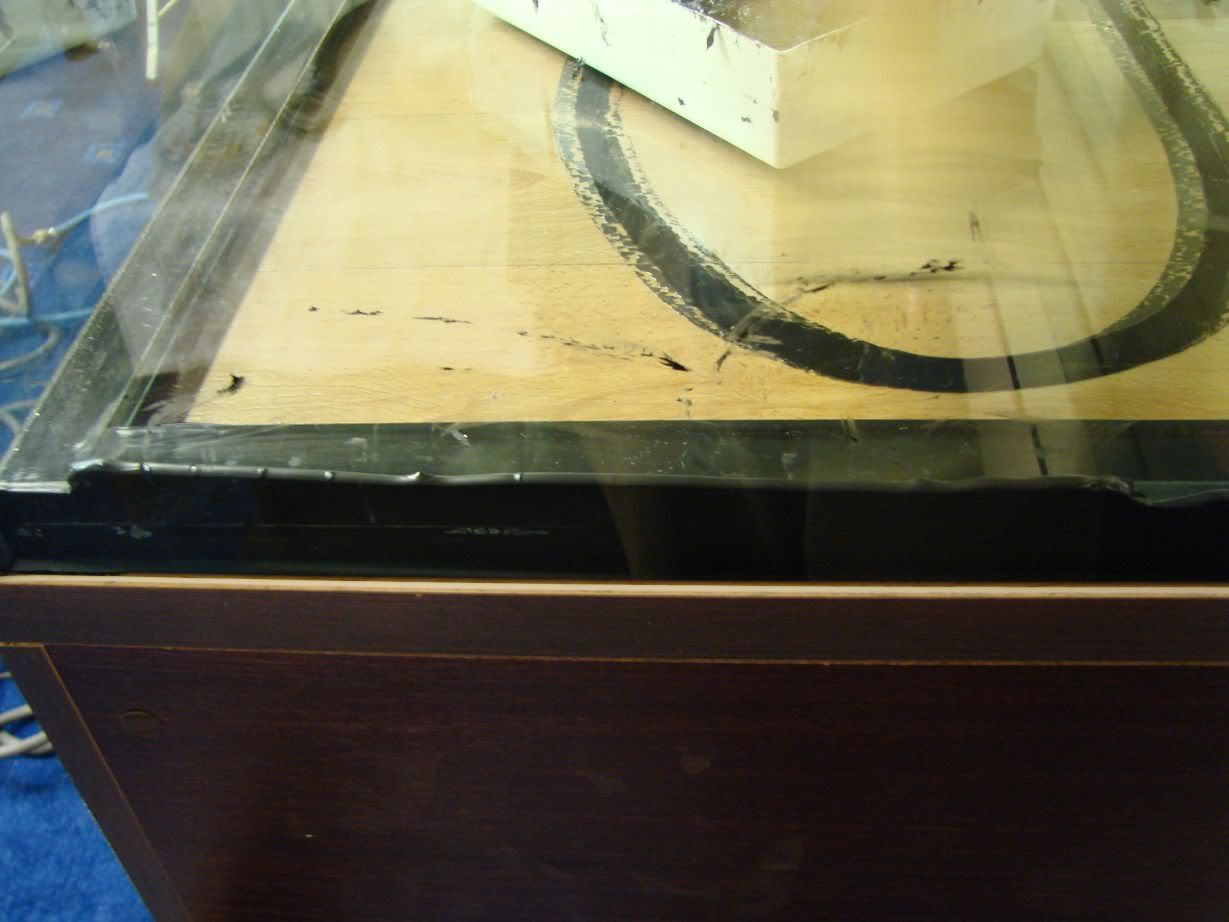
The tank with the bottom glasses in place...
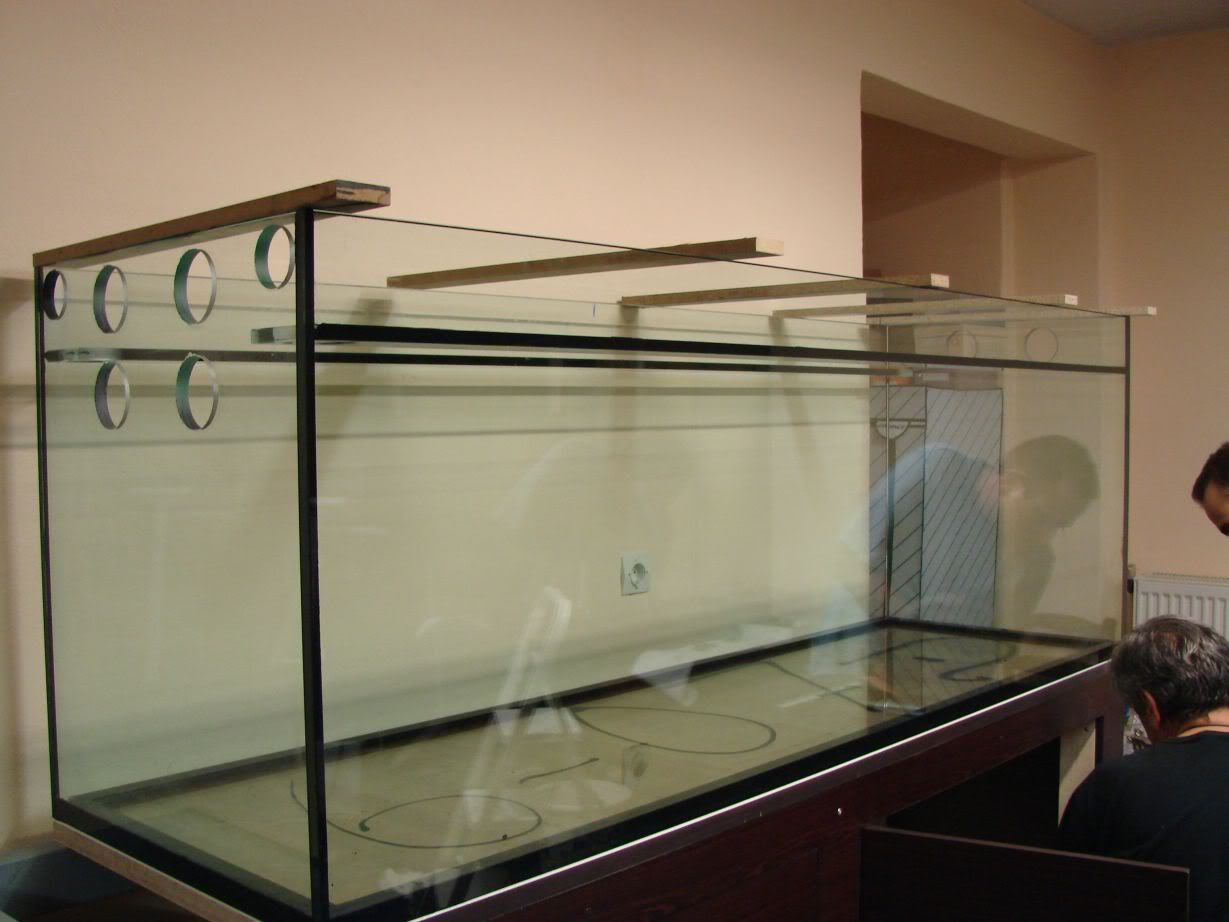
Left side view...The wood pieces above the tank are for mounting the upper small glasses...
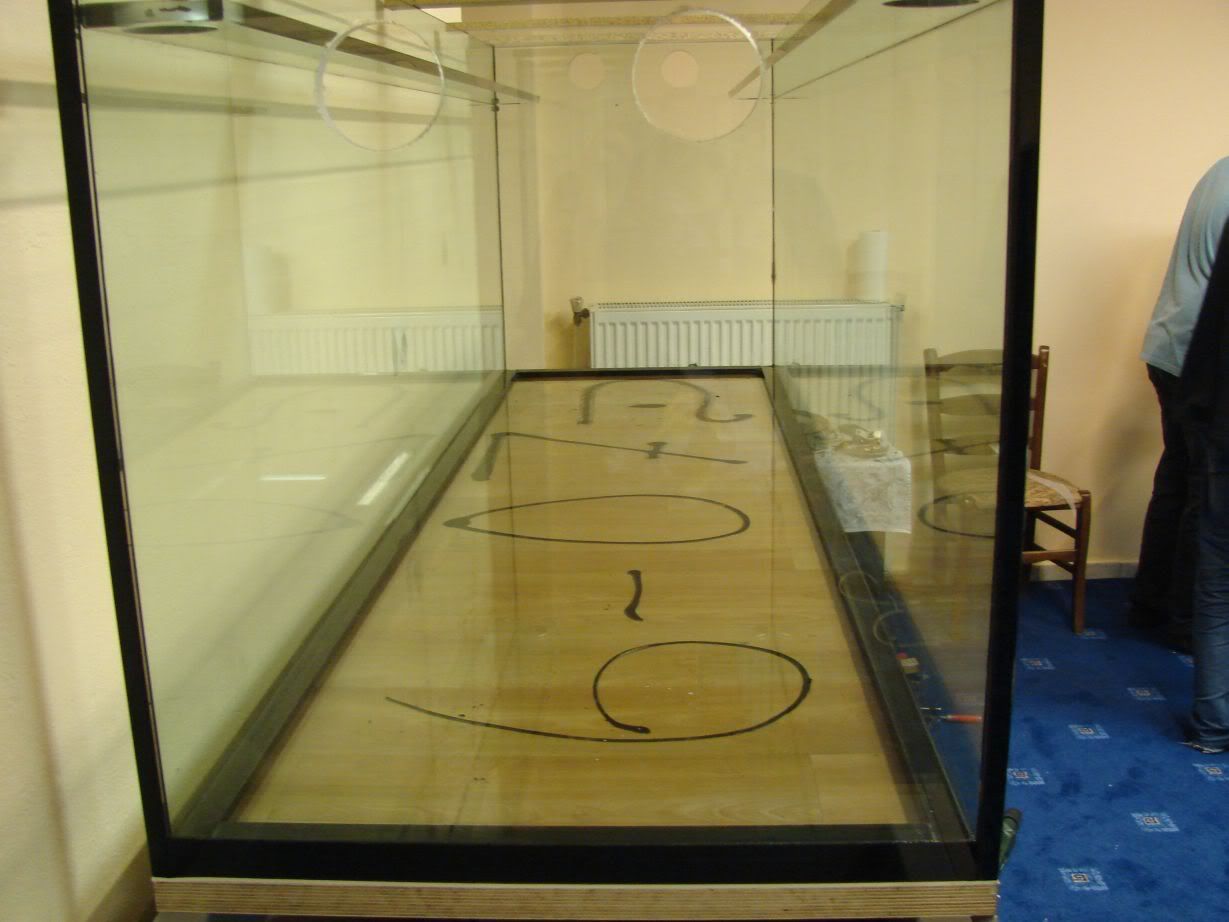
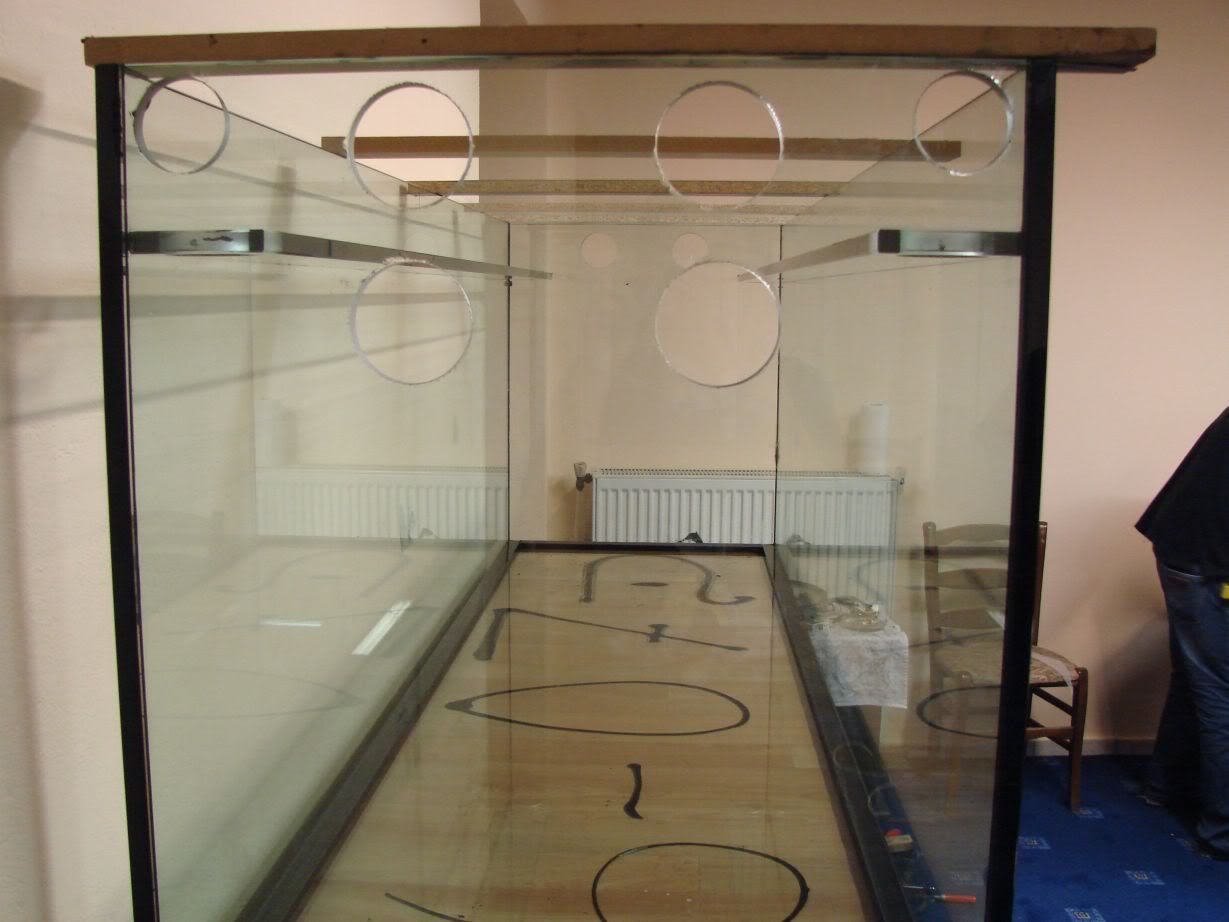
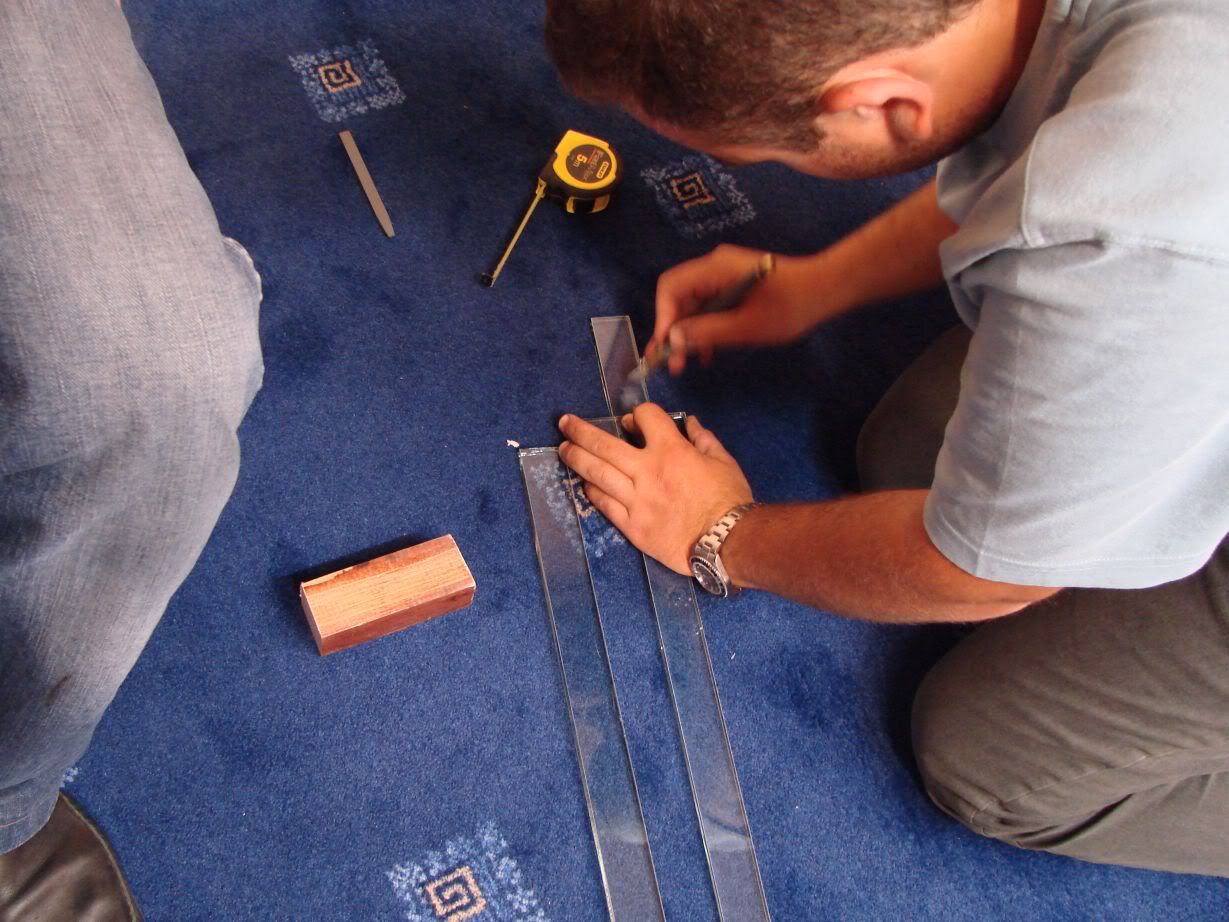
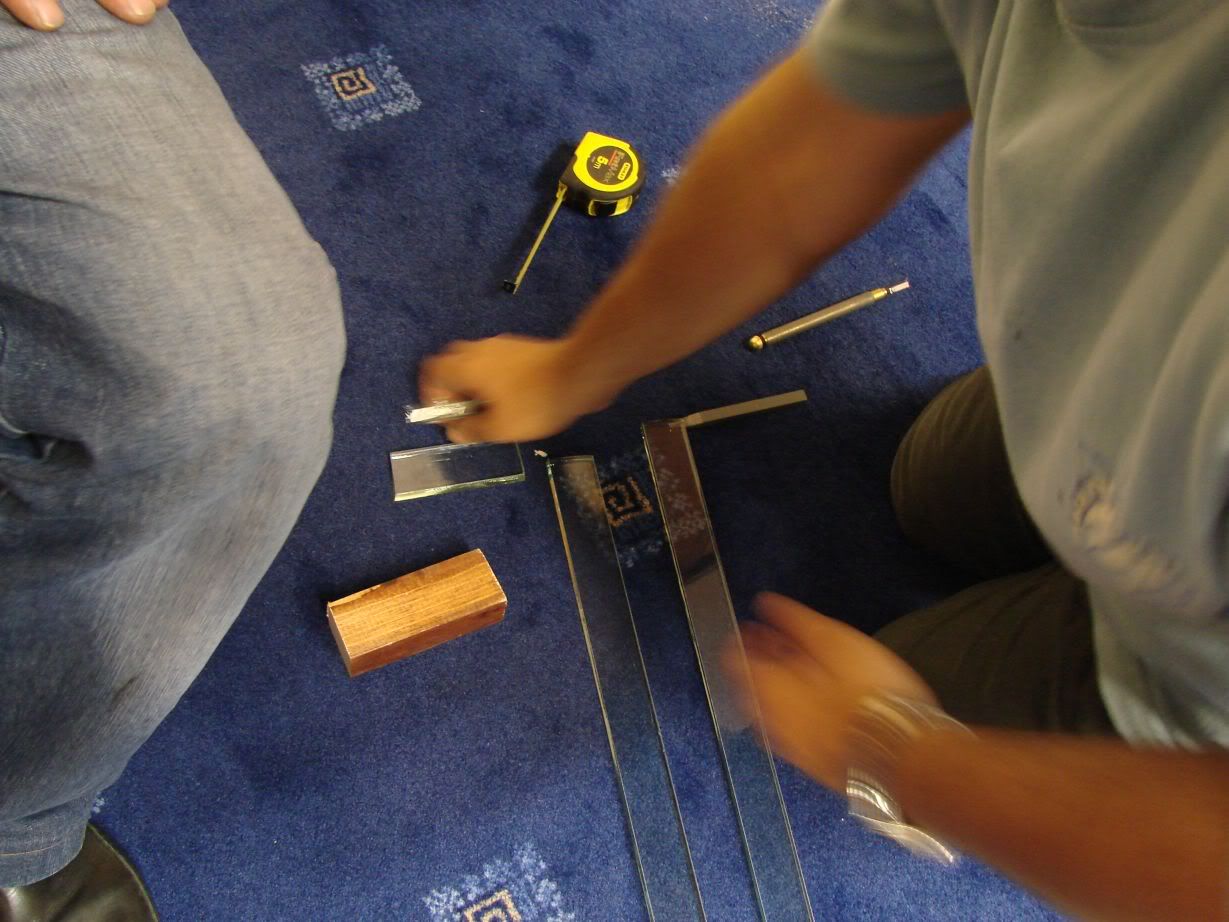
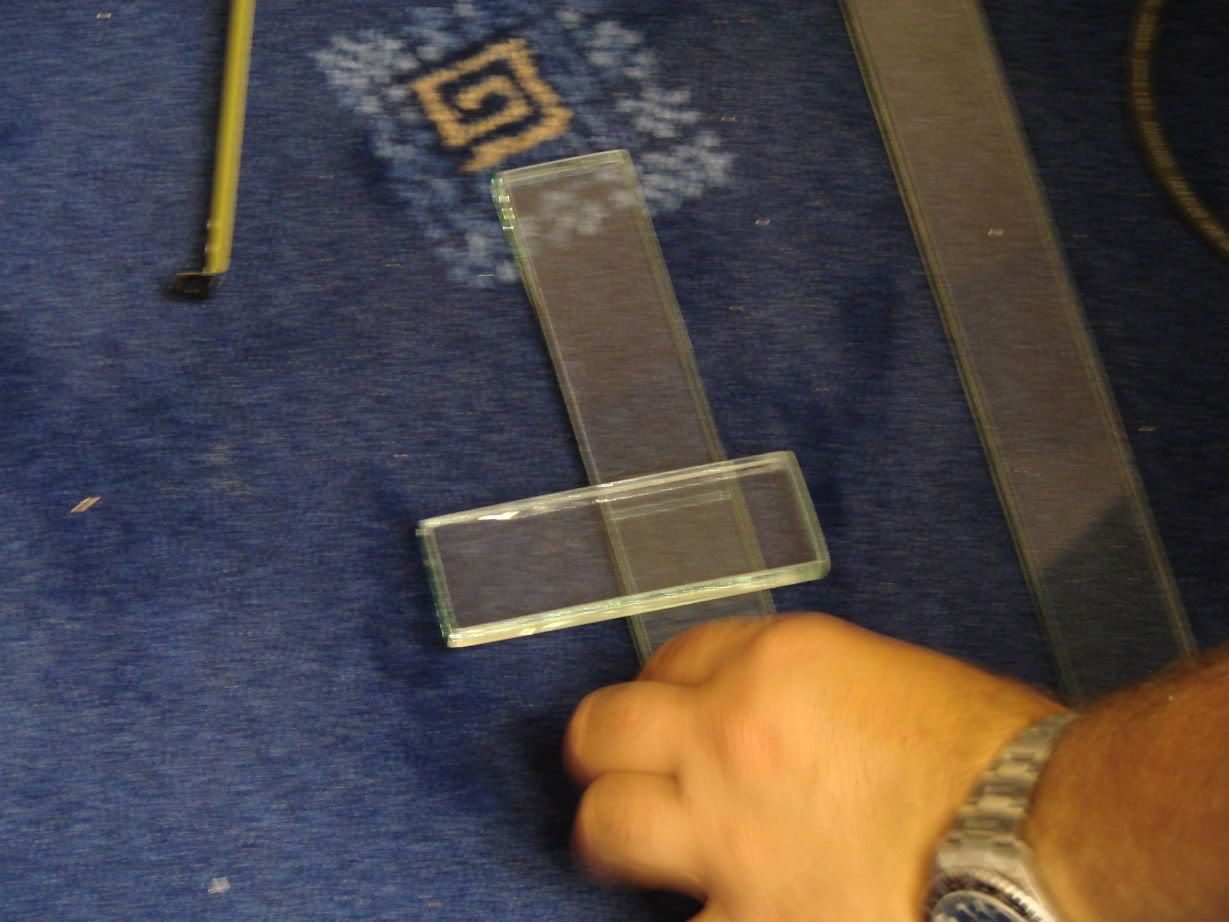
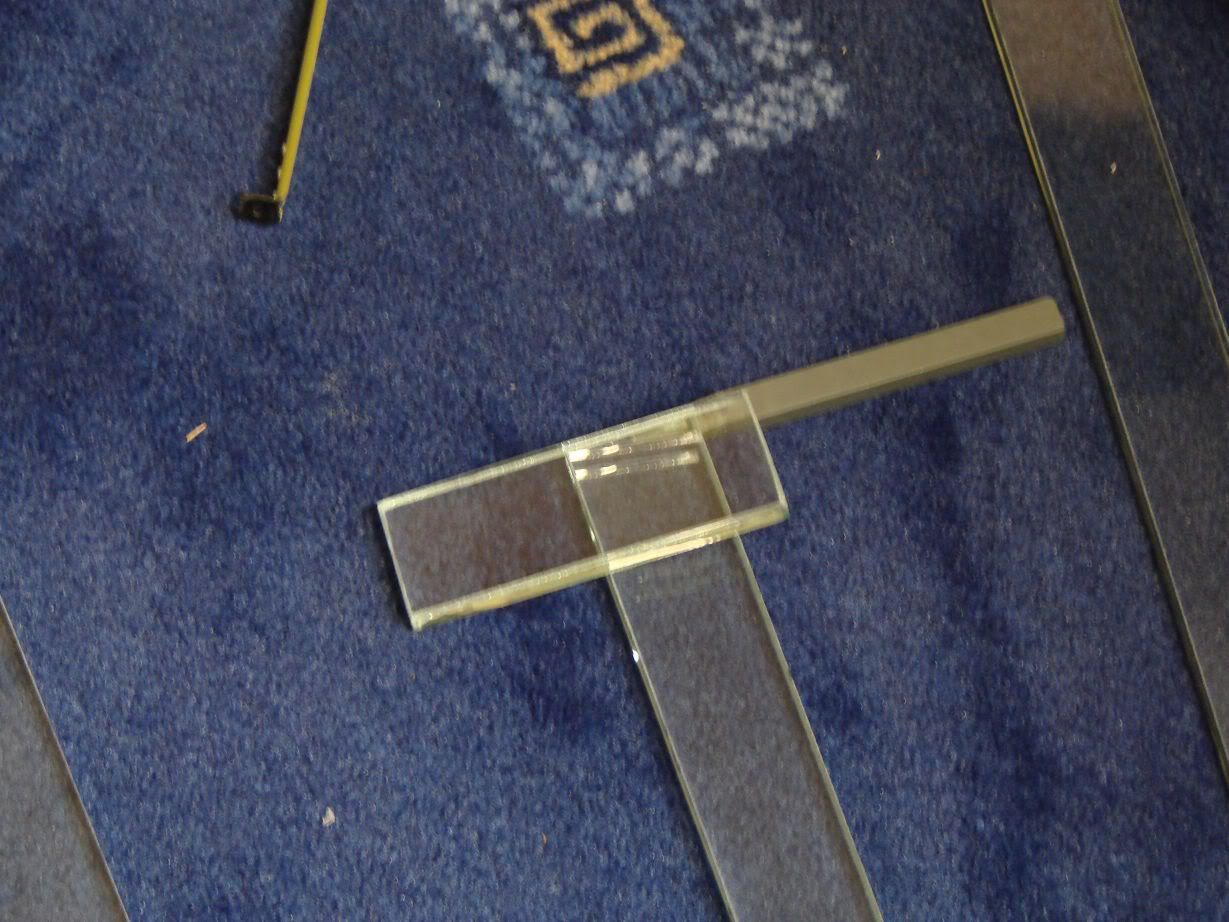
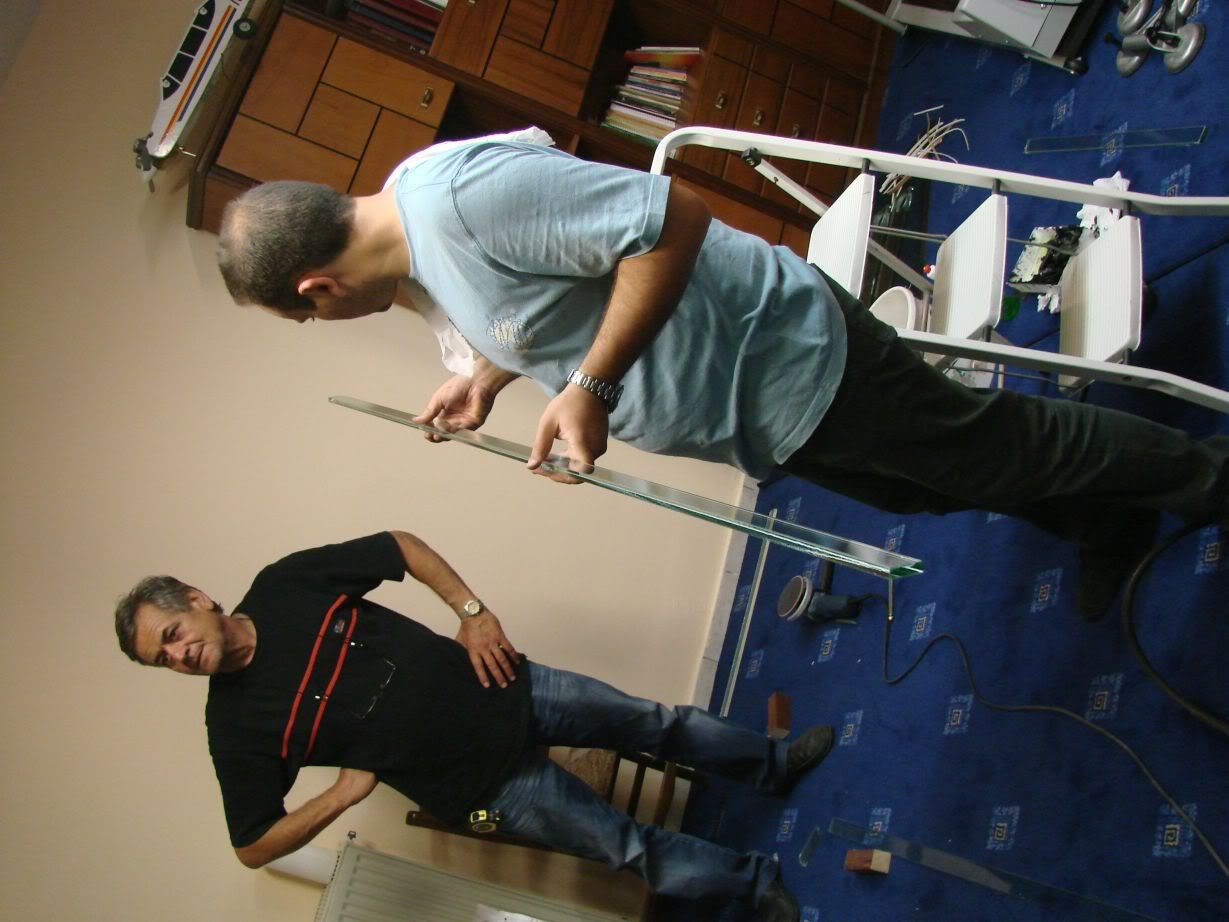
Now,cutting the long upper glasses which will hold the tank covers,a bit shorter so the the hoses of the return will have plenty ofspave to bend...And becuse the sides have holes everywhere,the small part which will be cut,will be used at the sides,betwen the holes for the fans...
One of the long ones was cleaned with a cloth...
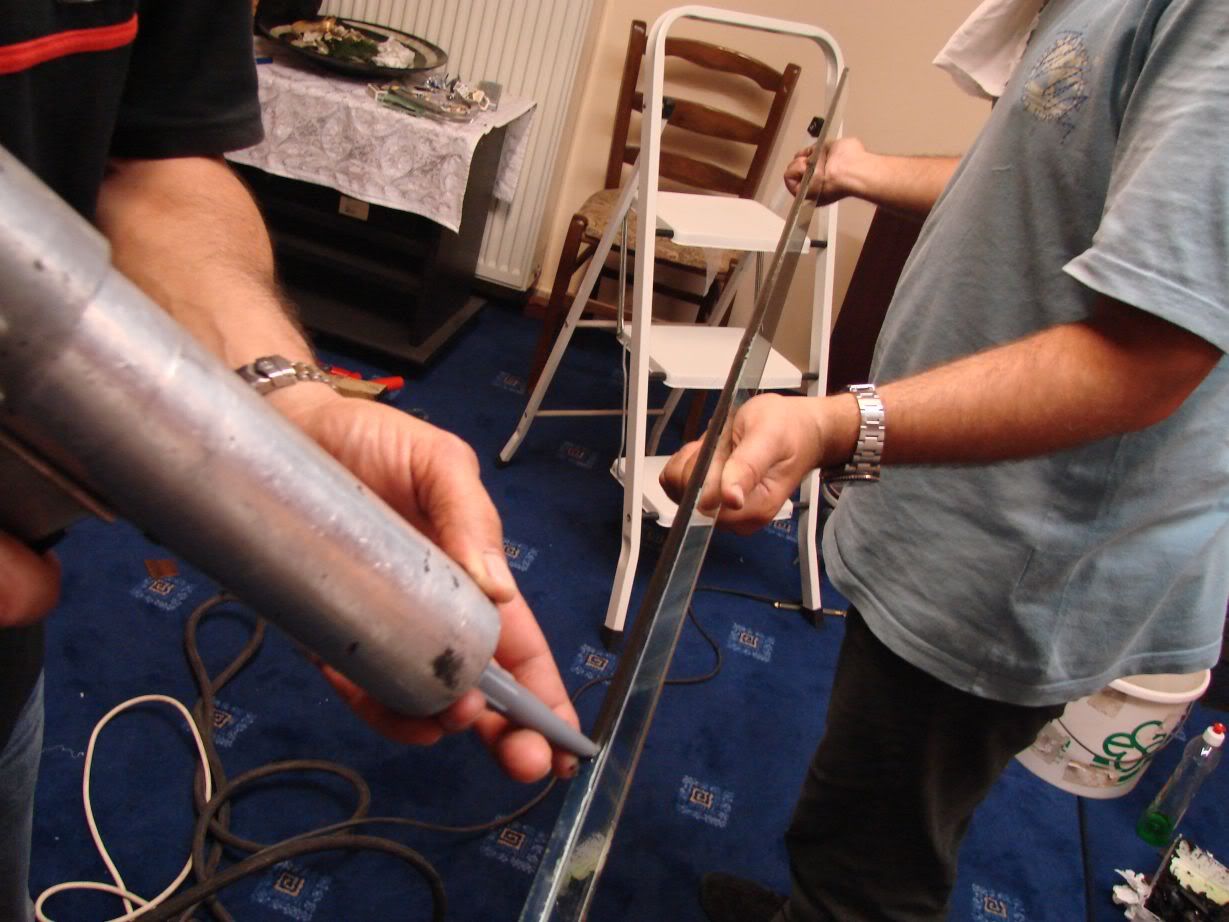
...and then silicone was applied to it...
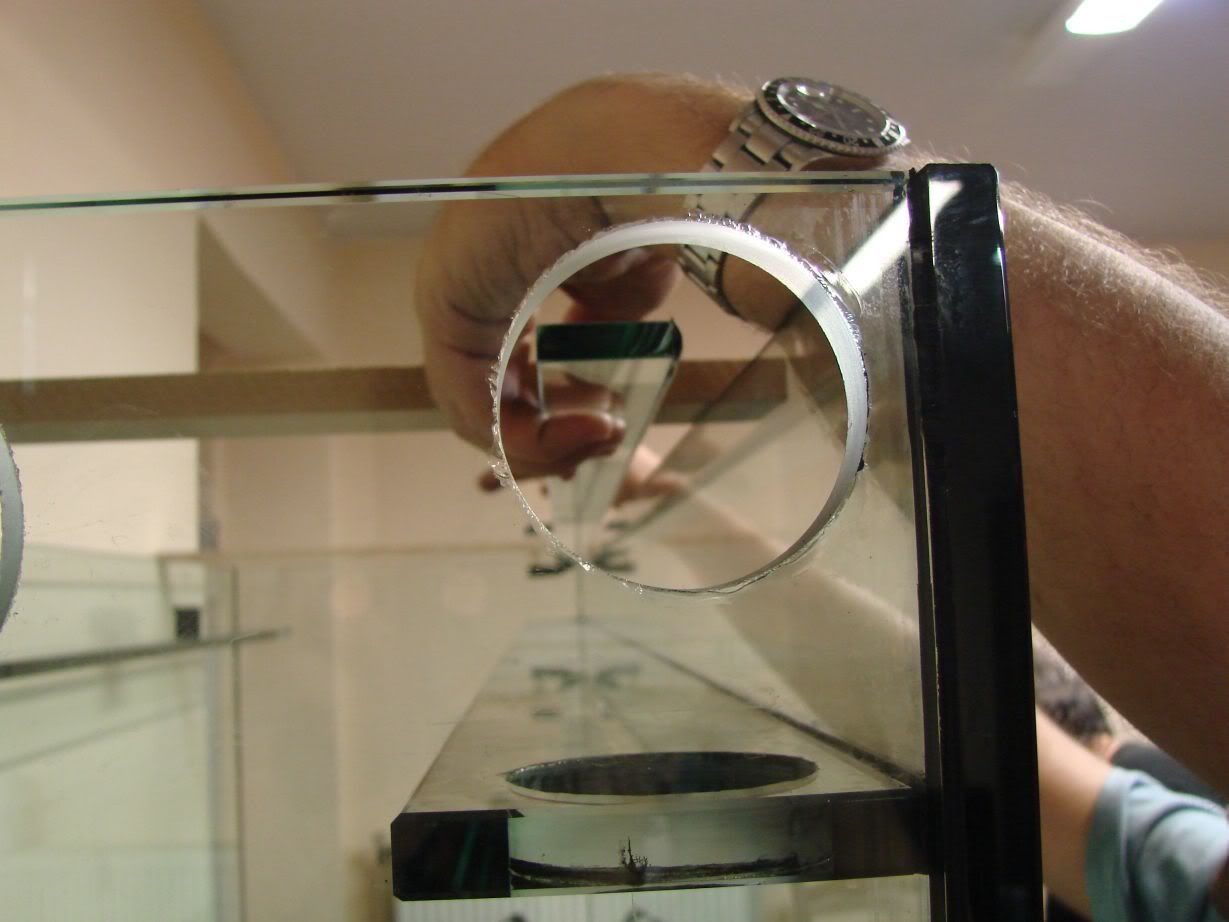
Positioning...
In place!!!
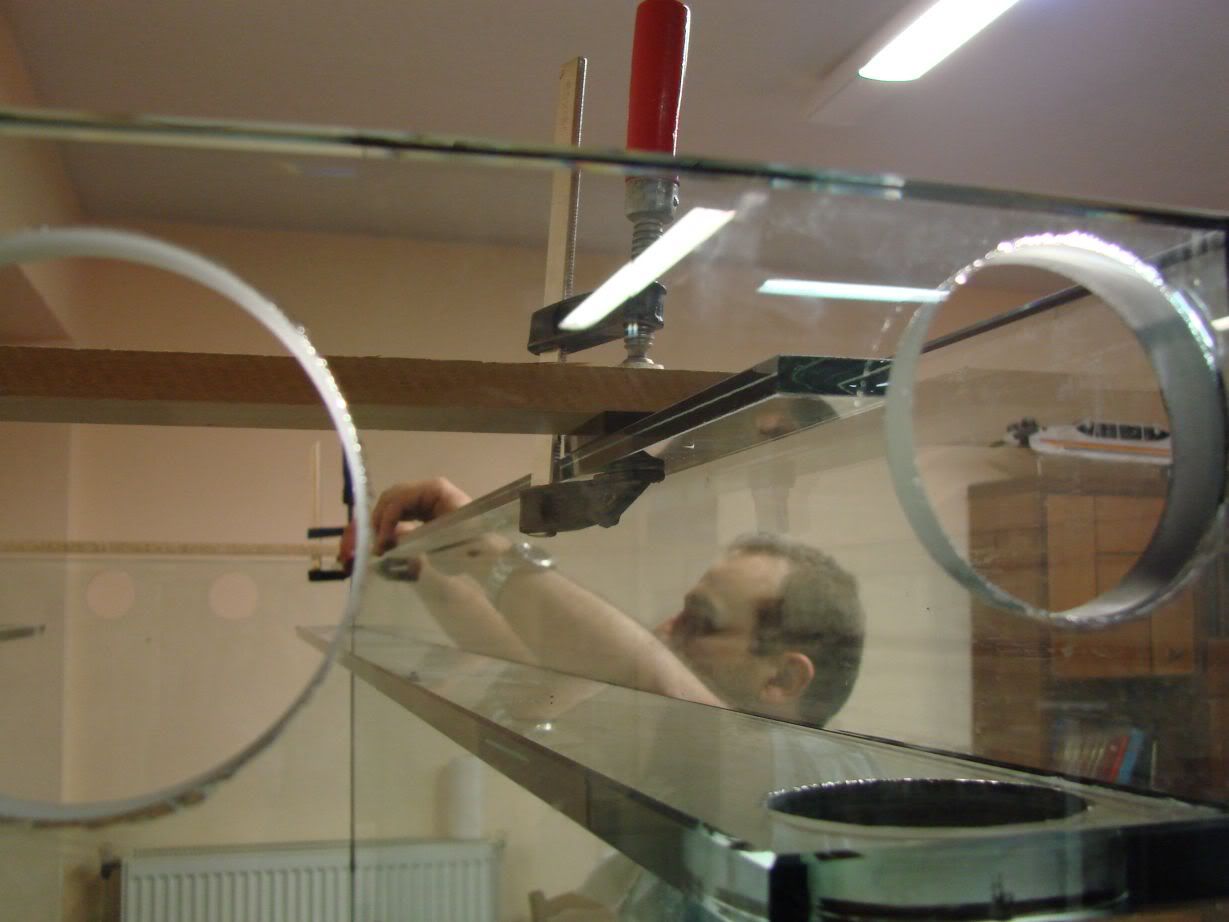
It is hanged from the wood pieces with clamps,and a glass piece in placed between it and the wood so that it is hold 1cm below...
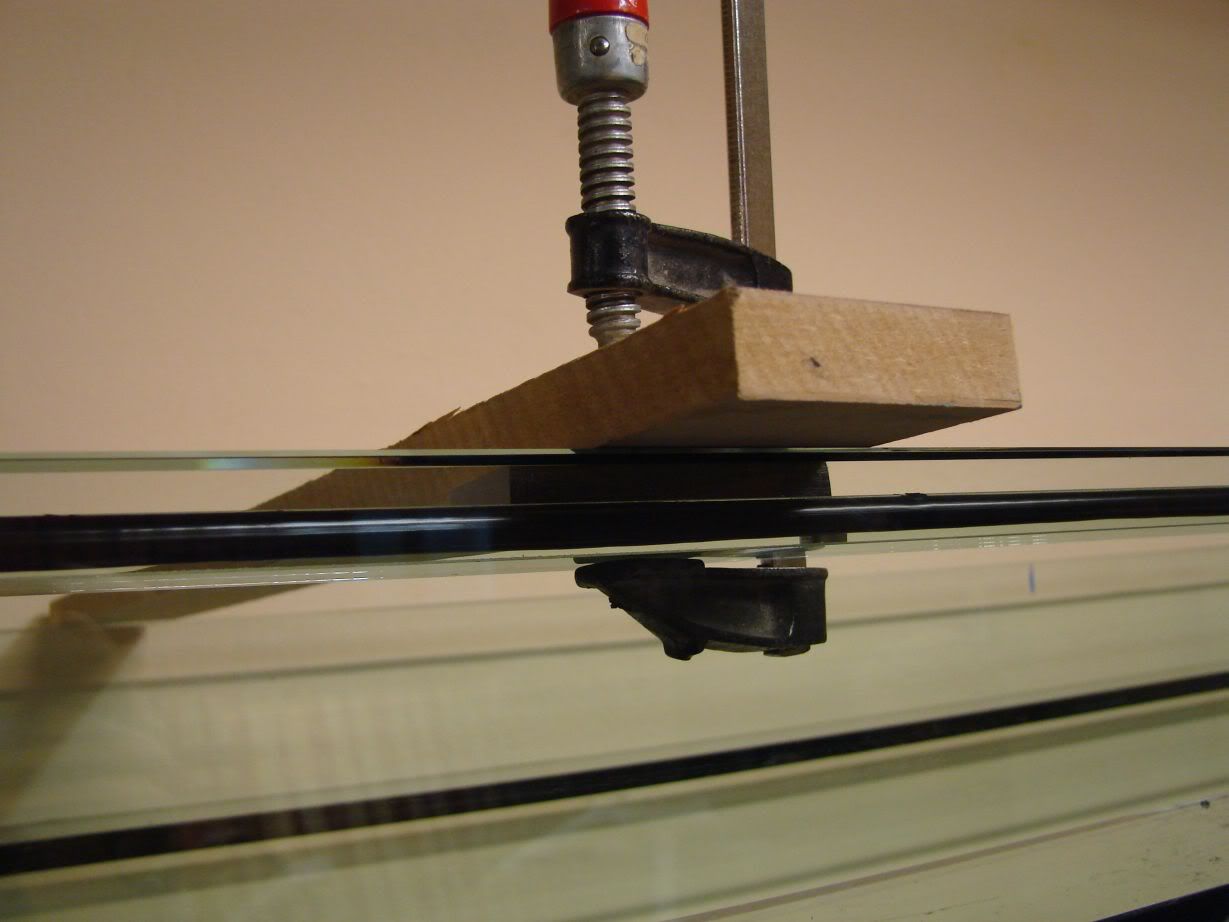

Then again pressing...


The right side bottom rim didnt adhered at all well and so it was completely removed and reapplied with silicone...


Then again pressing...


The tank with the bottom glasses in place...

Left side view...The wood pieces above the tank are for mounting the upper small glasses...


Now,cutting the long upper glasses which will hold the tank covers,a bit shorter so the the hoses of the return will have plenty ofspave to bend...And becuse the sides have holes everywhere,the small part which will be cut,will be used at the sides,betwen the holes for the fans...


One of the long ones was cleaned with a cloth...

...and then silicone was applied to it...

Positioning...

In place!!!

It is hanged from the wood pieces with clamps,and a glass piece in placed between it and the wood so that it is hold 1cm below...

- MatsP
- Posts: 21038
- Joined: 06 Oct 2004, 13:58
- My articles: 4
- My images: 28
- My cats species list: 117 (i:33, k:0)
- My aquaria list: 10 (i:8)
- My BLogs: 4 (i:0, p:97)
- Spotted: 187
- Location 1: North of Cambridge
- Location 2: England.
- Kostas
- Posts: 791
- Joined: 23 Apr 2003, 10:57
- I've donated: $256.00!
- My images: 19
- My cats species list: 14 (i:0, k:0)
- My aquaria list: 1 (i:1)
- Spotted: 6
- Location 1: Greece,Athens
- Location 2: Greece,Athens
- Interests: Fishkeeping,diving,skiing,r/c modeling,growing Palm trees,ferns and tropical plants
- Contact:
Cheers Mats 
I am happy you like it...
Also thanks for telling me how they are called...I searched a bit but couldnt find how they are called...If you dont use your English everyday...then you have problem... I couldnt even remember how the rims are called...
But there are some more photos left...
Here we go:
The second long one being cleaned...
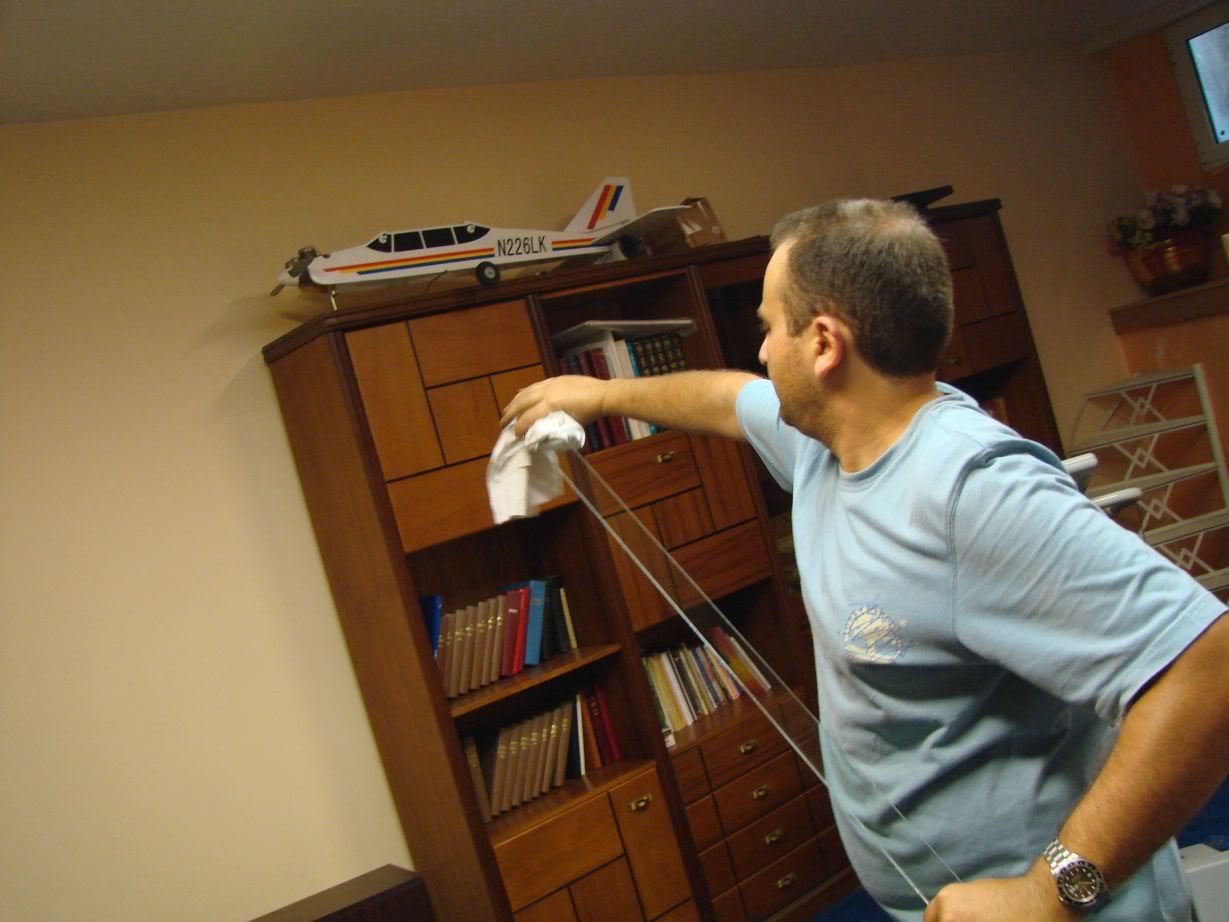
Then applying silicone...
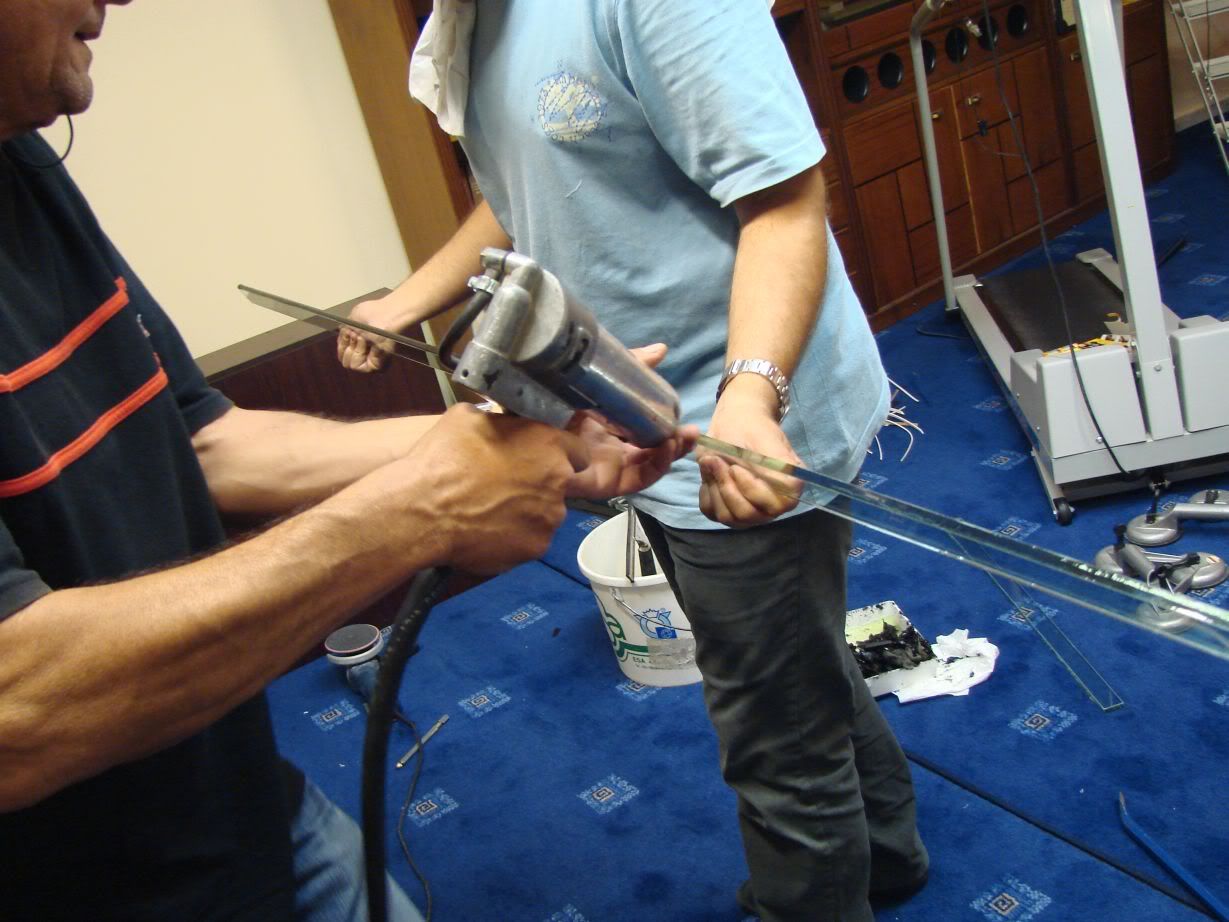
And positioning...
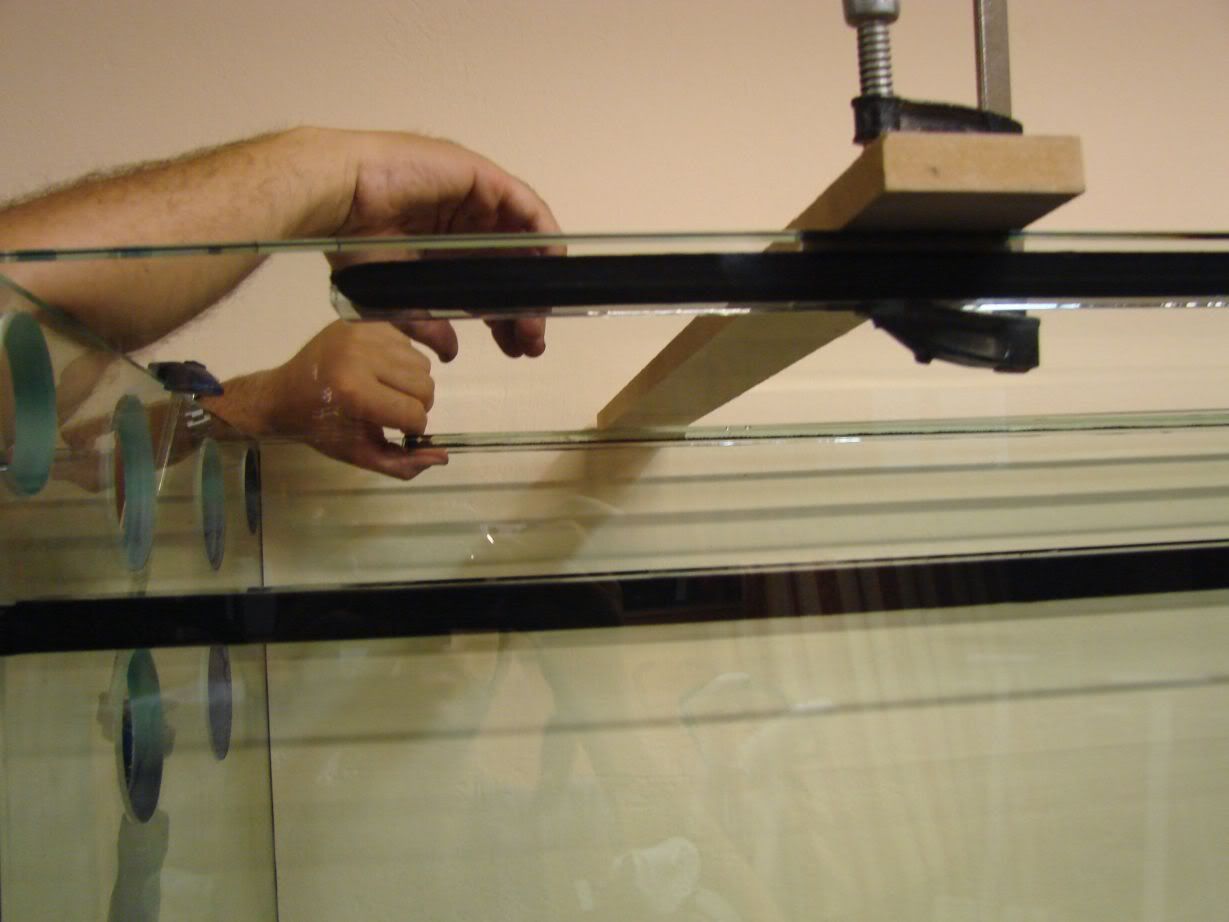
Puting the first clamp...
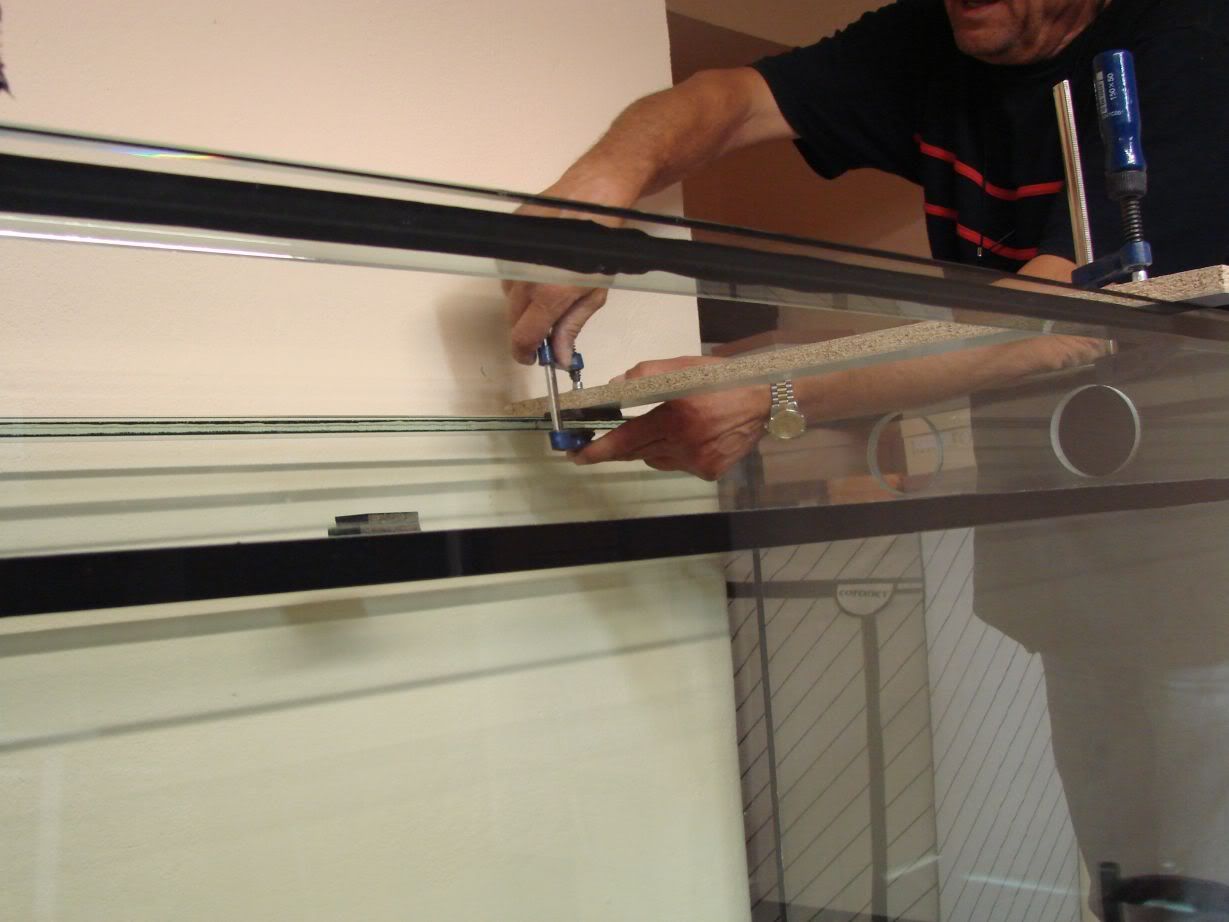
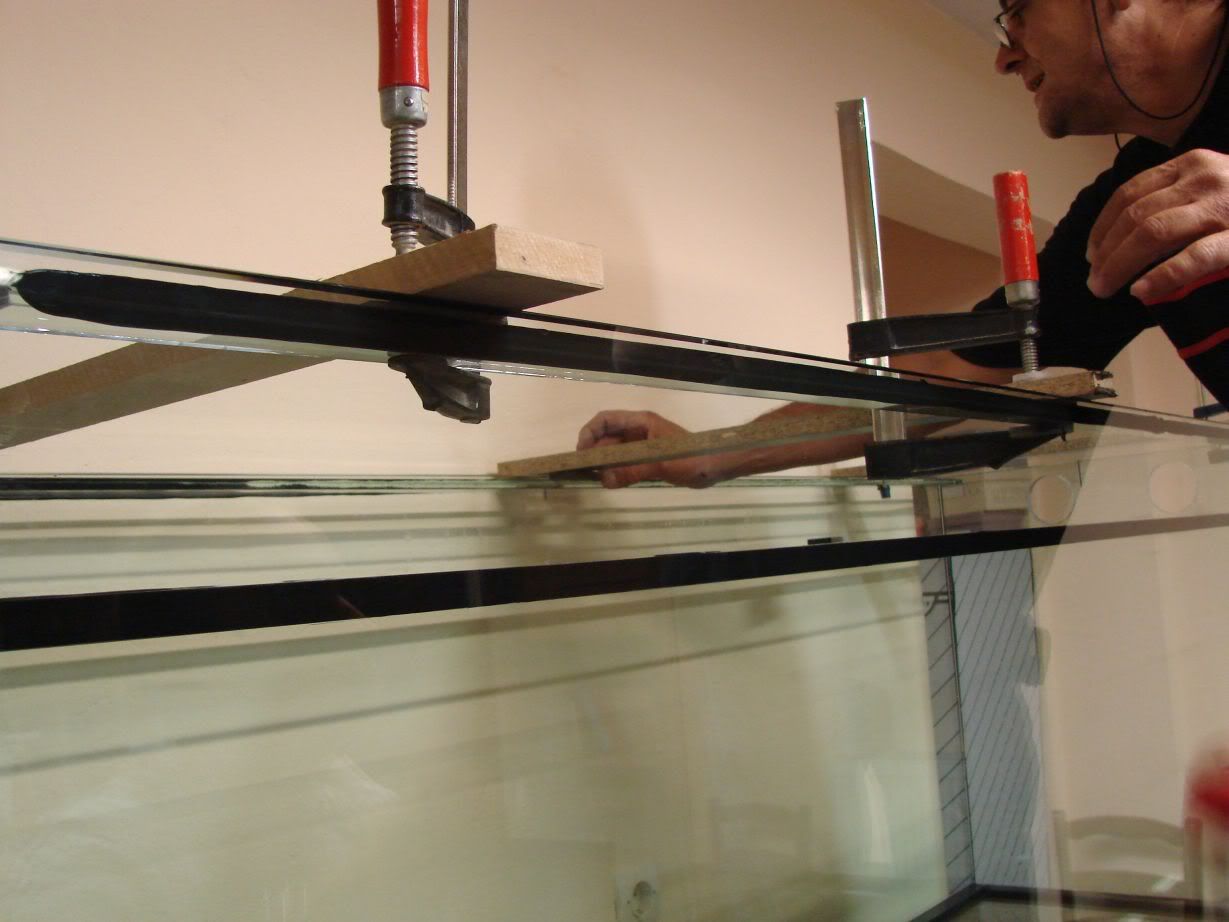
...and moving to the second...
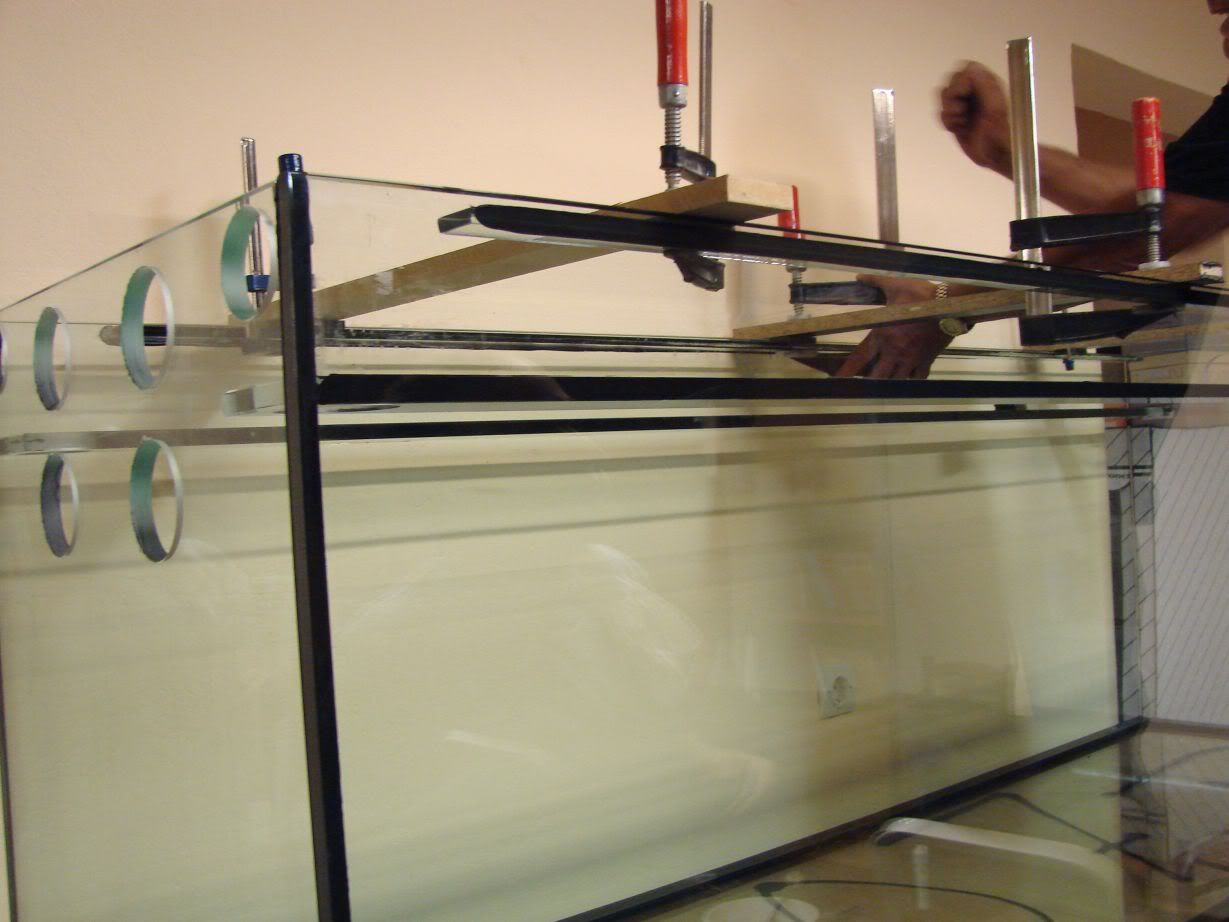
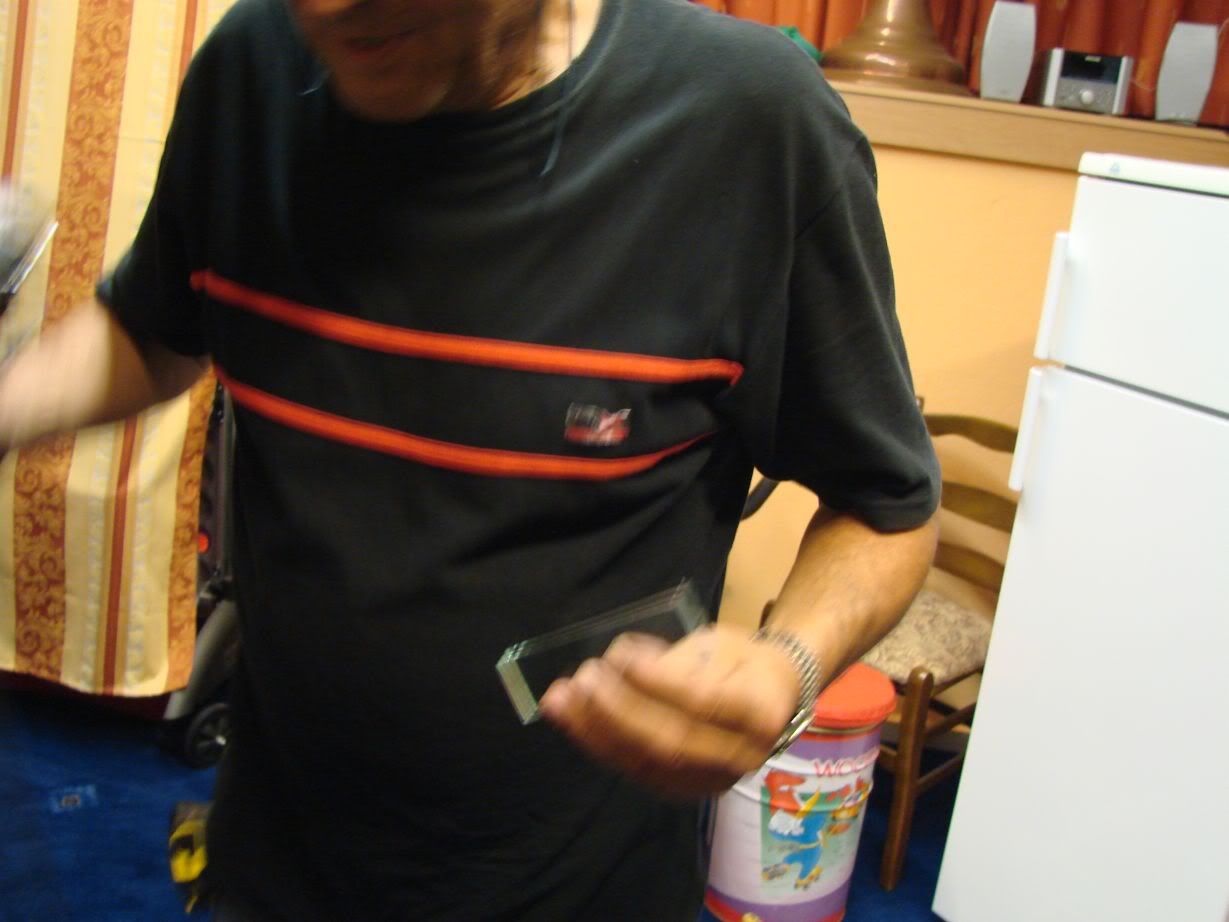
One of the small ones with silicone applied...
And in place,the right one...
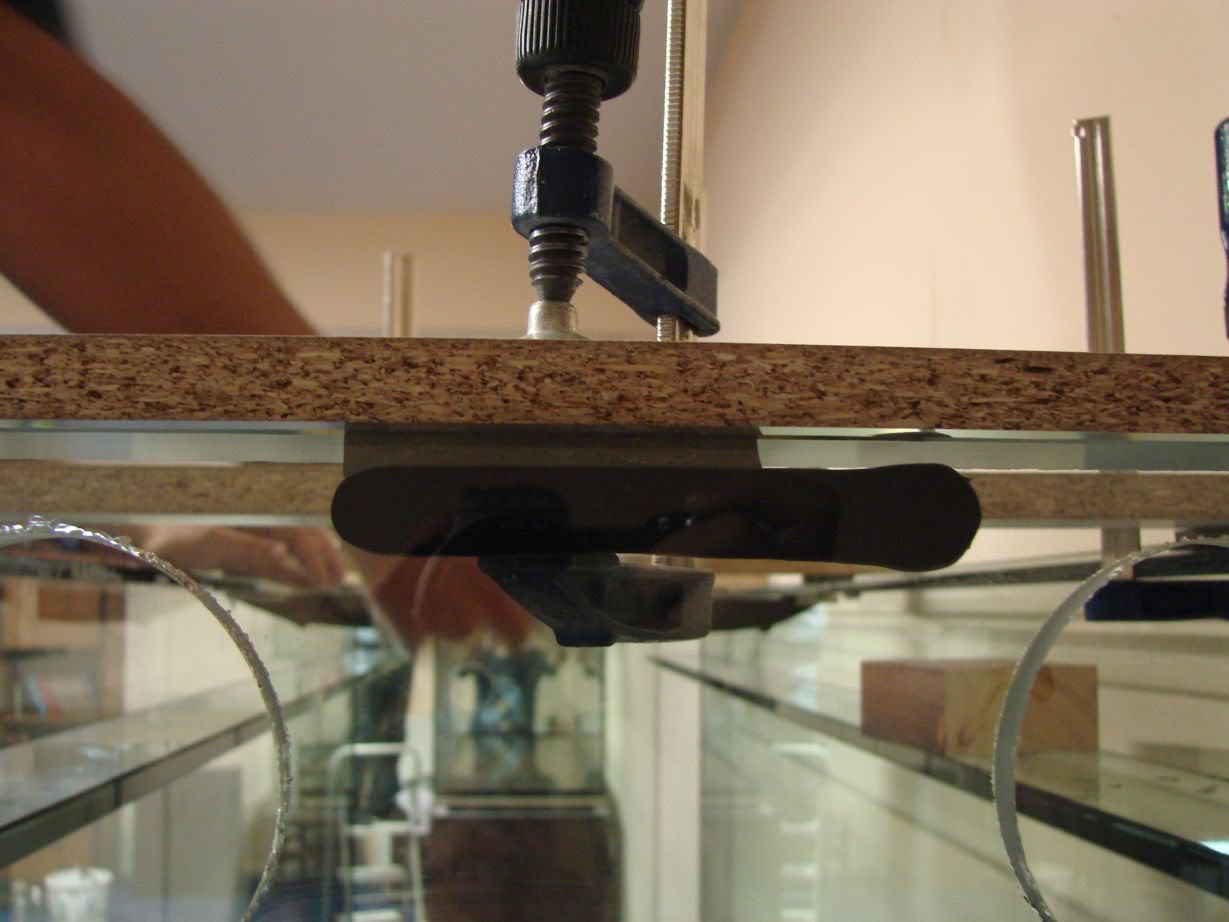
...and the left one...
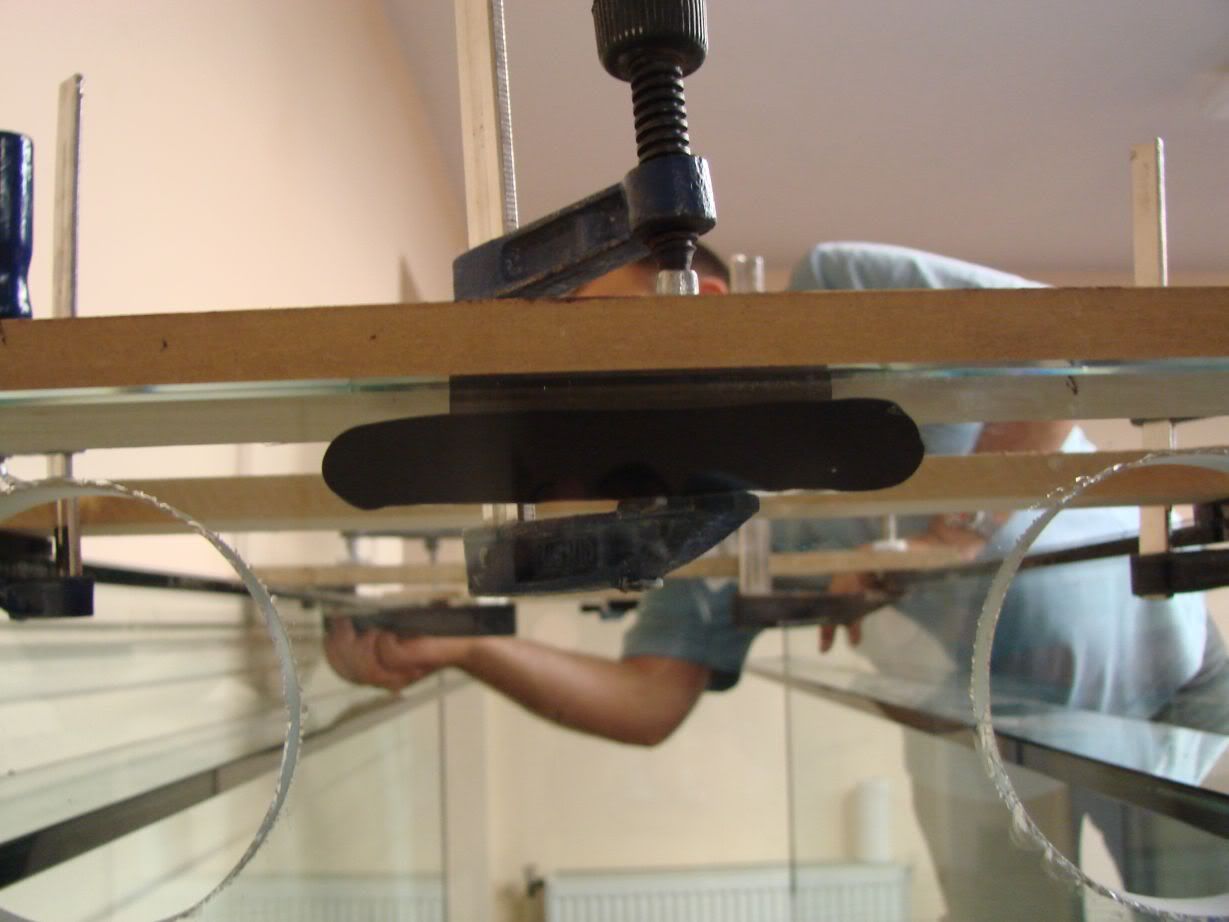
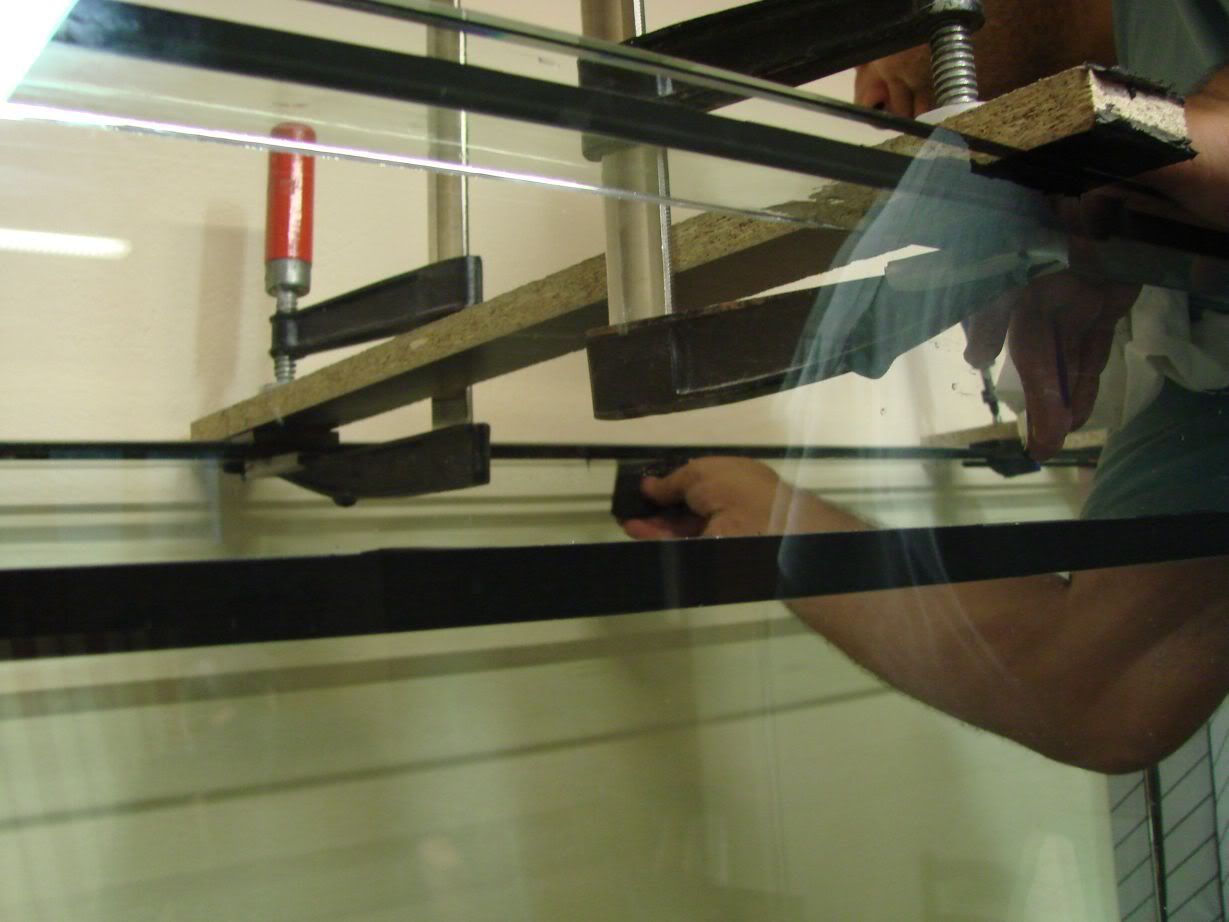
Then the excess silicone was removed from the long ones,wherever possible...
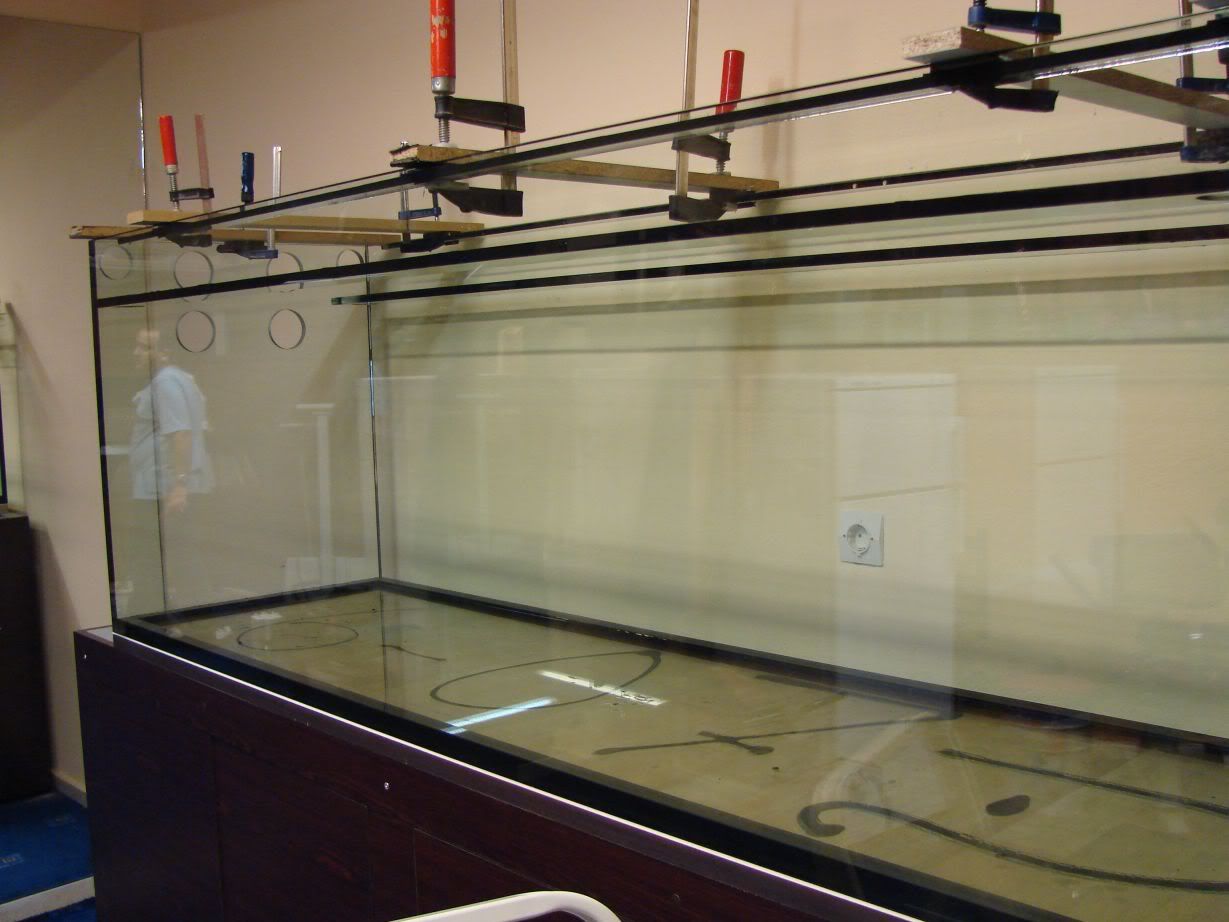
The tank as it is now,waiting to be finished...
That was it!The two guys were working at the same time,one working with the tank and the other with the stand...But i choose to place the photos of tank and stand construction separately because you can really get lost otherwise...

Hope you liked it!!!
I am happy you like it...
Also thanks for telling me how they are called...I searched a bit but couldnt find how they are called...If you dont use your English everyday...then you have problem...
But there are some more photos left...
Here we go:
The second long one being cleaned...

Then applying silicone...

And positioning...

Puting the first clamp...


...and moving to the second...

One of the small ones with silicone applied...

And in place,the right one...

...and the left one...

Then the excess silicone was removed from the long ones,wherever possible...

The tank as it is now,waiting to be finished...

That was it!The two guys were working at the same time,one working with the tank and the other with the stand...But i choose to place the photos of tank and stand construction separately because you can really get lost otherwise...
Hope you liked it!!!
- grokefish
- Posts: 1554
- Joined: 13 Apr 2006, 19:28
- My images: 3
- My aquaria list: 1 (i:0)
- Spotted: 2
- Location 1: The Vandart Aquarium South Wales
- Interests: Life the universe and everything
- Kostas
- Posts: 791
- Joined: 23 Apr 2003, 10:57
- I've donated: $256.00!
- My images: 19
- My cats species list: 14 (i:0, k:0)
- My aquaria list: 1 (i:1)
- Spotted: 6
- Location 1: Greece,Athens
- Location 2: Greece,Athens
- Interests: Fishkeeping,diving,skiing,r/c modeling,growing Palm trees,ferns and tropical plants
- Contact:
Thank you for your reply Matt 
I am glad you like it!!!
I have a question that really bothers me some time now and i would like to hear suggestions on that:
The tank right now has a lot of dried soap residues in it from cleaning the excess silicone with a plastic dipped in soapy water...There is really a lot of soap(for an aquarium... ) in the tank and i really wonder how i can remove it ALL and be sure there is no soap residue in there...The soap used is AVA if that helps...It is used for washing the dishes by hand...
So,how would you clean this mess up?And be sure there is nothing left?
What i have thought is to do it the way the constructors did it before applying silicone for the bottom glasses,only that i will do it three times and then fill the tank with water and discard all water one time and the wash the tank again and clean it with paper towels...Thats what i have in mind to do...
But what do you propose?
Thank you very much in advance
I am glad you like it!!!
I have a question that really bothers me some time now and i would like to hear suggestions on that:
The tank right now has a lot of dried soap residues in it from cleaning the excess silicone with a plastic dipped in soapy water...There is really a lot of soap(for an aquarium...
So,how would you clean this mess up?And be sure there is nothing left?
What i have thought is to do it the way the constructors did it before applying silicone for the bottom glasses,only that i will do it three times and then fill the tank with water and discard all water one time and the wash the tank again and clean it with paper towels...Thats what i have in mind to do...
But what do you propose?
Thank you very much in advance
- MatsP
- Posts: 21038
- Joined: 06 Oct 2004, 13:58
- My articles: 4
- My images: 28
- My cats species list: 117 (i:33, k:0)
- My aquaria list: 10 (i:8)
- My BLogs: 4 (i:0, p:97)
- Spotted: 187
- Location 1: North of Cambridge
- Location 2: England.
I would probably use a hose to rinse the side of the tank down, and then empty the water out.
Do that a few times.
Soap is no health-product for the fishes, but I also don't think it's so bad that a few minute particles of soap-residue will make a whole lot of difference in a tank that size. If you get rid of 99% of it, you should be OK.
--
Mats
Do that a few times.
Soap is no health-product for the fishes, but I also don't think it's so bad that a few minute particles of soap-residue will make a whole lot of difference in a tank that size. If you get rid of 99% of it, you should be OK.
--
Mats
- Kostas
- Posts: 791
- Joined: 23 Apr 2003, 10:57
- I've donated: $256.00!
- My images: 19
- My cats species list: 14 (i:0, k:0)
- My aquaria list: 1 (i:1)
- Spotted: 6
- Location 1: Greece,Athens
- Location 2: Greece,Athens
- Interests: Fishkeeping,diving,skiing,r/c modeling,growing Palm trees,ferns and tropical plants
- Contact:
They came again yesteray,as programmed and did most of the remaining work...  The construction didnt finished though as there was a problem with positioning the overflow(which was great by the way,very beautifull and great work...
  )and they had forgot to bring some of the tools and materials needed...
  They will come again today or tomorow and finish with the construction,and then it will be Andrew's turn(the owner of Hydrocosmos,from which i ordered the tank...)to bring the sump and holding tank and help me with the plumbing...
They came yesterday at 11:00 and finished at 14:10,3 and something hours of work...I took only about 144photos...
 Each time and more
  I will try to have them up soon...
They came yesterday at 11:00 and finished at 14:10,3 and something hours of work...I took only about 144photos...
- Kostas
- Posts: 791
- Joined: 23 Apr 2003, 10:57
- I've donated: $256.00!
- My images: 19
- My cats species list: 14 (i:0, k:0)
- My aquaria list: 1 (i:1)
- Spotted: 6
- Location 1: Greece,Athens
- Location 2: Greece,Athens
- Interests: Fishkeeping,diving,skiing,r/c modeling,growing Palm trees,ferns and tropical plants
- Contact:
Ok,here are the photos... 
The two guys were working at the same time again,the father the stand and the son the main tank...I separated the two things for ease of viewing...
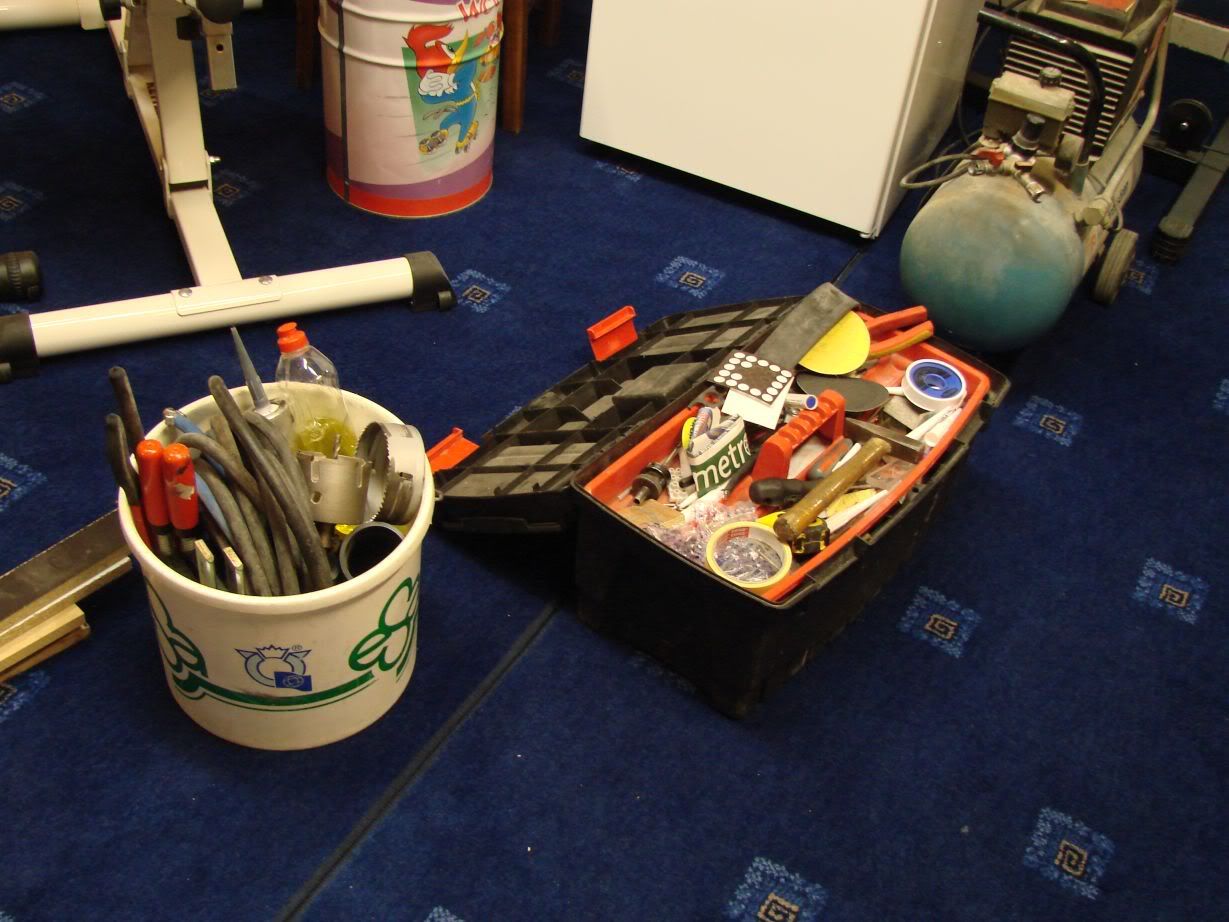
First,some of the tools...
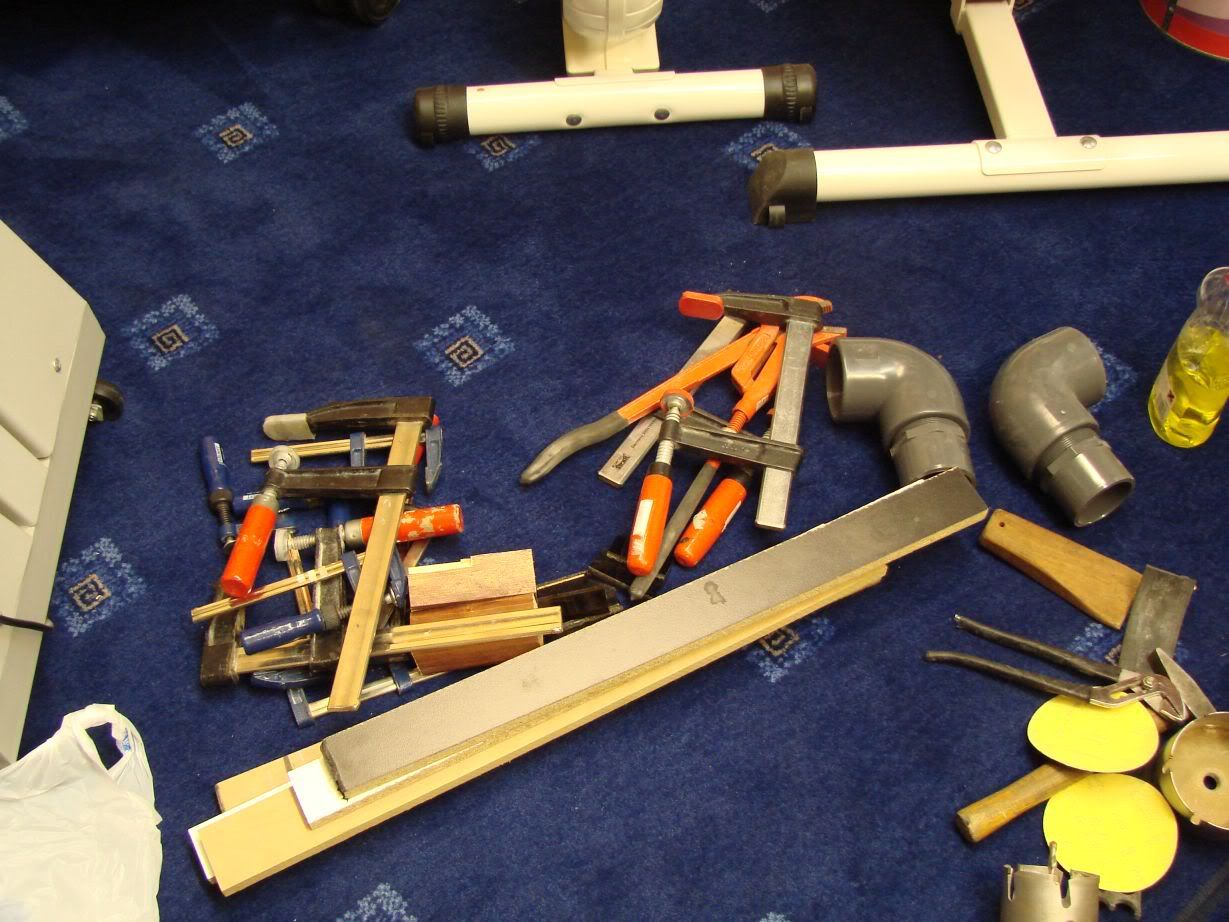
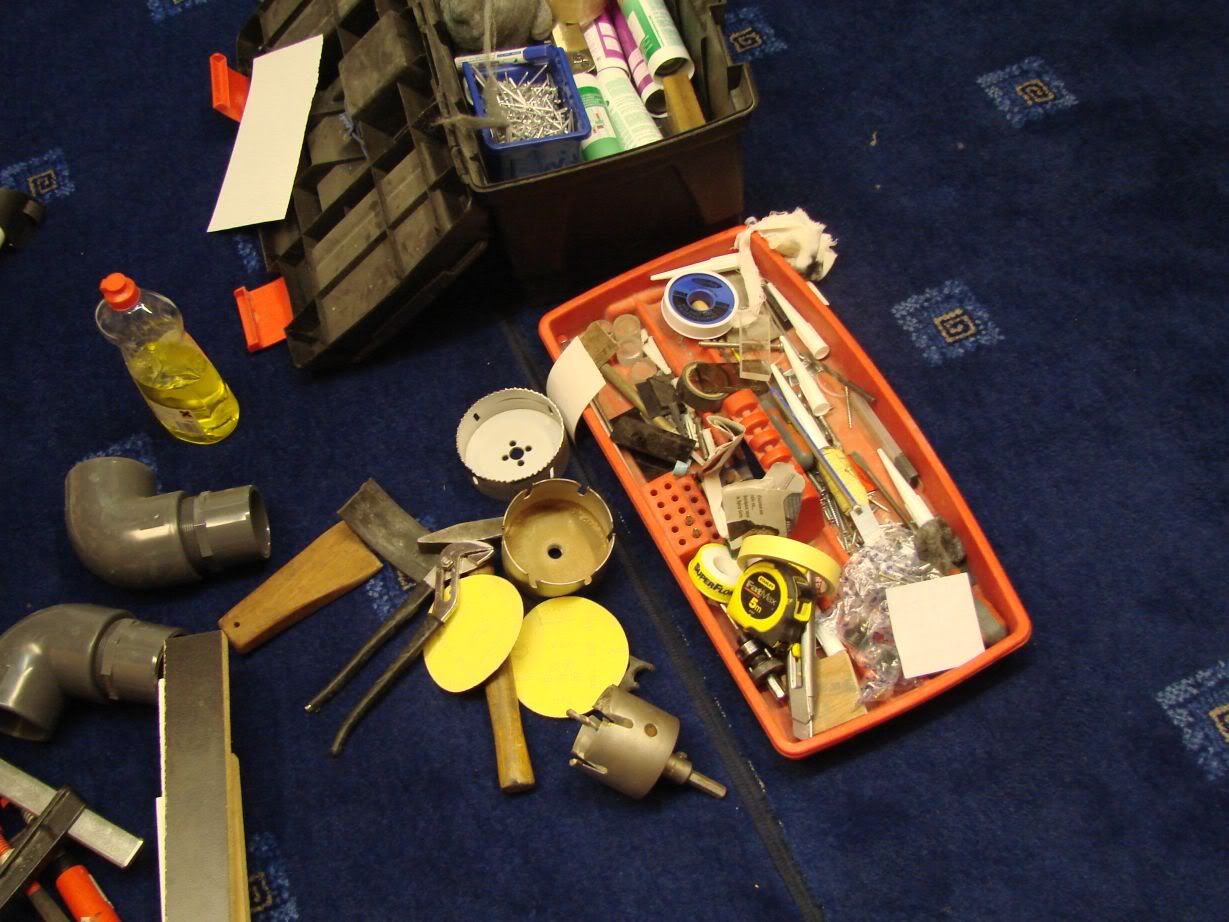
...and again more tools and the bend pipes for the overflow hoses...
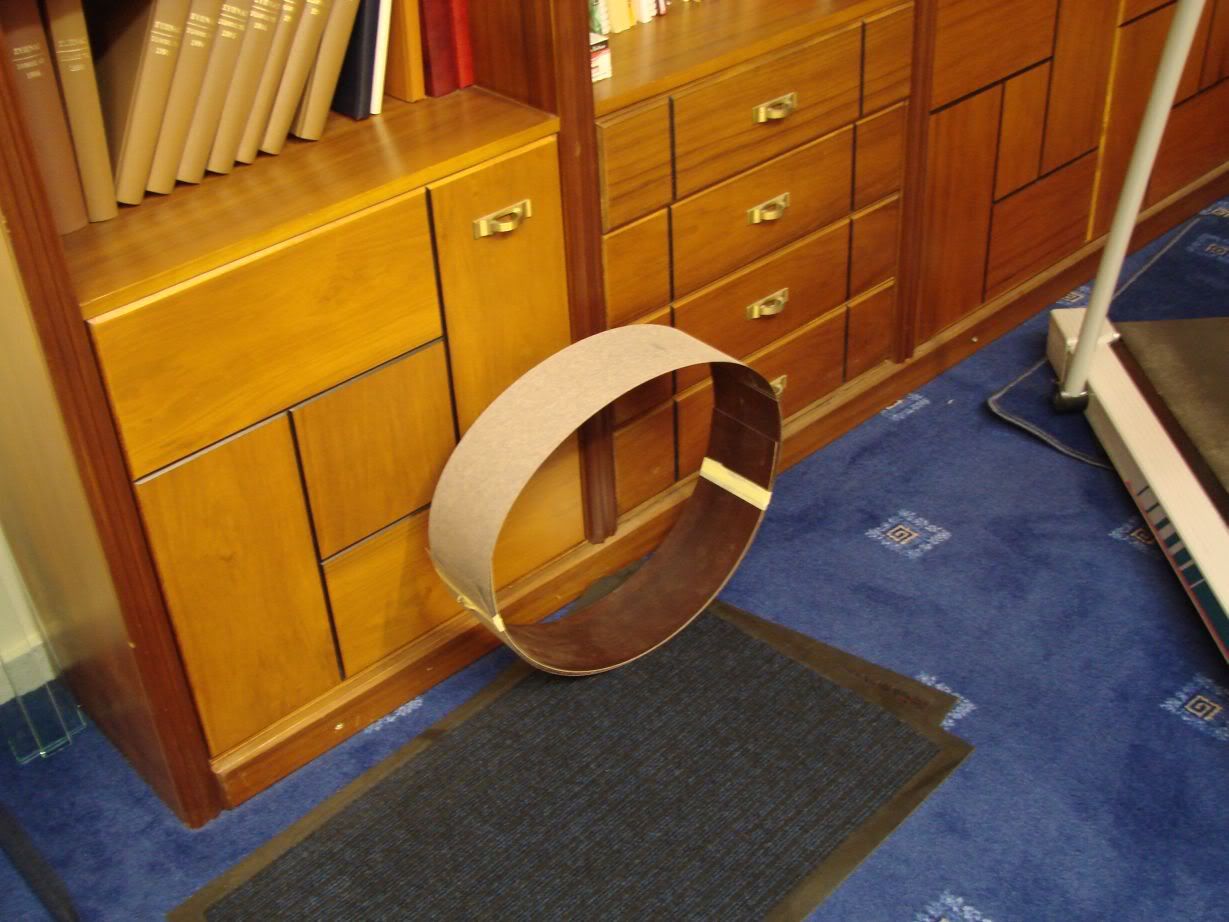
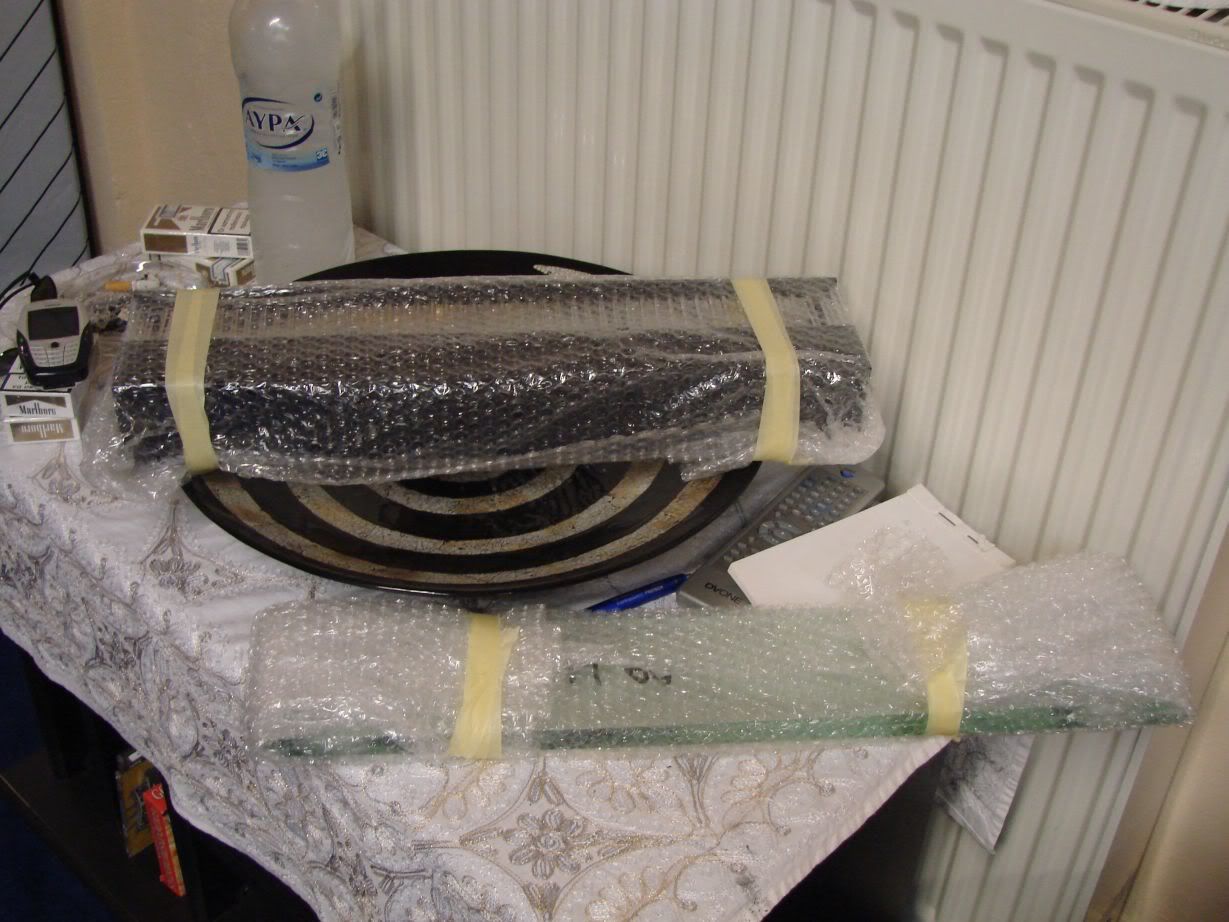
The formaika rolled...
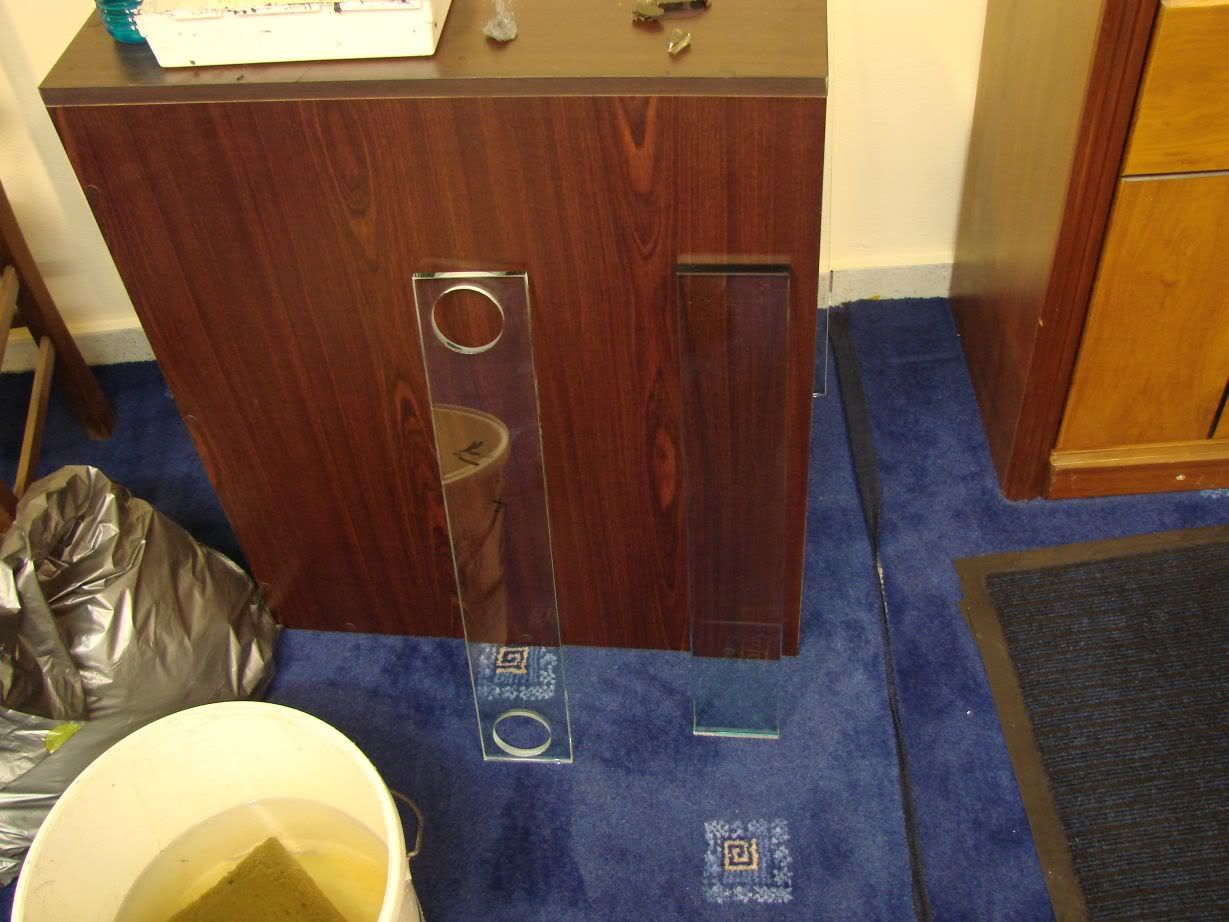
The main tank vertical rims and the overflow box...New,thinner vertical rims were made and as they didnt take the old ones for special cutting...
Again the rims,unfolded this time...
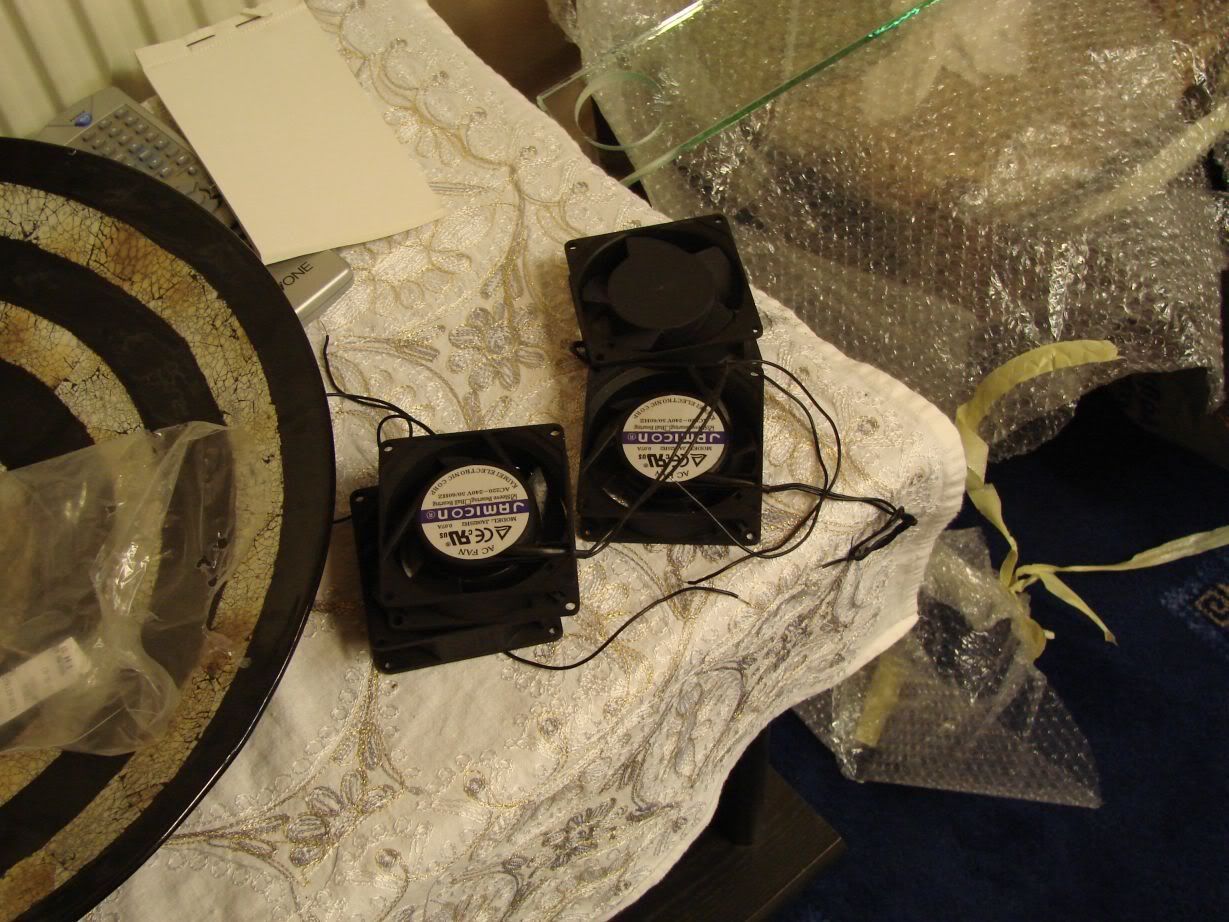
The fans...They are very good quality from what i saw,metal made and with ball bearing...The only thing that bothers me is that they are 220V... So i told them not to mount them and let me think of it a bit...Should i use these or should i return them and ask for 12V ones?I didnt bought these,the constructors brought them,its what they always use...Would it be safe for me and my fishes to use them?Do you have any recomendation,anything to look for if i choose to go for 12V ones?Can 12V ones be dimmed so that they rotate slower/faster,according to whats needed?I have a IKS aquastar controller which i will use in this aquarium and supports dimming...Can the way they rotate be reversed on the 12V ones?In these ones it cant(of course,they are AC...)
Thank you very much in advance
The two guys were working at the same time again,the father the stand and the son the main tank...I separated the two things for ease of viewing...
First,some of the tools...

...and again more tools and the bend pipes for the overflow hoses...


The formaika rolled...

The main tank vertical rims and the overflow box...New,thinner vertical rims were made and as they didnt take the old ones for special cutting...

Again the rims,unfolded this time...

The fans...They are very good quality from what i saw,metal made and with ball bearing...The only thing that bothers me is that they are 220V...

Thank you very much in advance
Last edited by Kostas on 03 Jul 2007, 16:33, edited 1 time in total.
- MatsP
- Posts: 21038
- Joined: 06 Oct 2004, 13:58
- My articles: 4
- My images: 28
- My cats species list: 117 (i:33, k:0)
- My aquaria list: 10 (i:8)
- My BLogs: 4 (i:0, p:97)
- Spotted: 187
- Location 1: North of Cambridge
- Location 2: England.
Looks nice.
I wouldn't worry too much about the voltage - they are fitted on the OUTSIDE of the tank, right? So the only reason they'd get really wet is either that you've overfilled the tank [and then I'd be more worried about water getting to other electrical stuff on the floor and in the cabinet - such as electrical sockets and such].
The problem with 12V is that you then need a 12V DC power-supply that:
1) uses power (there's no such thing as lossless power conversion).
2) is another point of failure.
3) can get wet and lead to short circuit.
--
Mats
- Kostas
- Posts: 791
- Joined: 23 Apr 2003, 10:57
- I've donated: $256.00!
- My images: 19
- My cats species list: 14 (i:0, k:0)
- My aquaria list: 1 (i:1)
- Spotted: 6
- Location 1: Greece,Athens
- Location 2: Greece,Athens
- Interests: Fishkeeping,diving,skiing,r/c modeling,growing Palm trees,ferns and tropical plants
- Contact:
Thank you very much for your reply Mats 
The fans will be placed in the inside of tank hood...Yes,they can only get wet if the tank is overfilled but can be spilled pretty easily where they are...Also,the have only about 15cm of cables,so i will need to make the connection inside the hood,something risky... What would you do?
Now,tank stand construction resume...
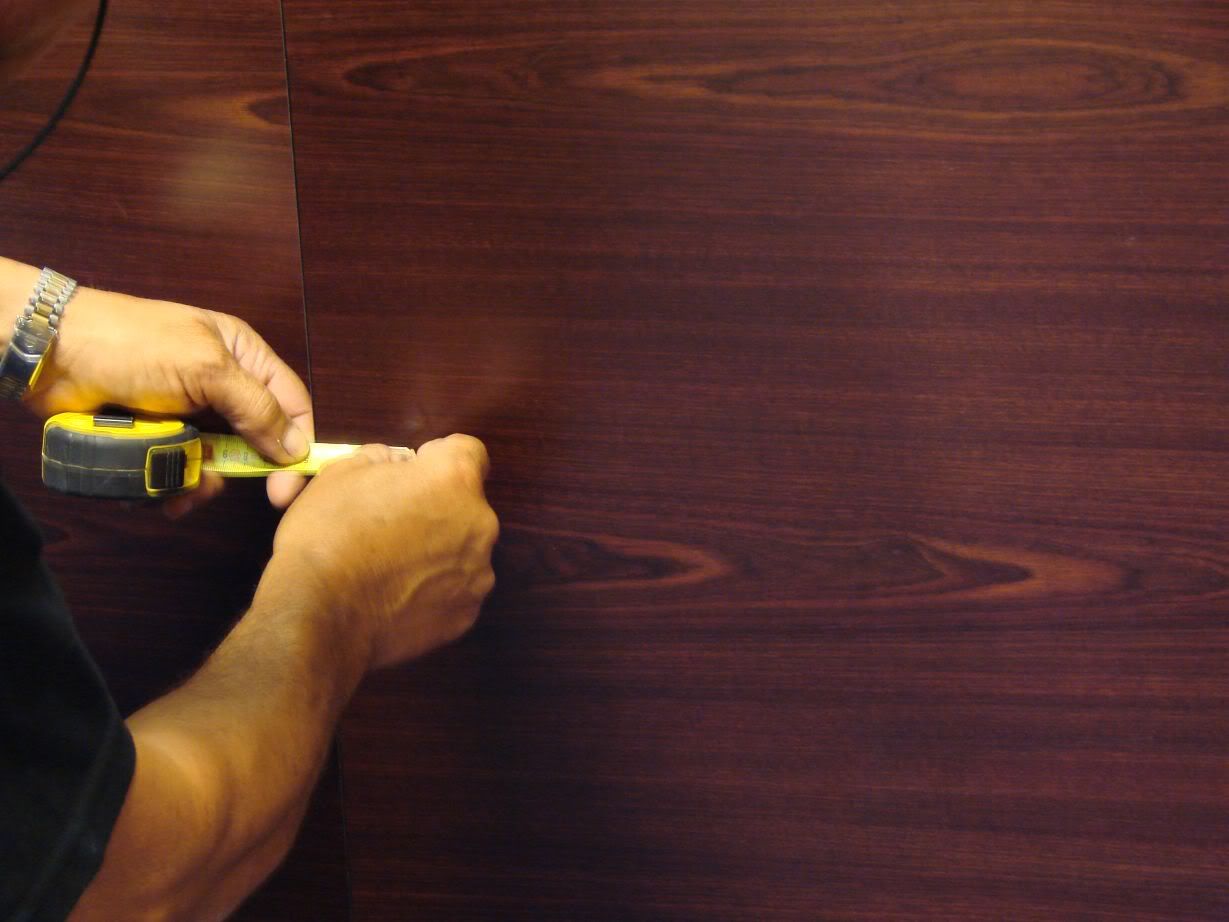
With a meter,he measures the door height and the handle's height,to find where exactly to drill...
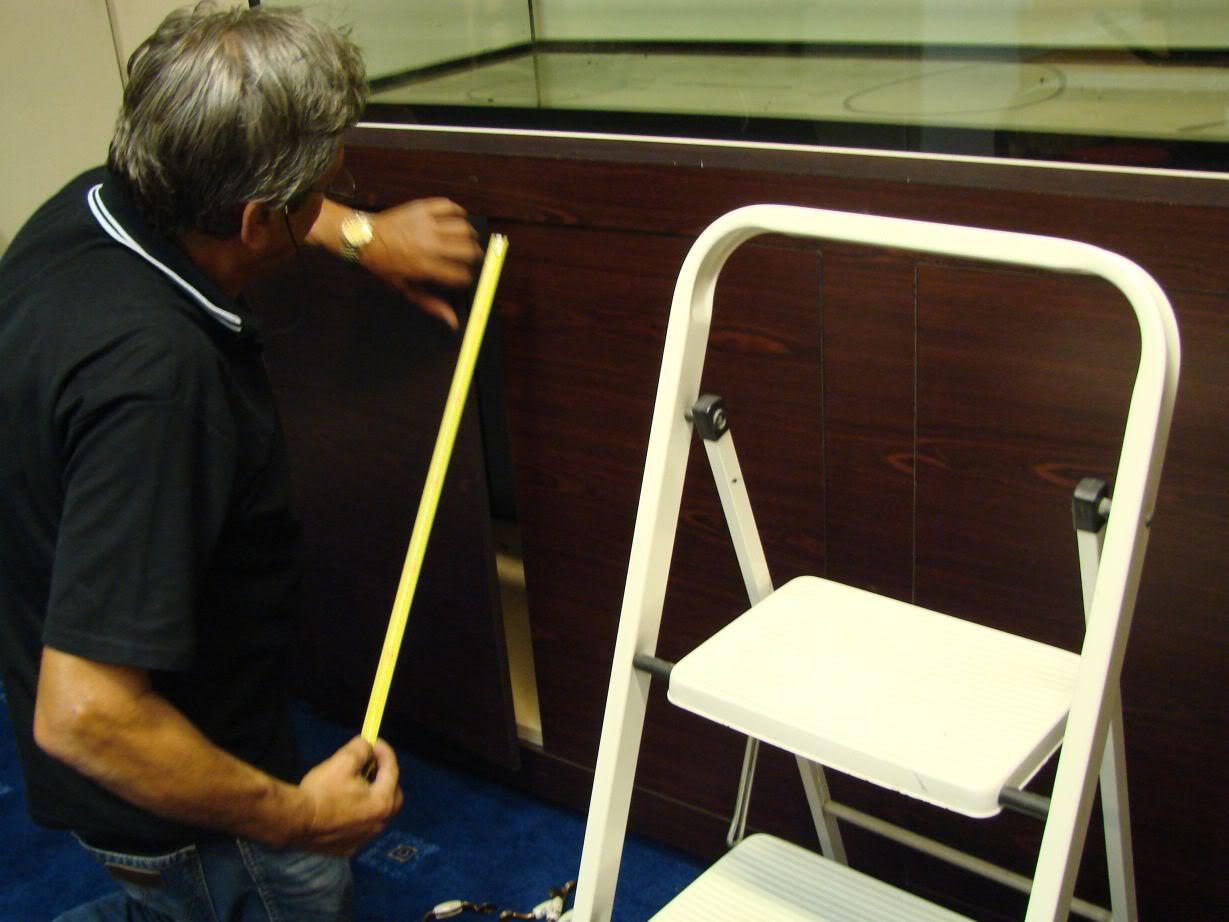
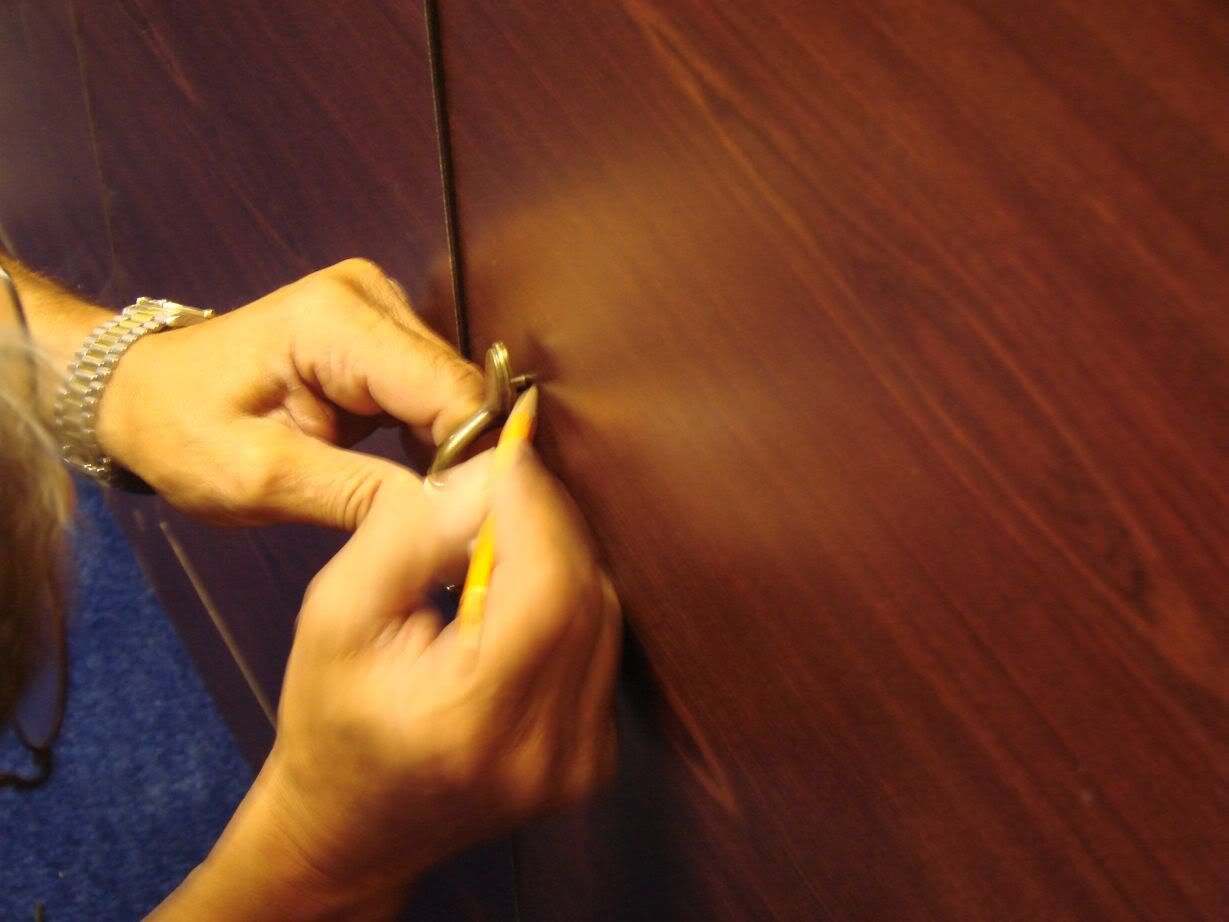
He marks with a pencil...
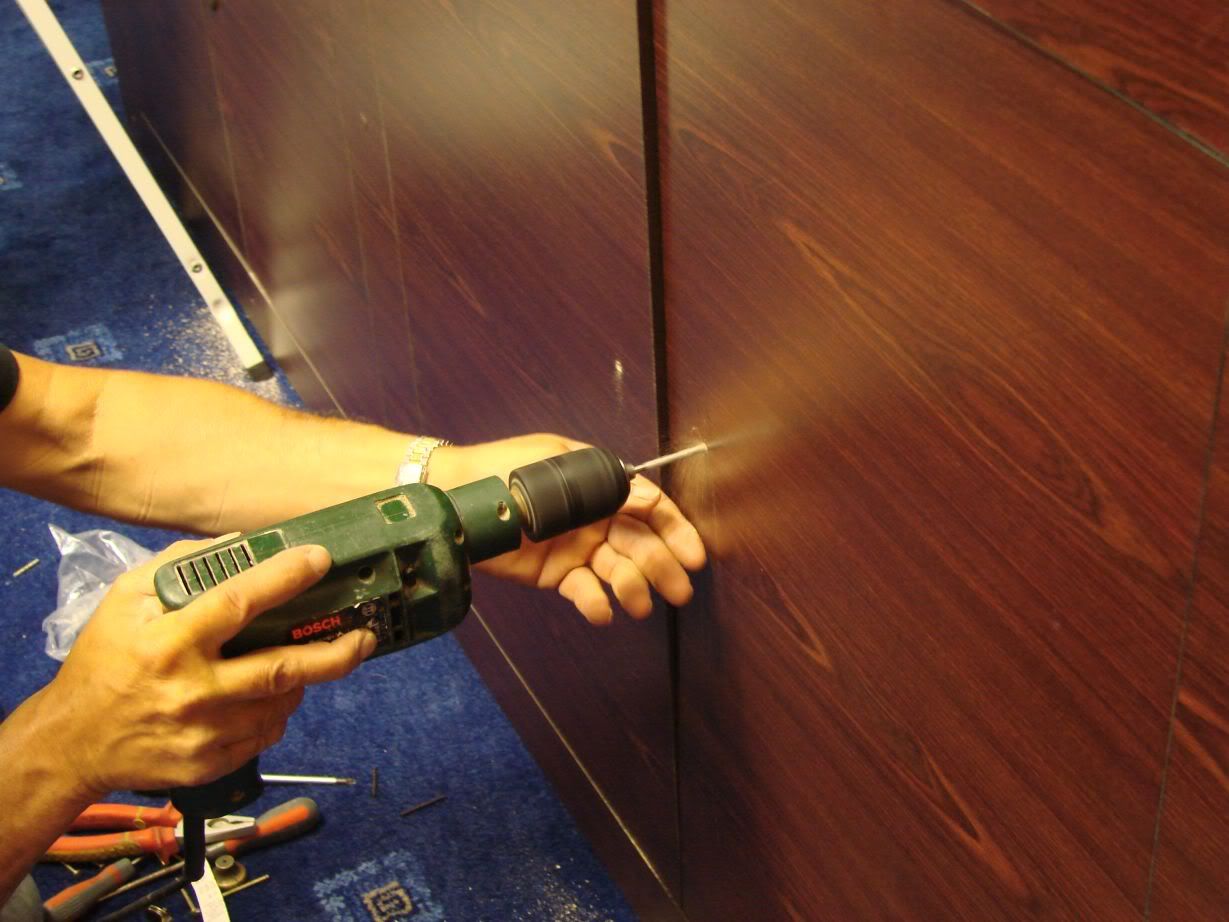
...drills...
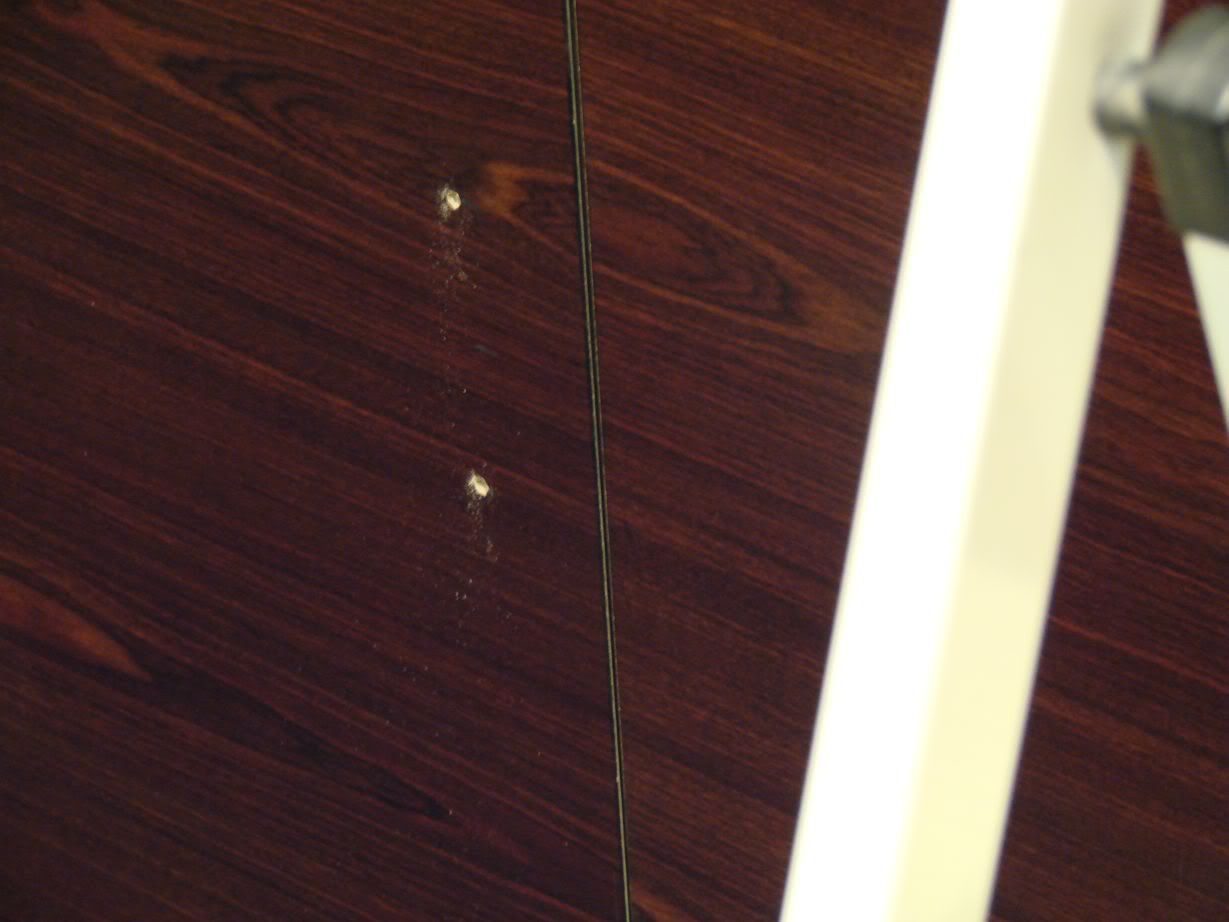
...and ready to mont the handles...

The handles used...I went and bought them the past week...
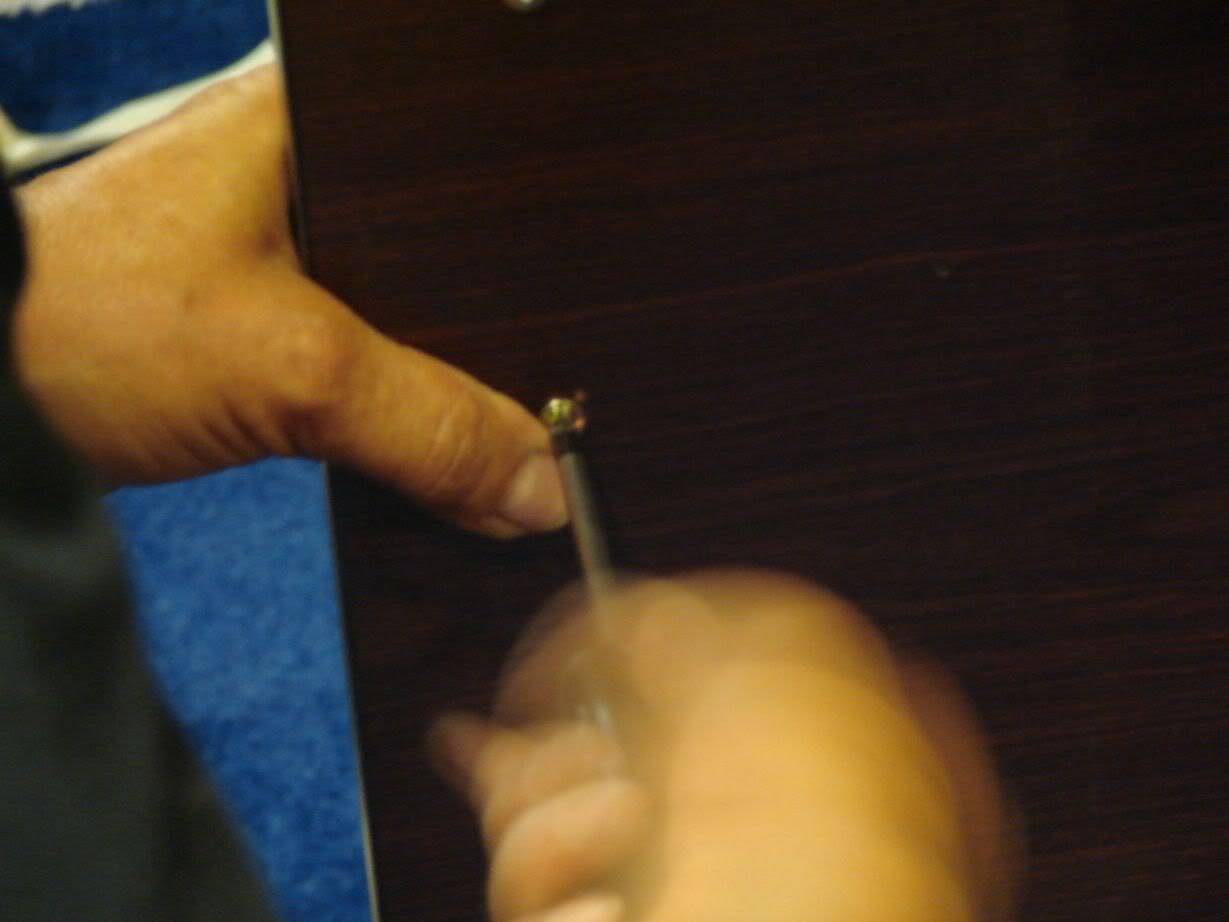
Mounting...
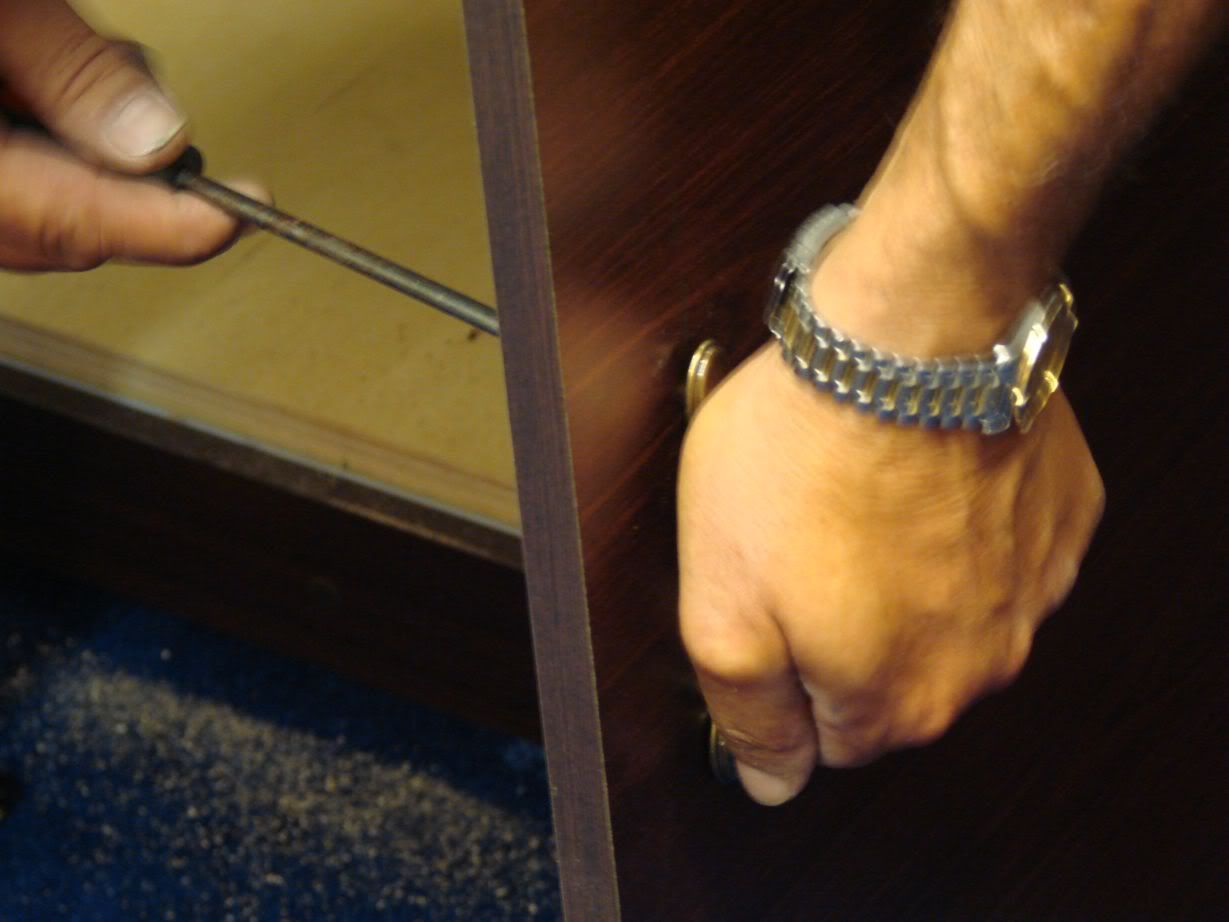
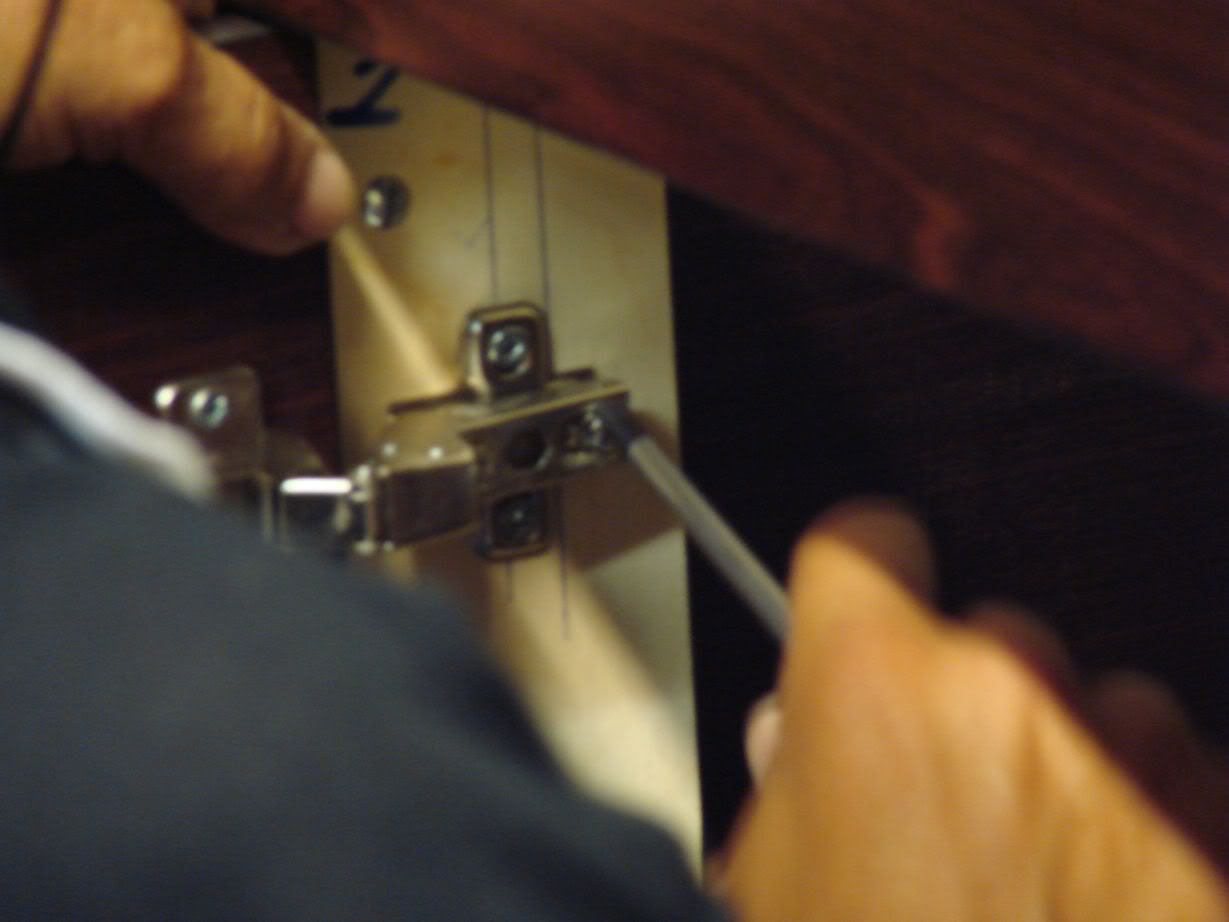
Now,doing the door regulation...
...and drilling the tank stand's bottom wood to mount it to the metal beneath it with pop-rivets
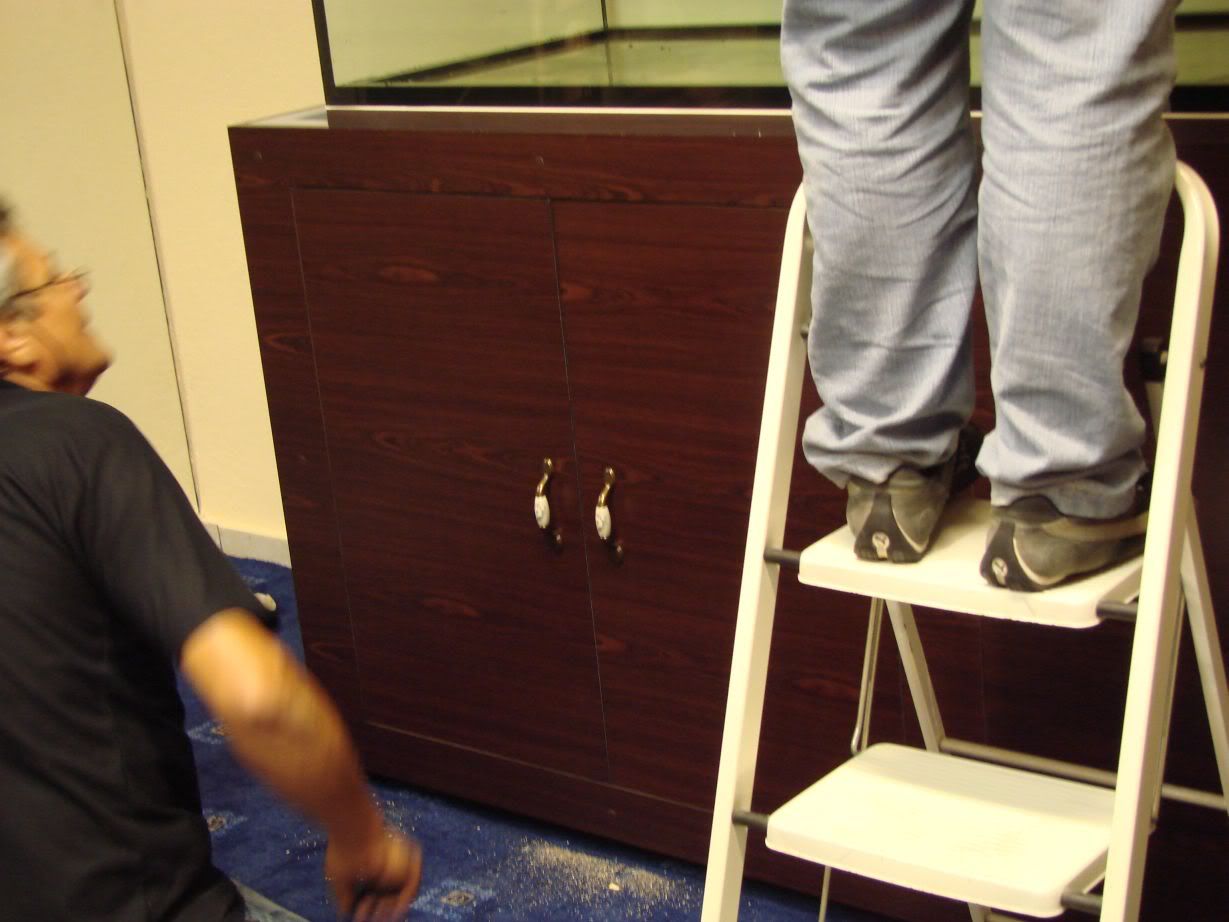
Tank stand with all handles mounted...
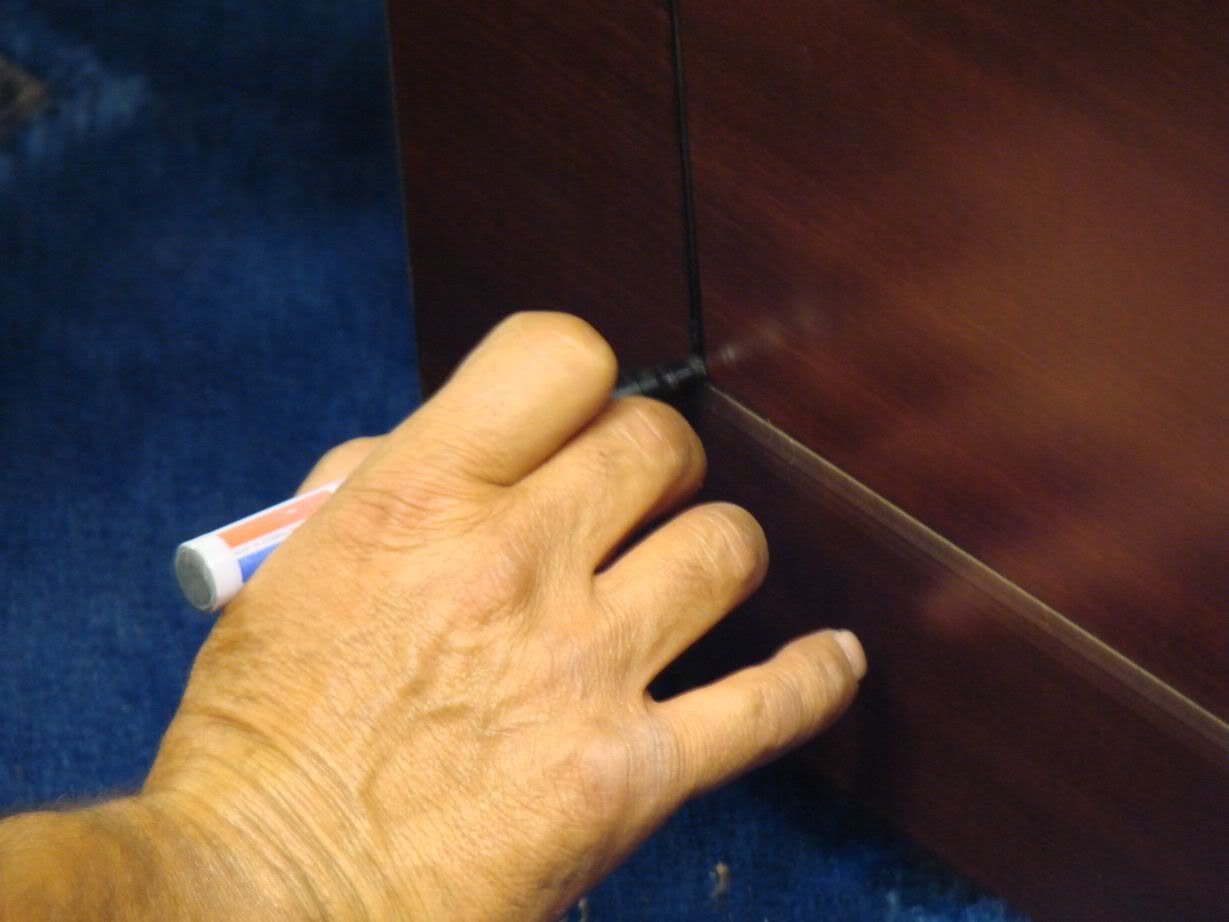
Correcting with a marker any stratches and any bad edges of the melamine...
Then they cleaned the extra ink with alcohol...
After that,the wooden box that sits next to the main tank,was temporarily positioned and they marked the holes that had to be done according to the side glass's holes with a marker...Then,they drilled firstly the large,overflow holes with an 11cm drill...The hole on the glass is 8cm but they drilled the wooden box with 11cm drill because the plastic rings that had to be placed outside,to have a waterproof connection,were 10cm in outside diameter...
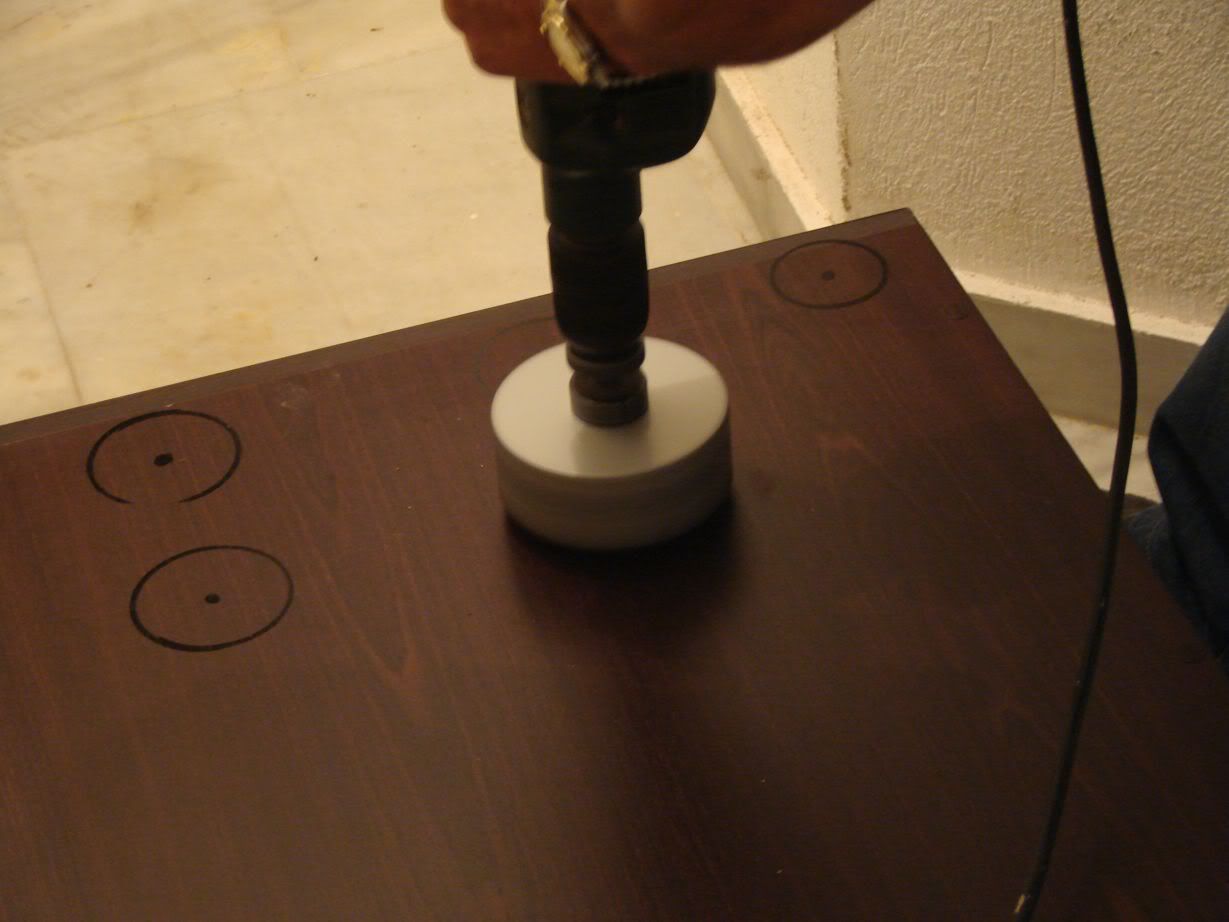
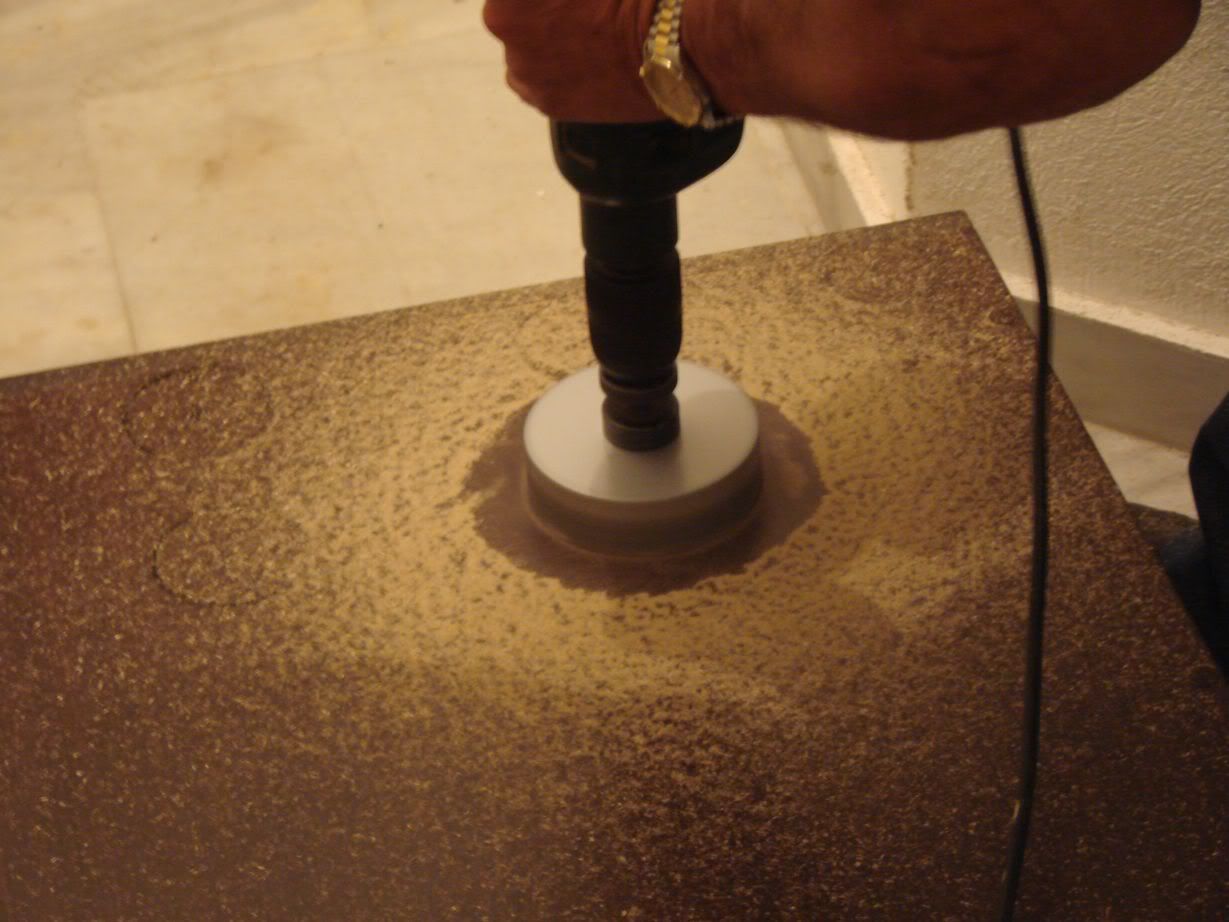
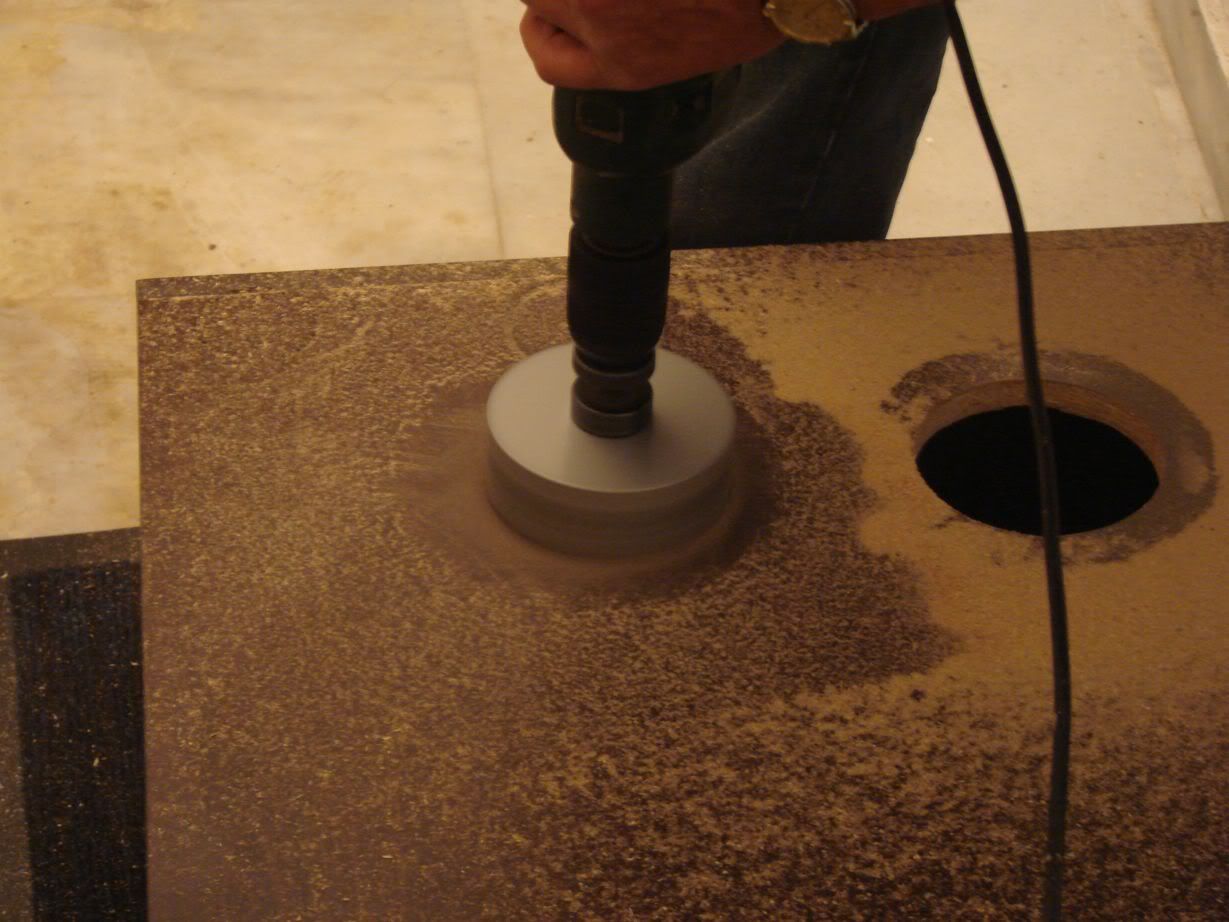
Then they drilled the fan holes with an 8cm drill...
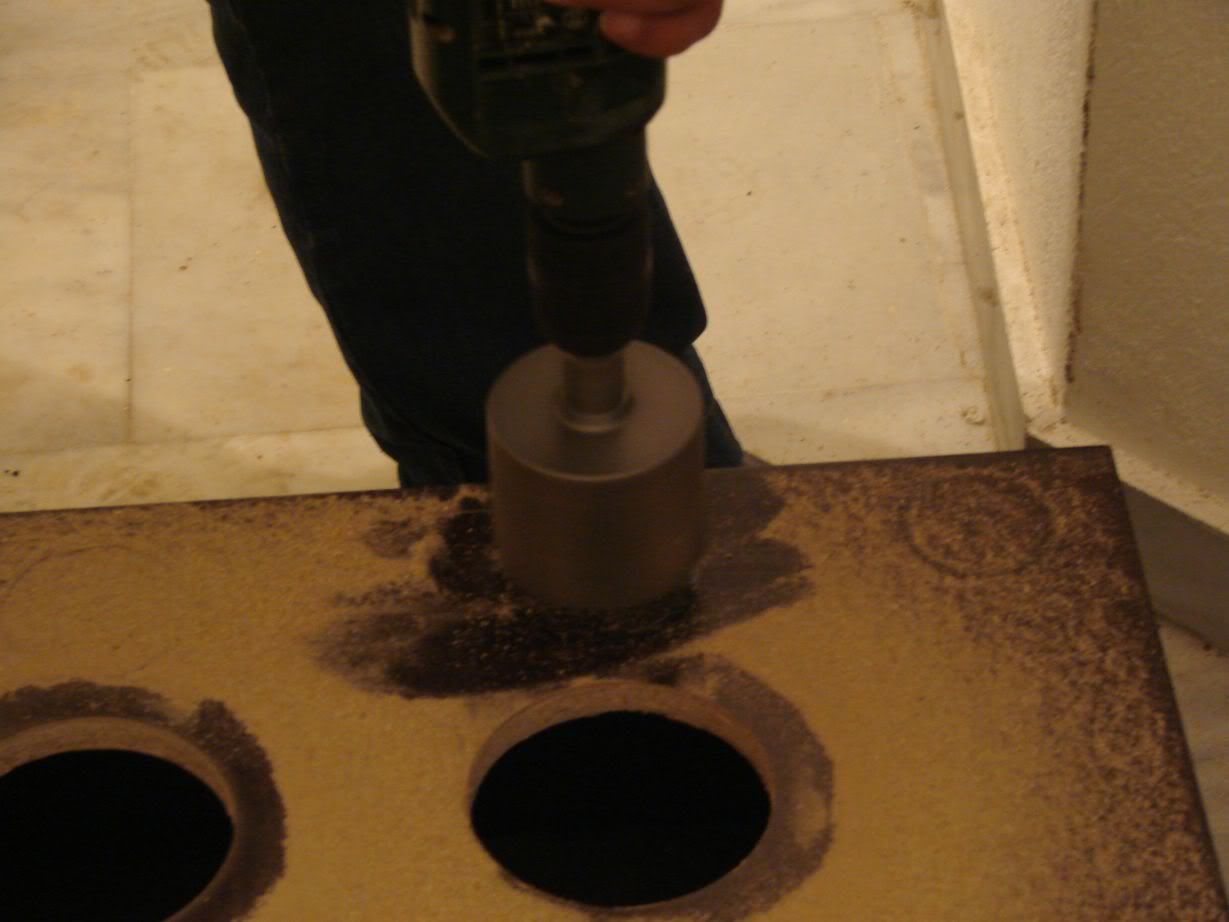
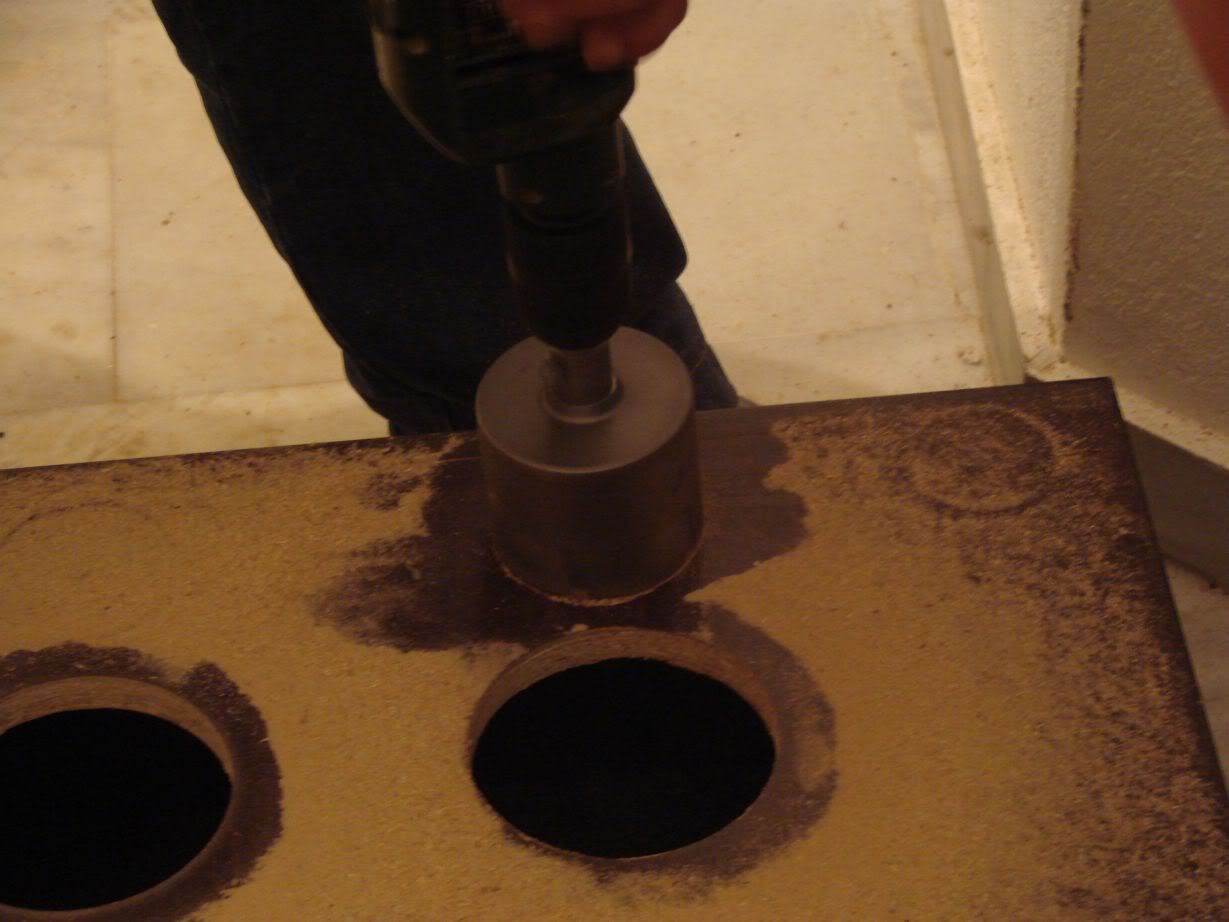
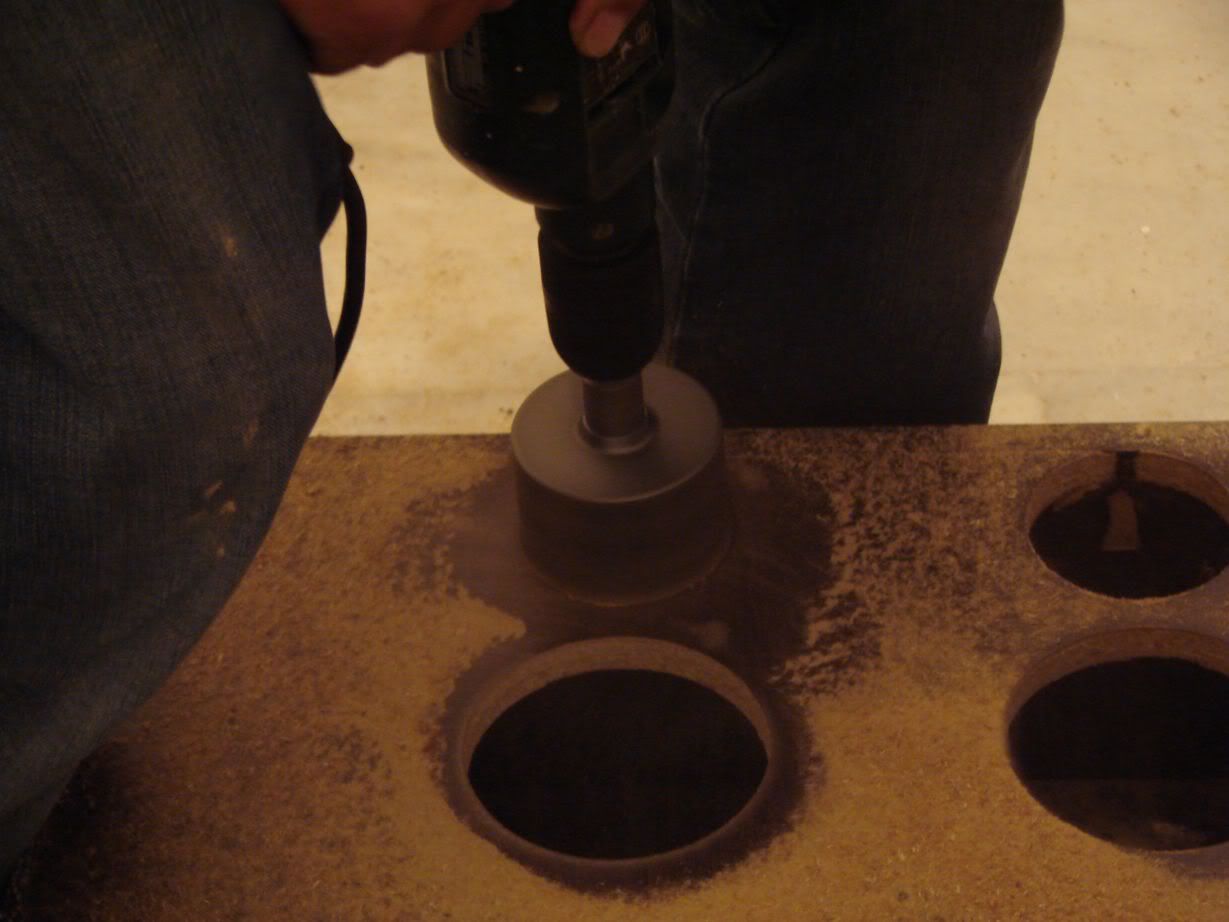
The box with the holes drilled and covered in sawdust...
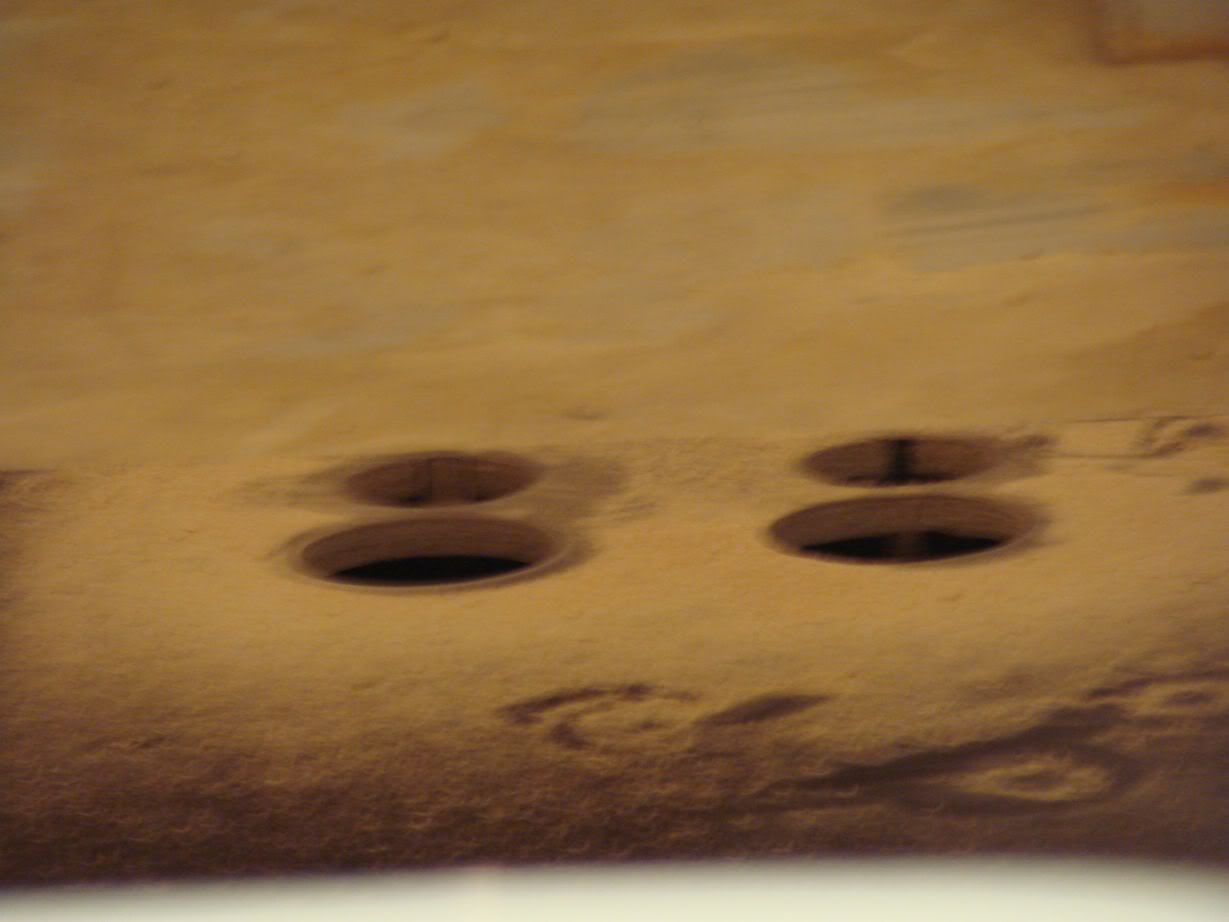
There are two other,smaller holes that have to be drilled too but they didnt had a drill that size with them and they will drill them the next time they come...
The fans will be placed in the inside of tank hood...Yes,they can only get wet if the tank is overfilled but can be spilled pretty easily where they are...Also,the have only about 15cm of cables,so i will need to make the connection inside the hood,something risky...
Now,tank stand construction resume...
With a meter,he measures the door height and the handle's height,to find where exactly to drill...


He marks with a pencil...

...drills...

...and ready to mont the handles...


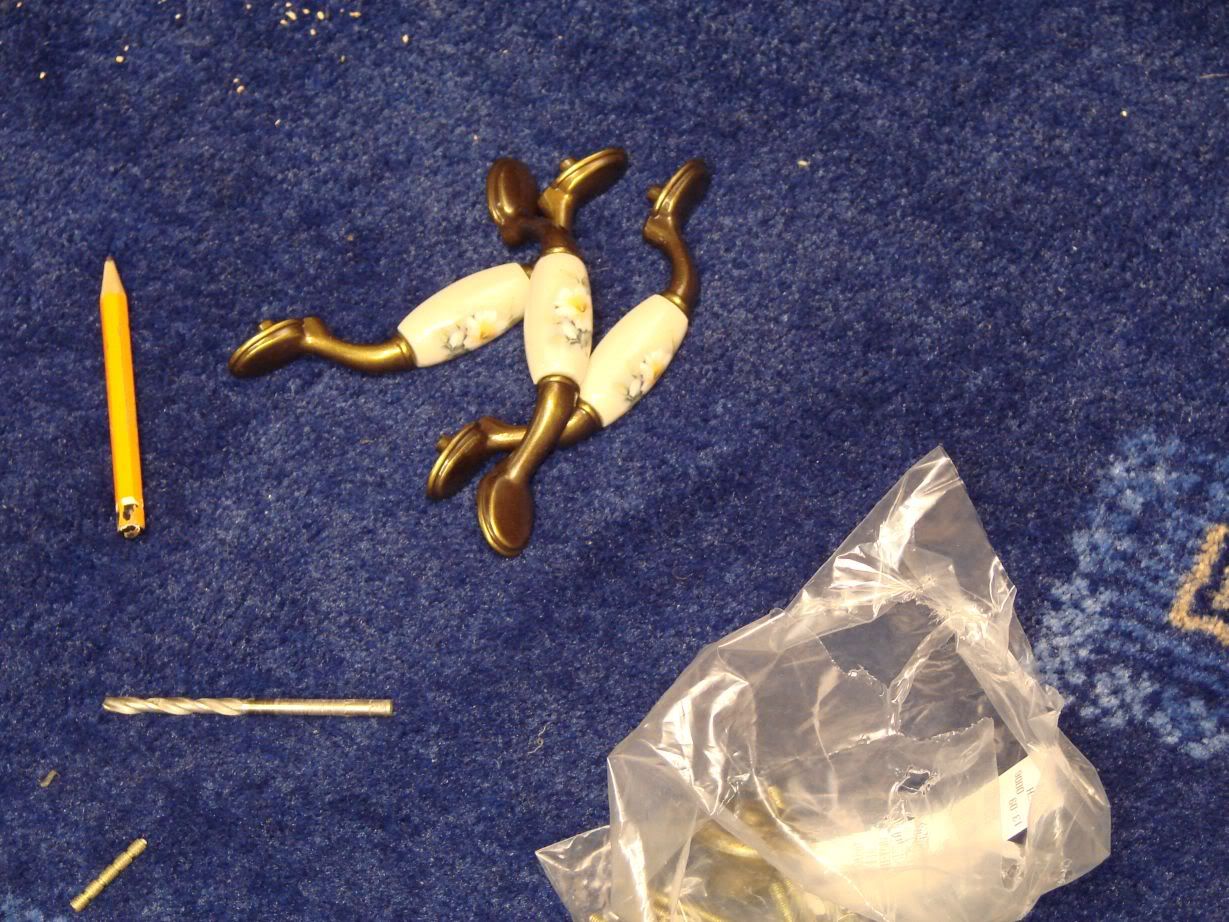
The handles used...I went and bought them the past week...

Mounting...


Now,doing the door regulation...

...and drilling the tank stand's bottom wood to mount it to the metal beneath it with pop-rivets

Tank stand with all handles mounted...

Correcting with a marker any stratches and any bad edges of the melamine...

Then they cleaned the extra ink with alcohol...
After that,the wooden box that sits next to the main tank,was temporarily positioned and they marked the holes that had to be done according to the side glass's holes with a marker...Then,they drilled firstly the large,overflow holes with an 11cm drill...The hole on the glass is 8cm but they drilled the wooden box with 11cm drill because the plastic rings that had to be placed outside,to have a waterproof connection,were 10cm in outside diameter...


Then they drilled the fan holes with an 8cm drill...


The box with the holes drilled and covered in sawdust...

There are two other,smaller holes that have to be drilled too but they didnt had a drill that size with them and they will drill them the next time they come...
- Kostas
- Posts: 791
- Joined: 23 Apr 2003, 10:57
- I've donated: $256.00!
- My images: 19
- My cats species list: 14 (i:0, k:0)
- My aquaria list: 1 (i:1)
- Spotted: 6
- Location 1: Greece,Athens
- Location 2: Greece,Athens
- Interests: Fishkeeping,diving,skiing,r/c modeling,growing Palm trees,ferns and tropical plants
- Contact:
And now...tank construction again!!!
Cutting away excess silicone with a razor blade...
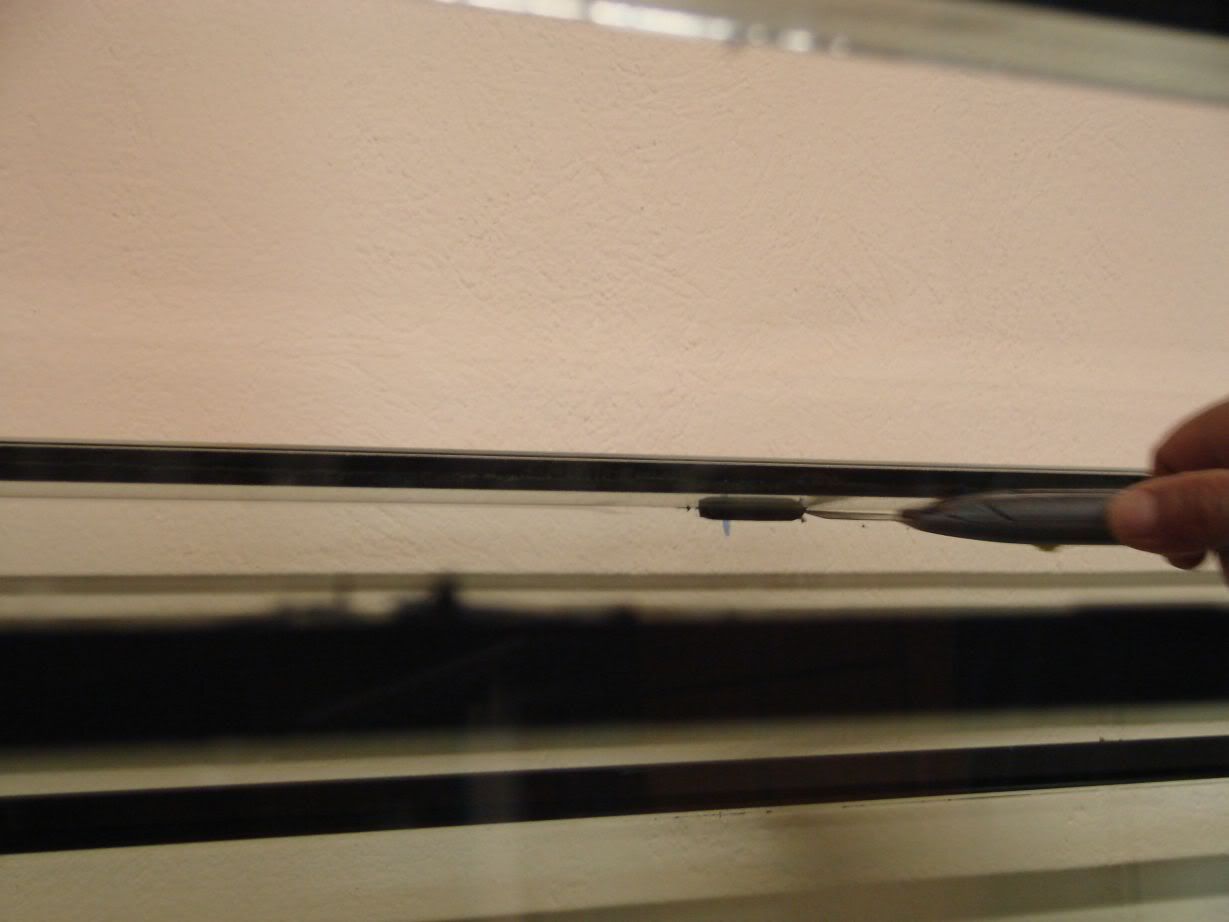
Then,he washed the upper part ot the tank firstly with a sponge and water and then he wiped off the water with a cloth...
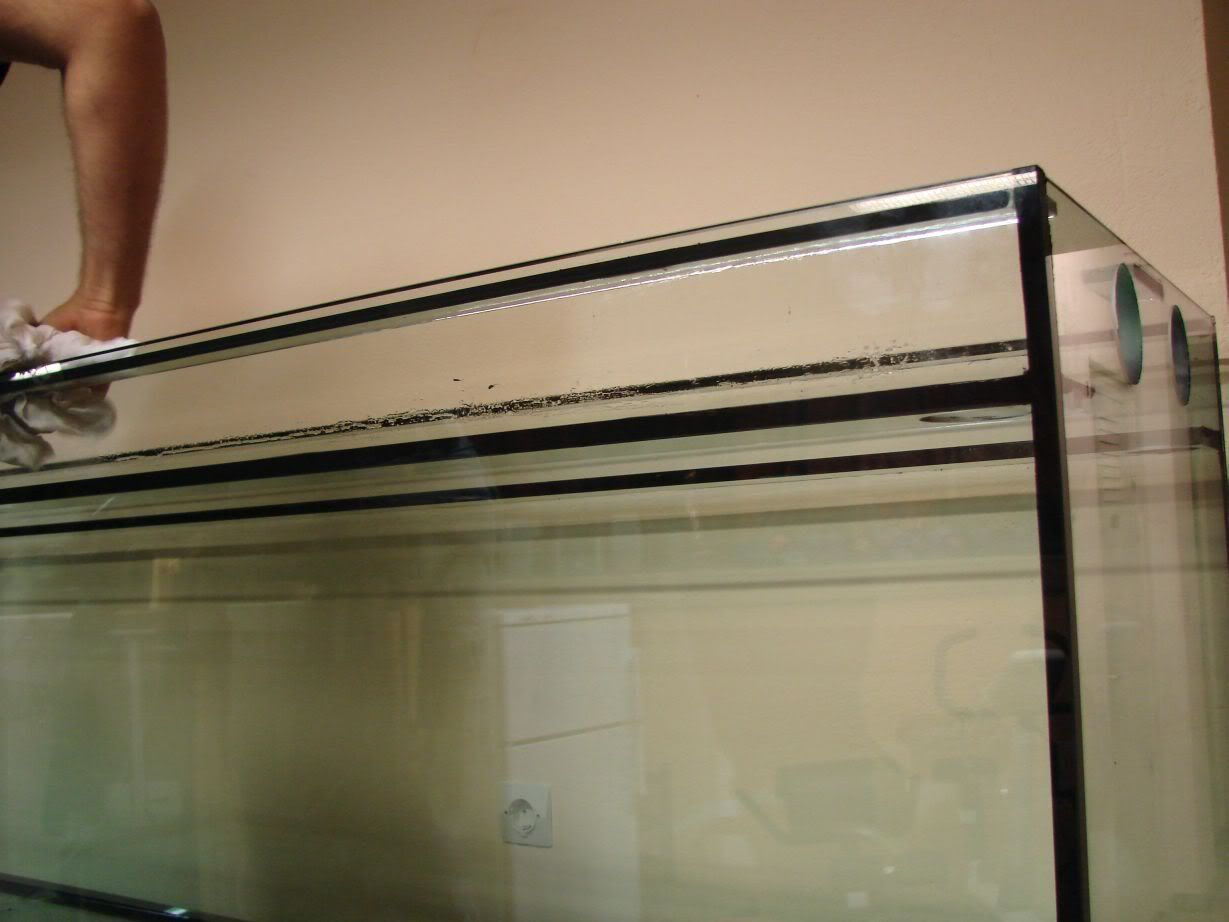
Then,any extra silicone remains were cleaned with alcohol and steel wool...

The tank after cleaning...
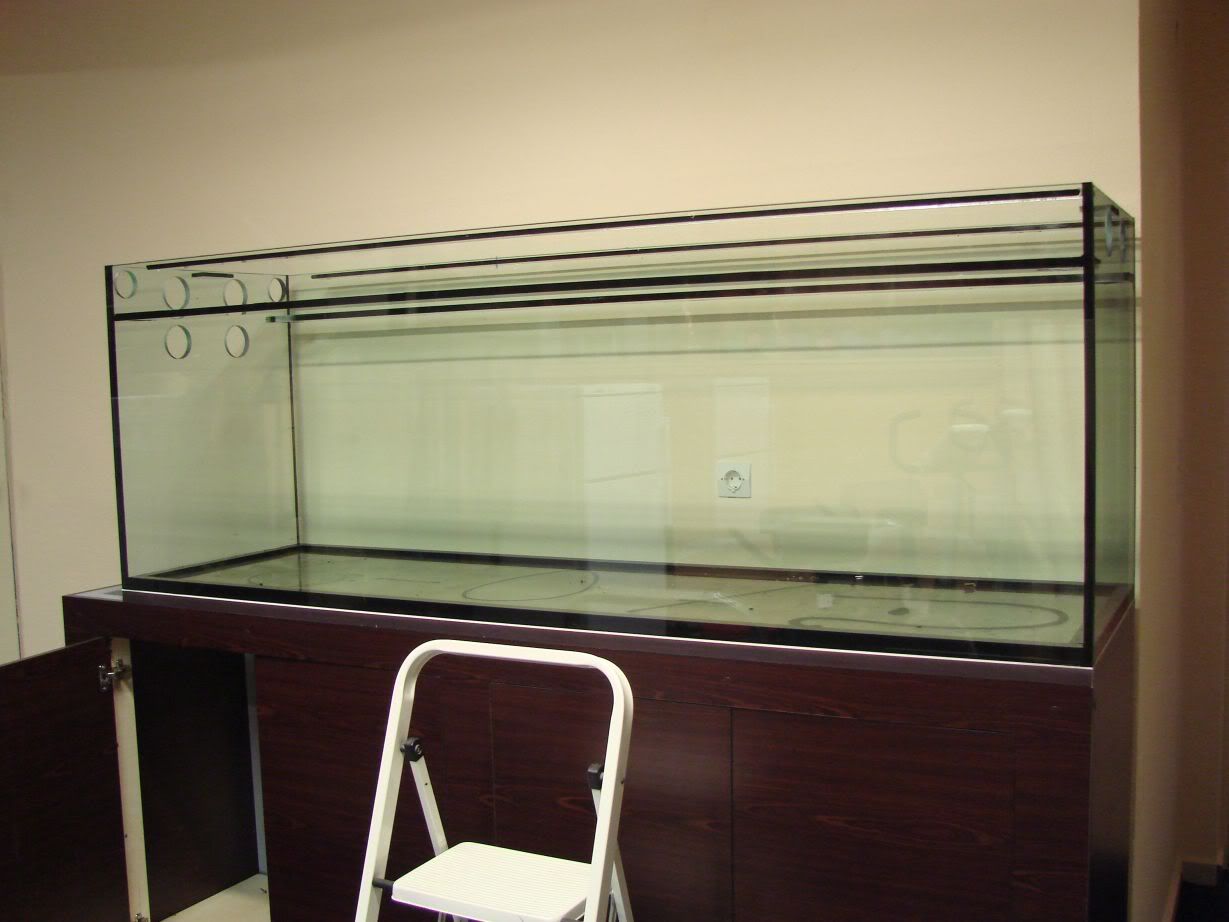
Test fitting one of the vertical rims...
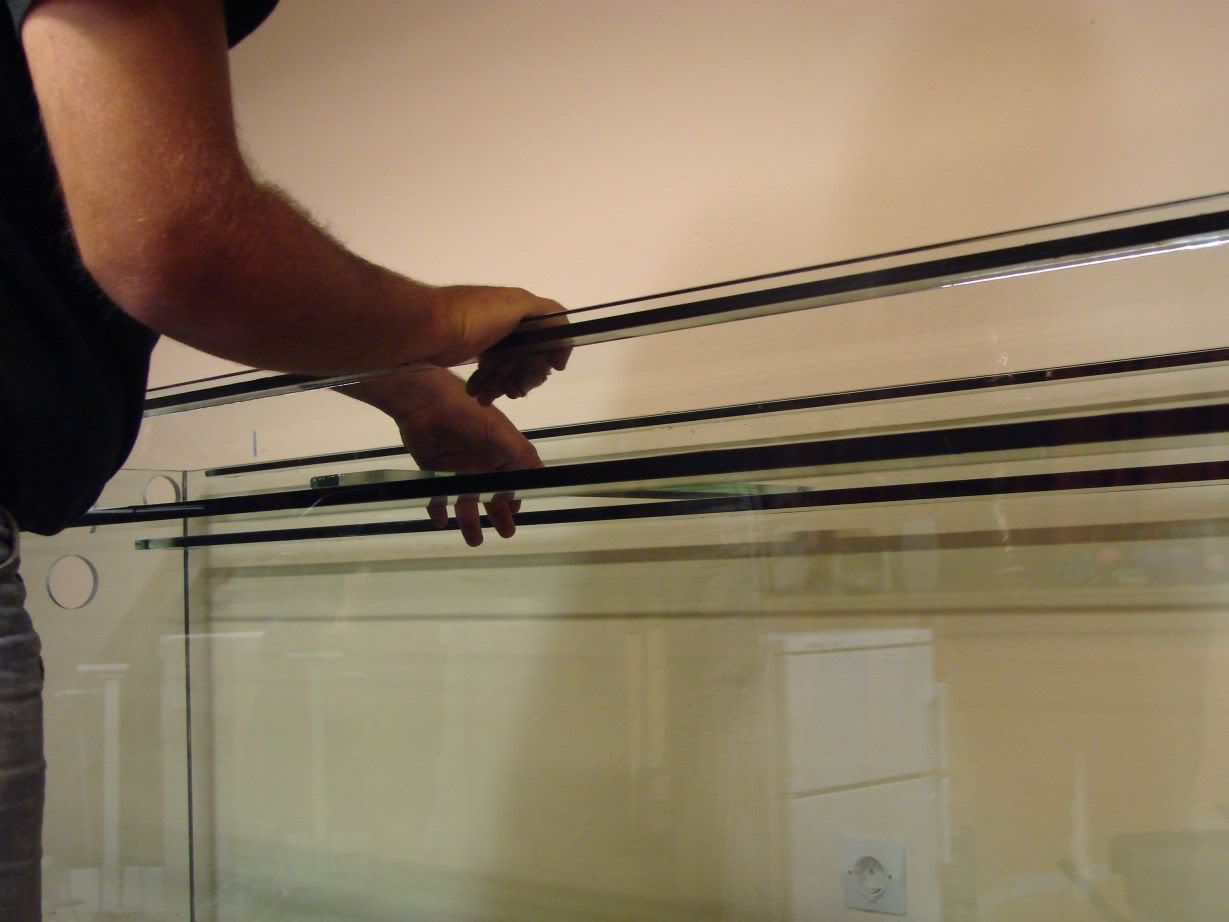
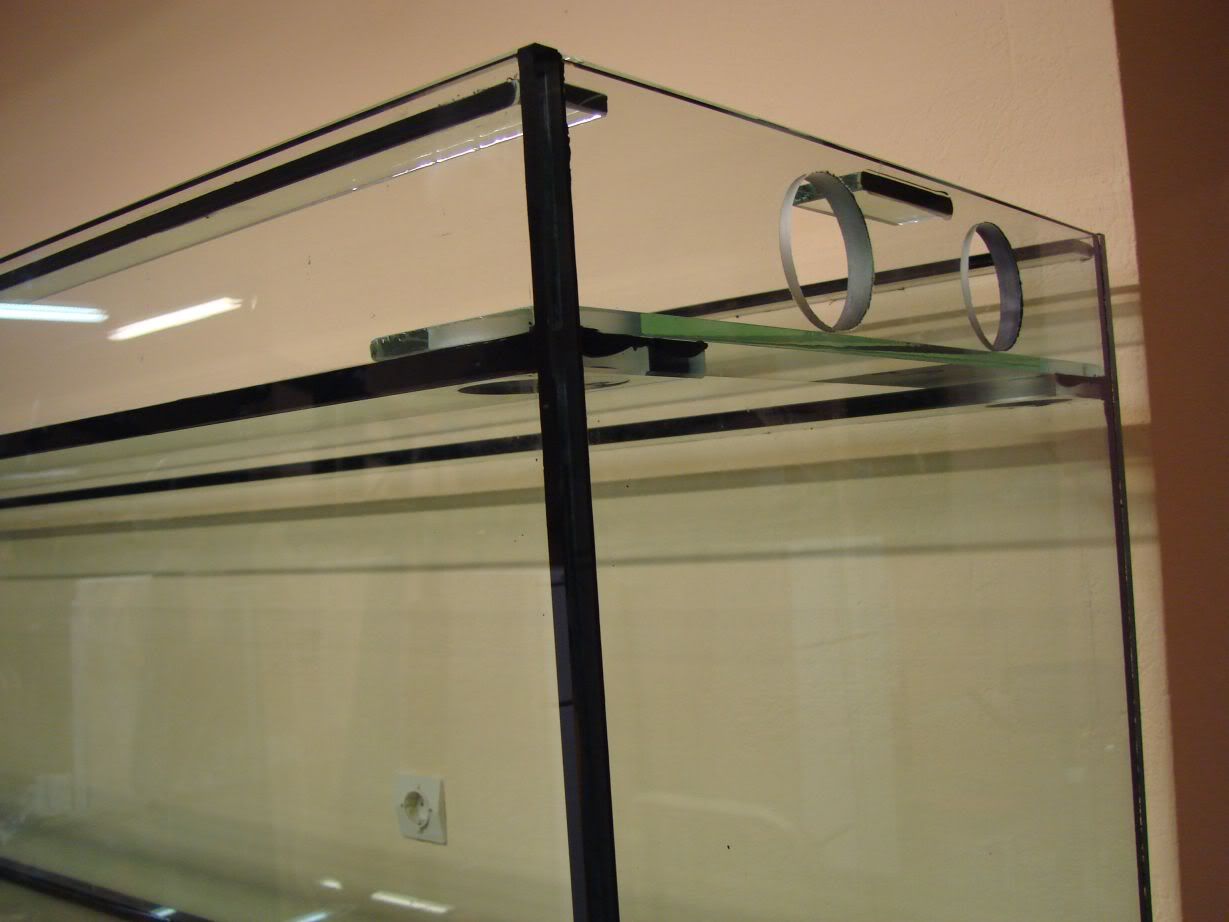
They would be able to pass with the upper rims fitted if i hadnt told them to make the long upper rims a bit shorter so the the return hoses can go in easily...
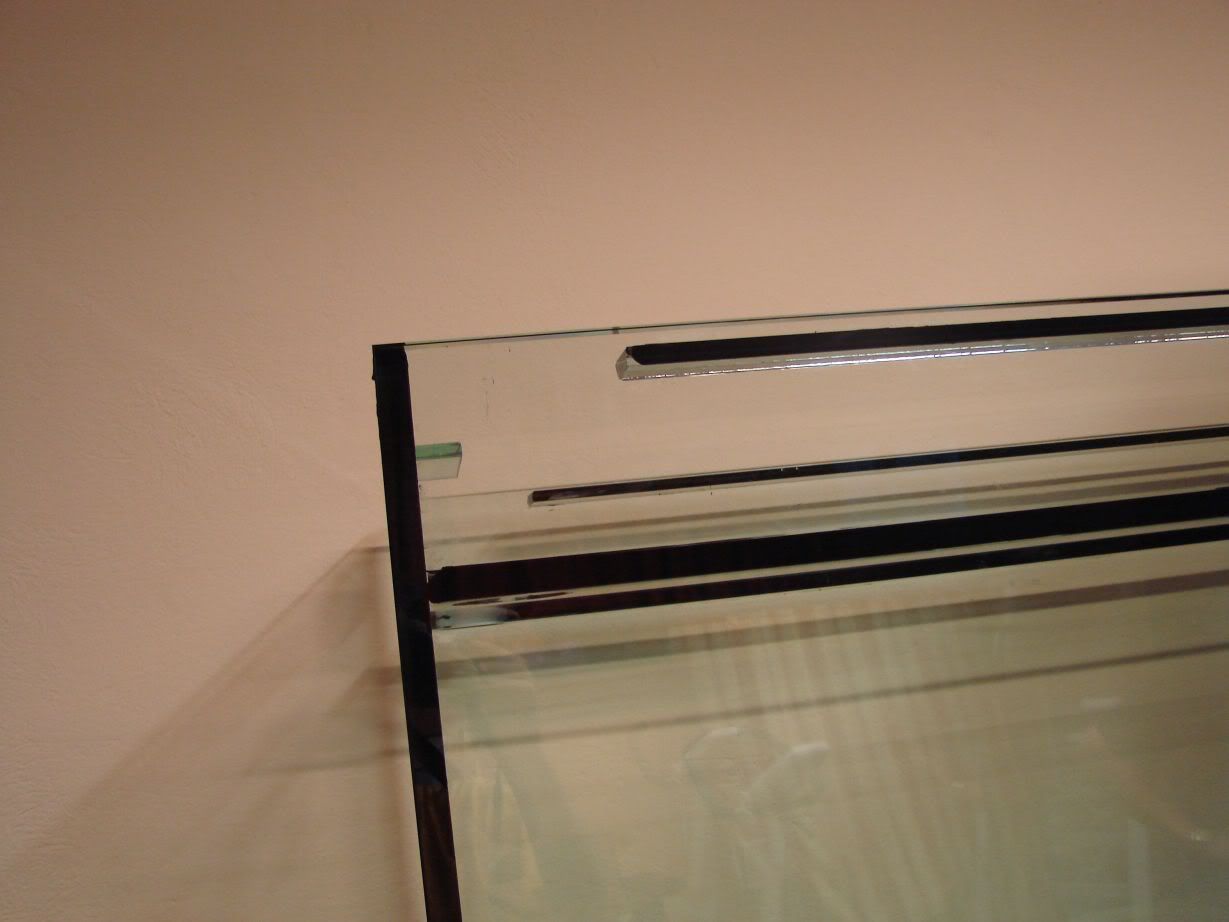
Applying silicone to the place the rim will go...
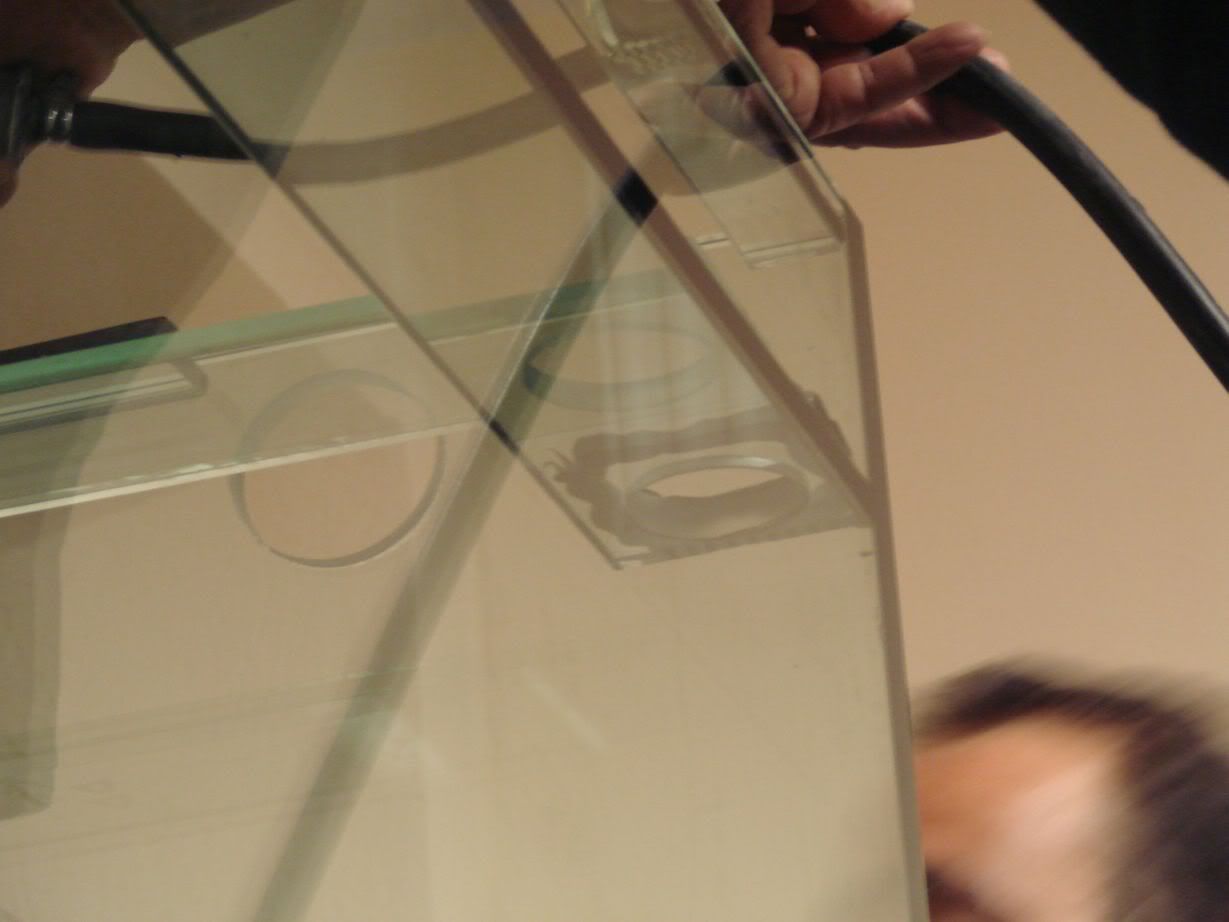
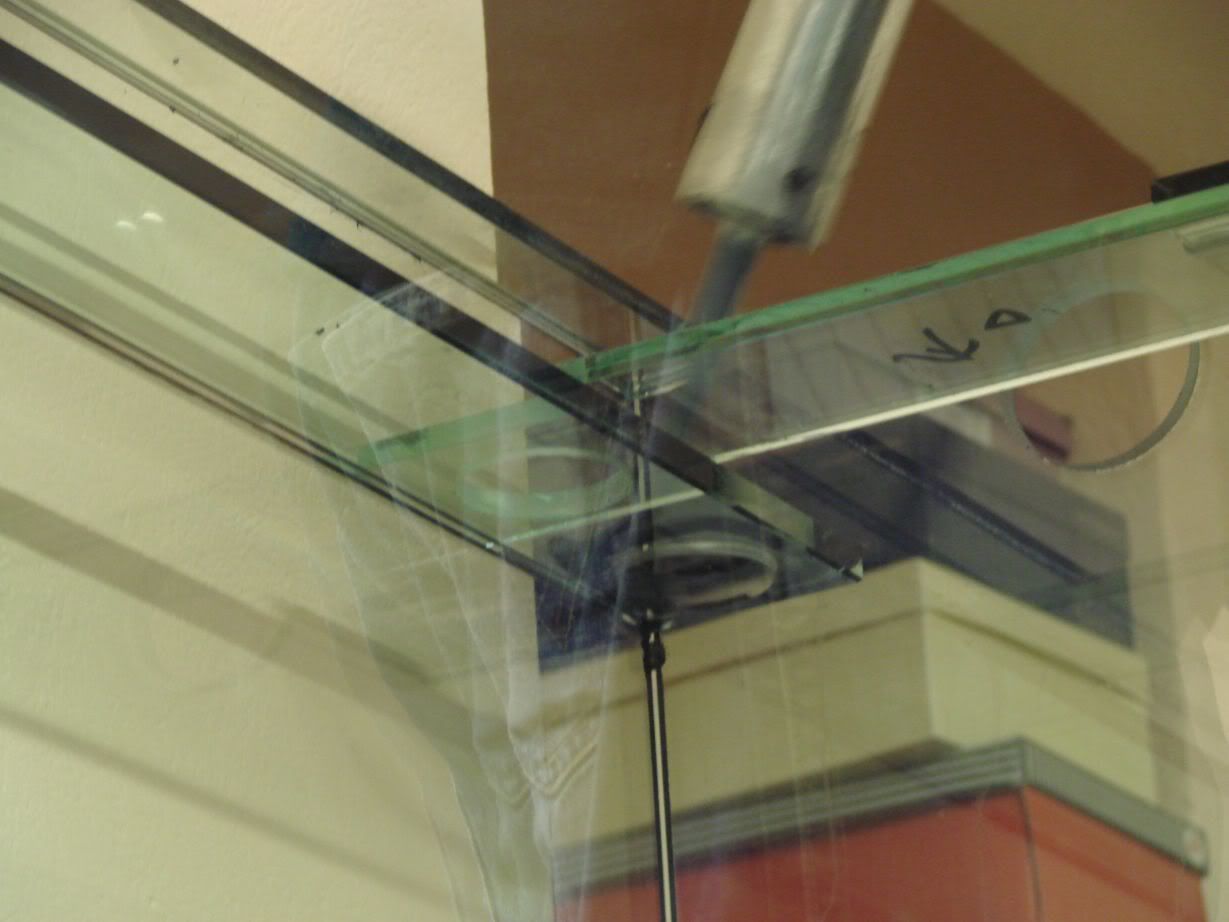
Positioning and pressing it in place by hand...
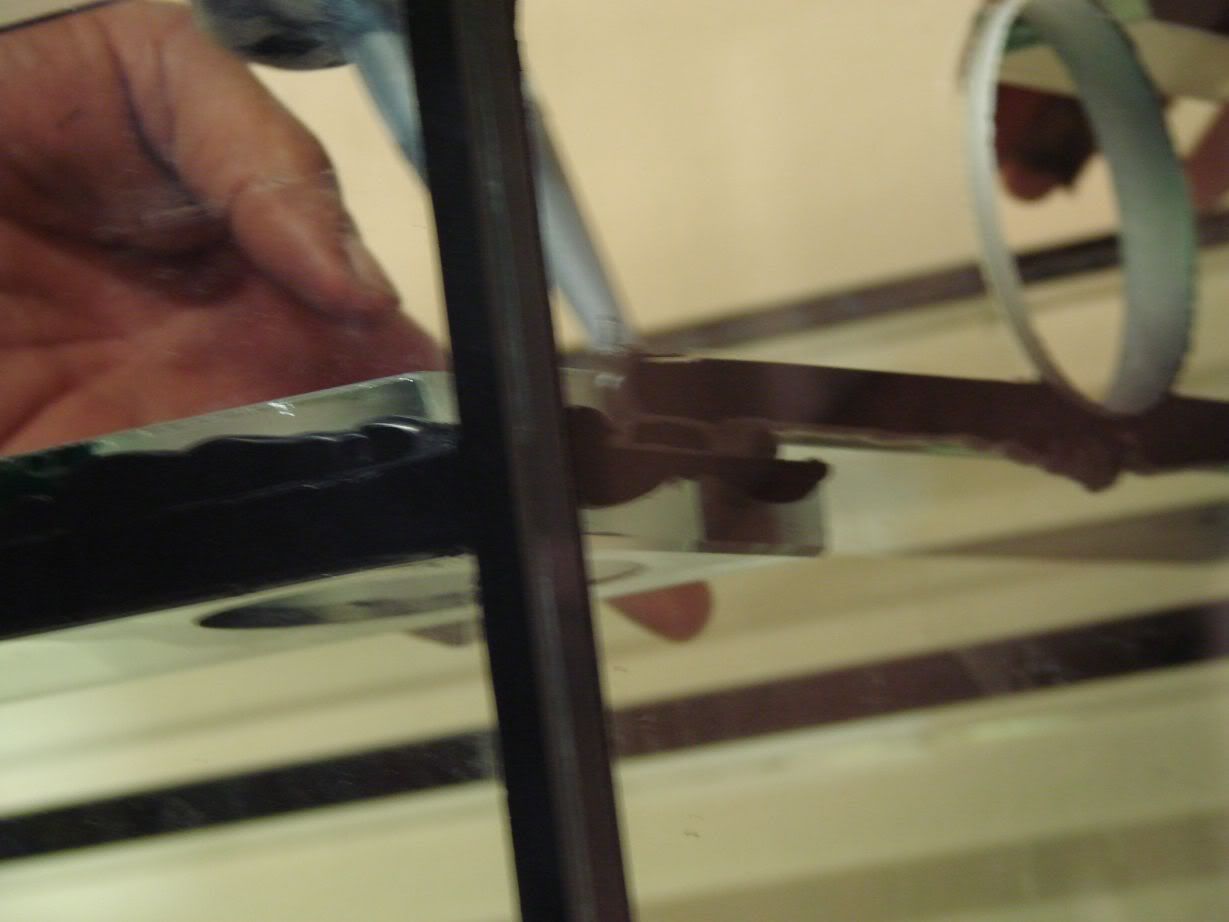
Cutting away excess silicone with a razor blade...

Then,he washed the upper part ot the tank firstly with a sponge and water and then he wiped off the water with a cloth...

Then,any extra silicone remains were cleaned with alcohol and steel wool...

The tank after cleaning...

Test fitting one of the vertical rims...


They would be able to pass with the upper rims fitted if i hadnt told them to make the long upper rims a bit shorter so the the return hoses can go in easily...

Applying silicone to the place the rim will go...


Positioning and pressing it in place by hand...

- Kostas
- Posts: 791
- Joined: 23 Apr 2003, 10:57
- I've donated: $256.00!
- My images: 19
- My cats species list: 14 (i:0, k:0)
- My aquaria list: 1 (i:1)
- Spotted: 6
- Location 1: Greece,Athens
- Location 2: Greece,Athens
- Interests: Fishkeeping,diving,skiing,r/c modeling,growing Palm trees,ferns and tropical plants
- Contact:
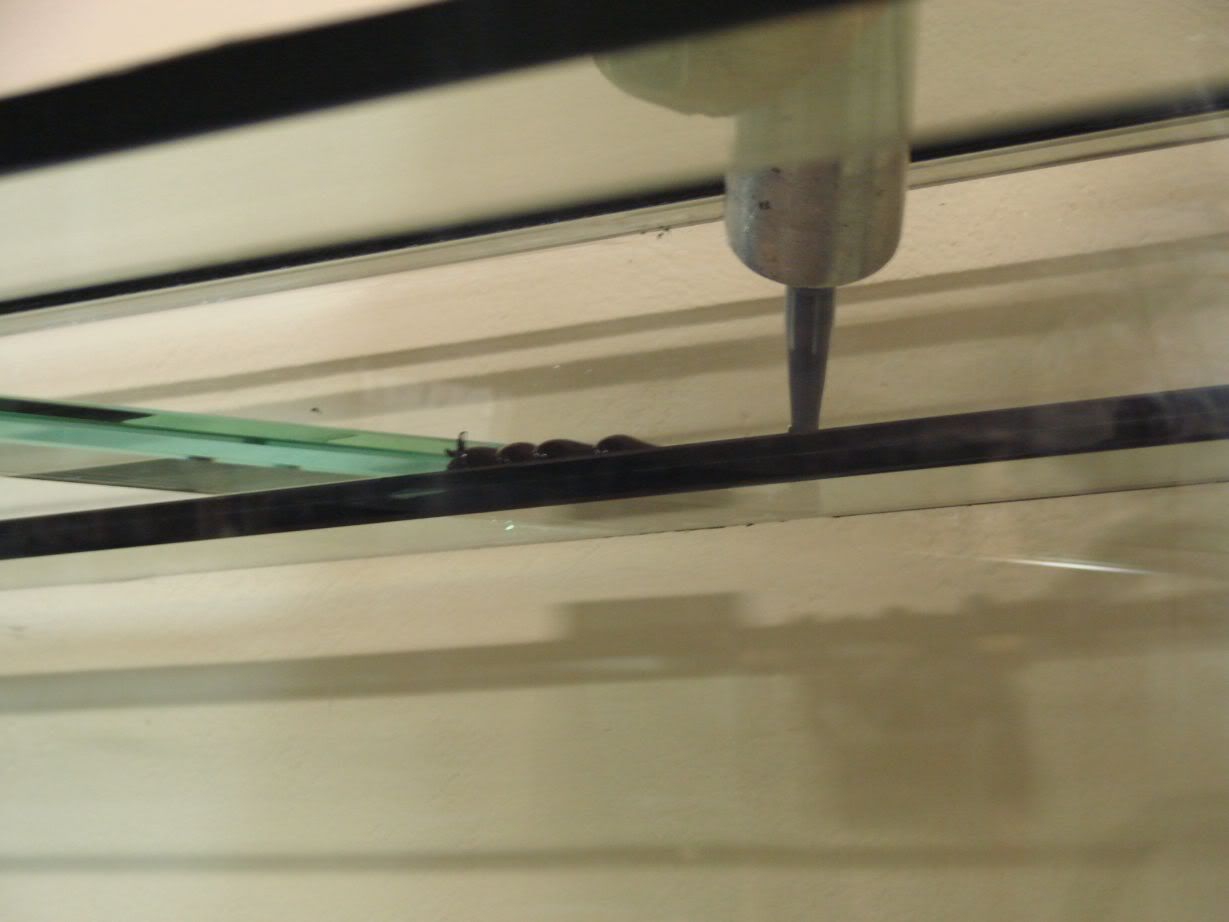
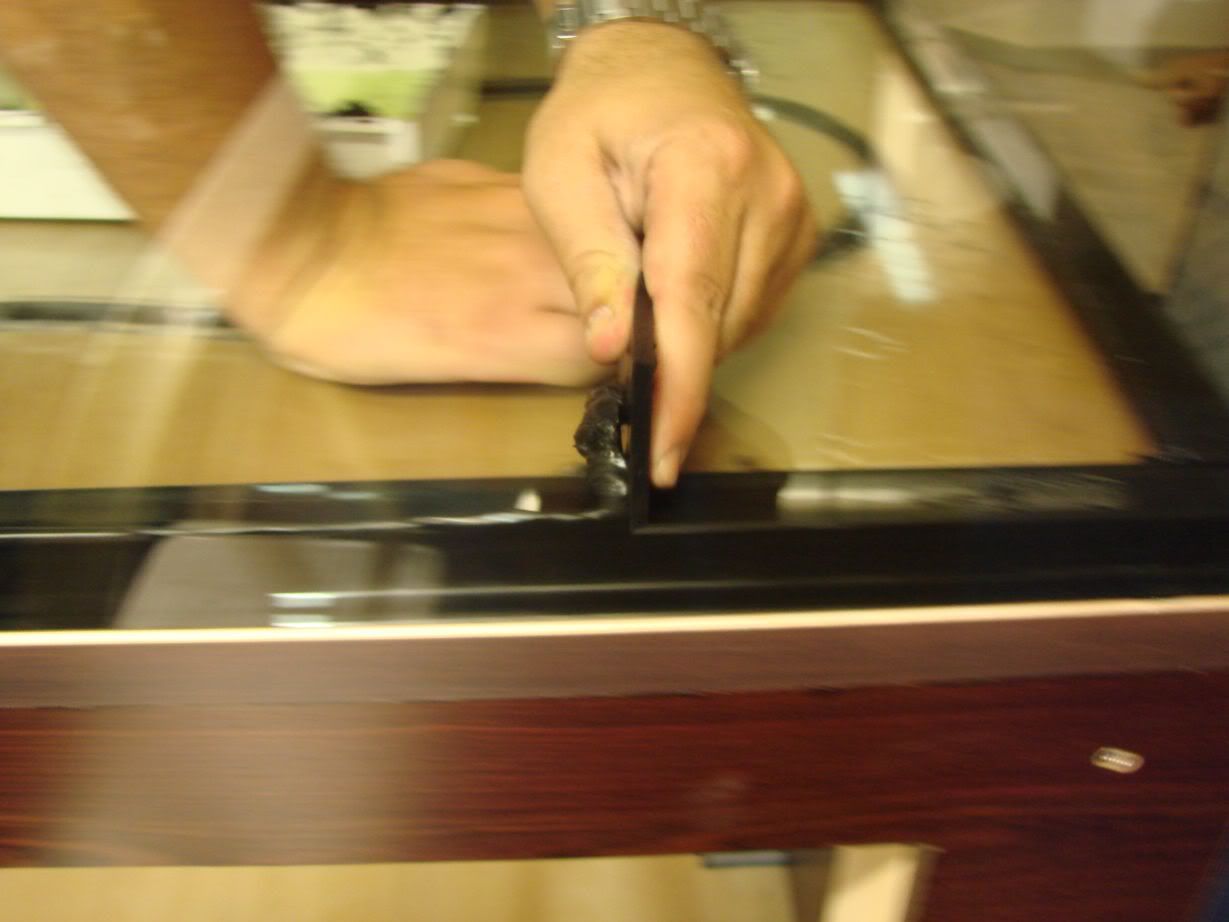
More silicone was pressed in between the side glass and the rim for better contact...
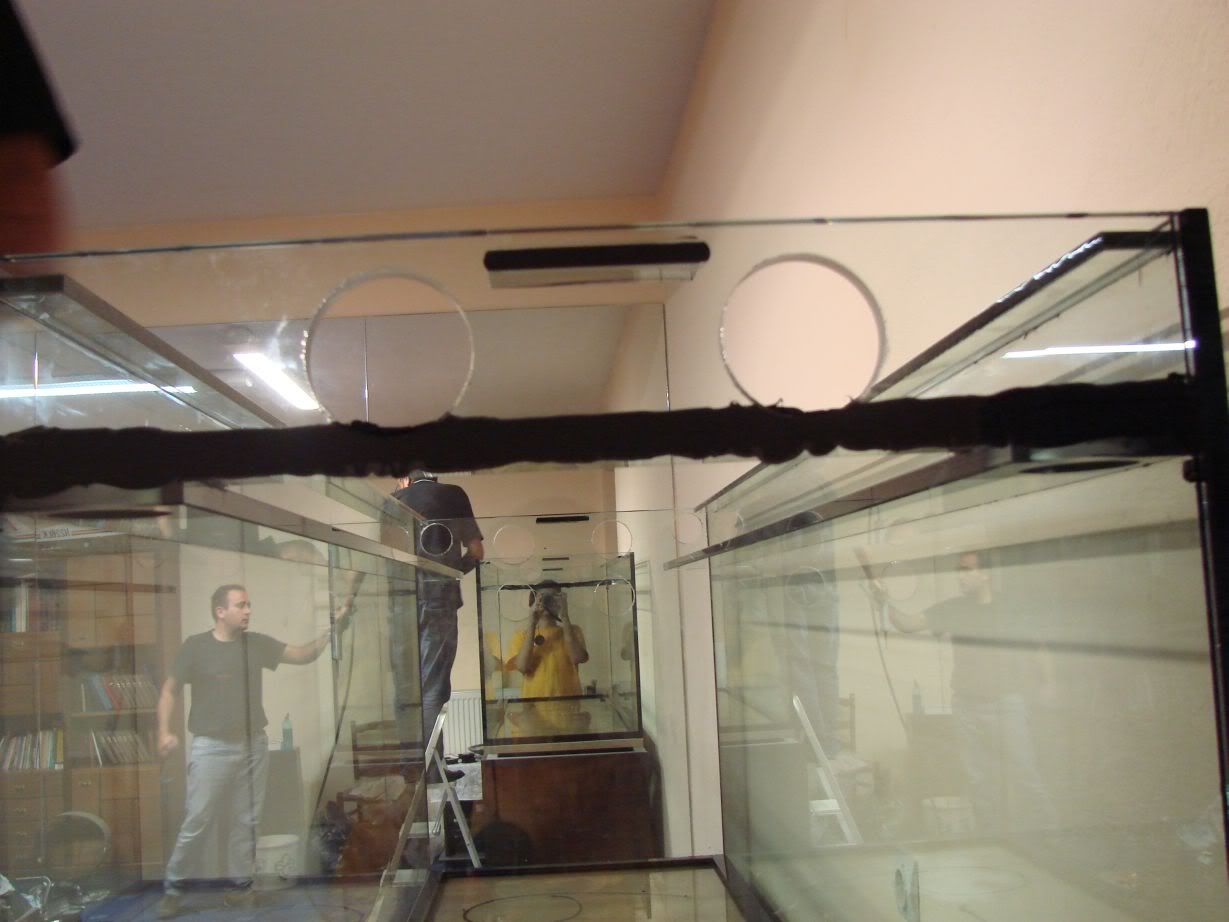
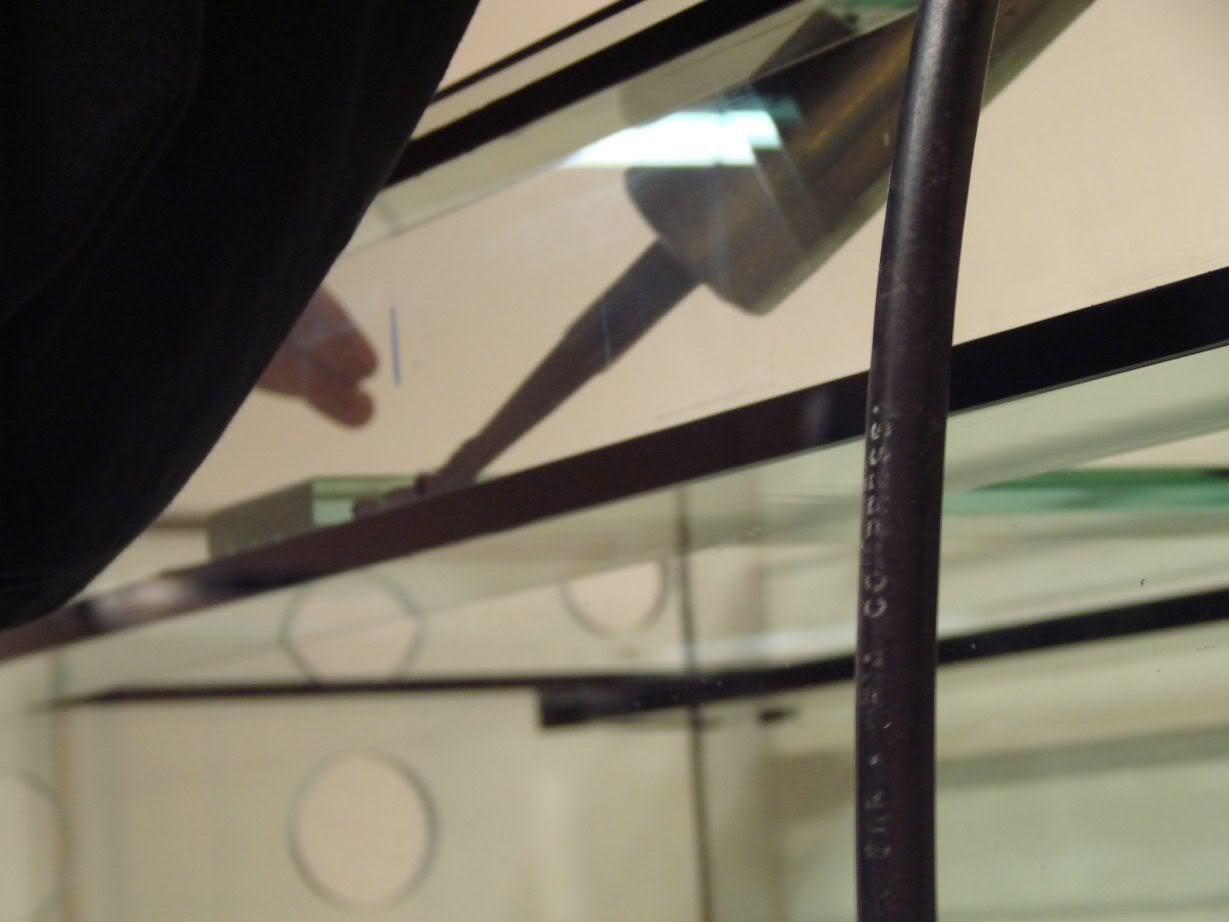
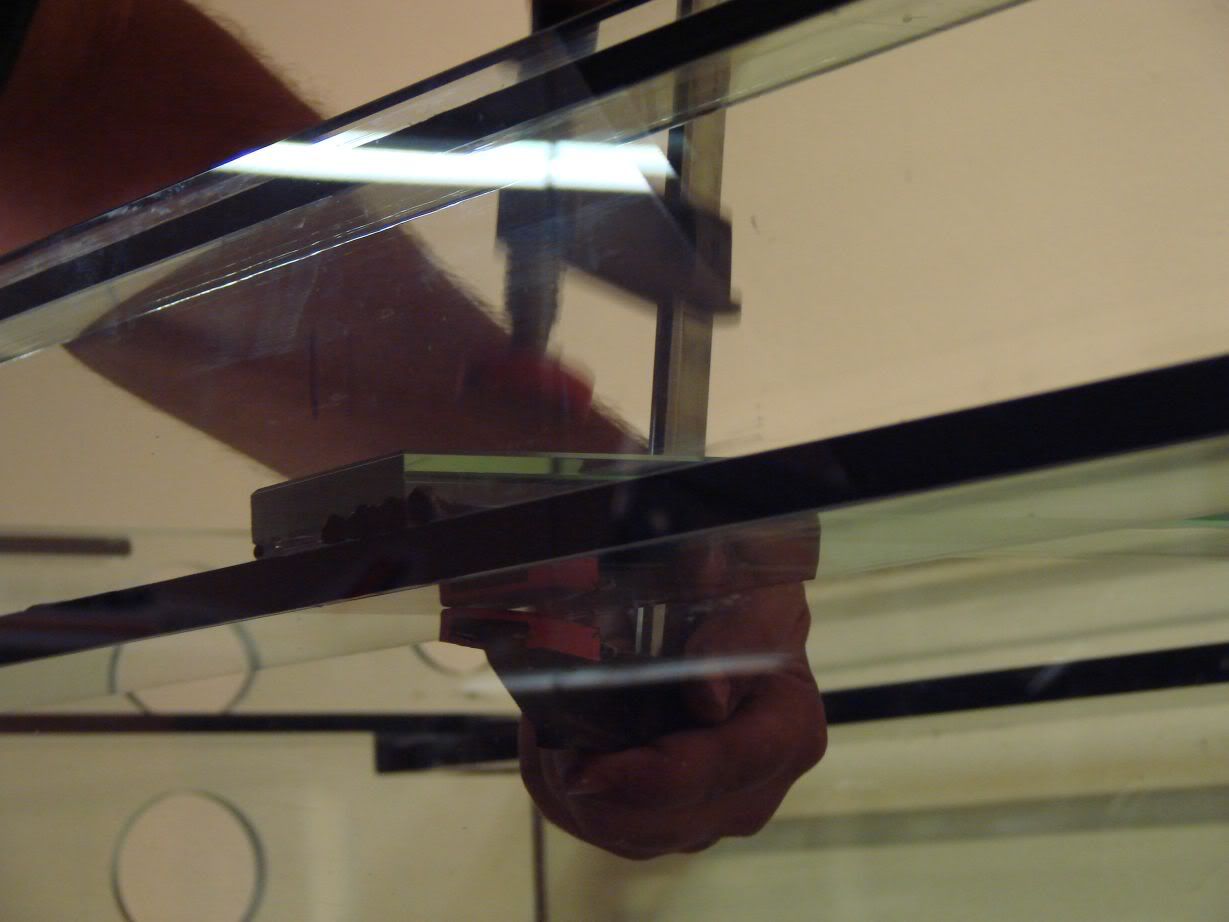
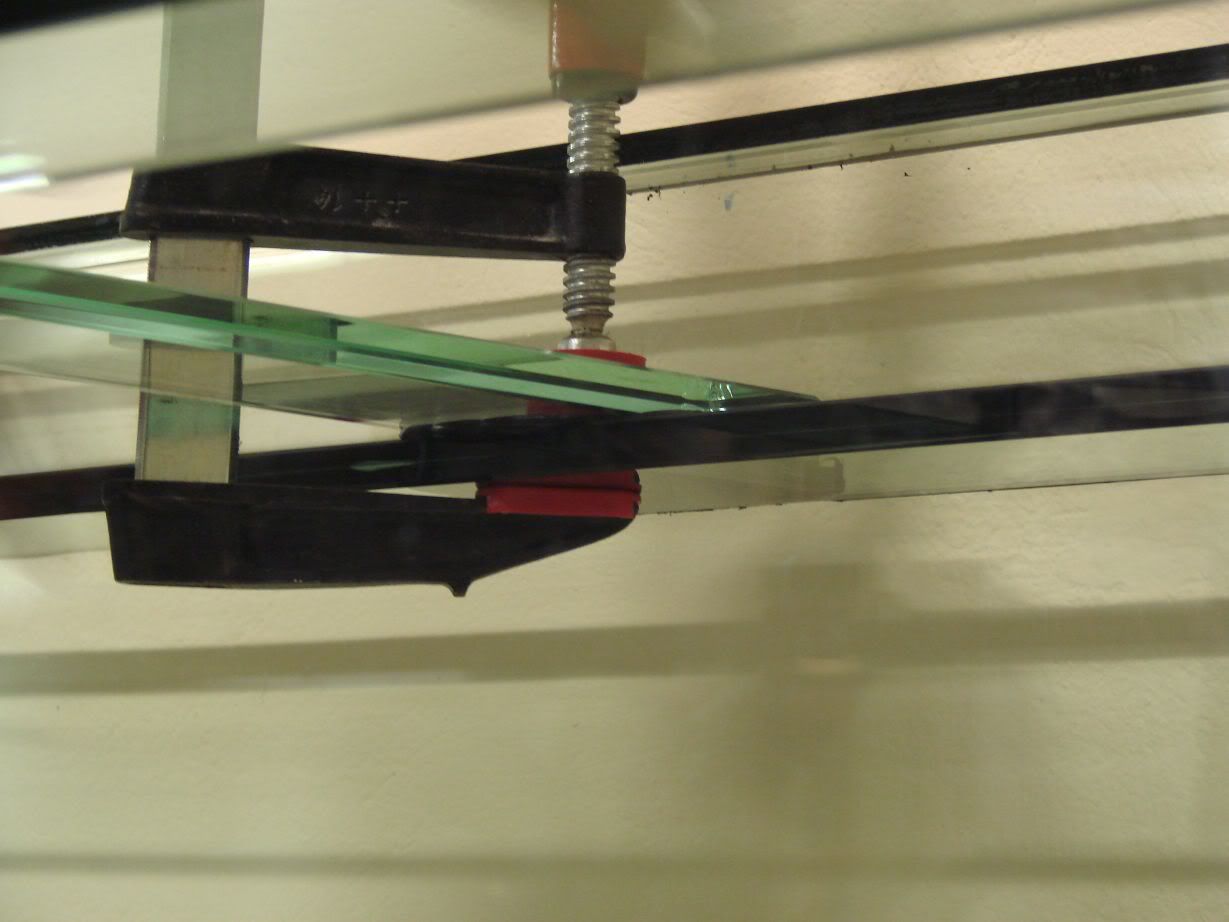
Pressing the vertical and horizontial rim together with a clamp for firm contact and to squeeze excess silicone out...
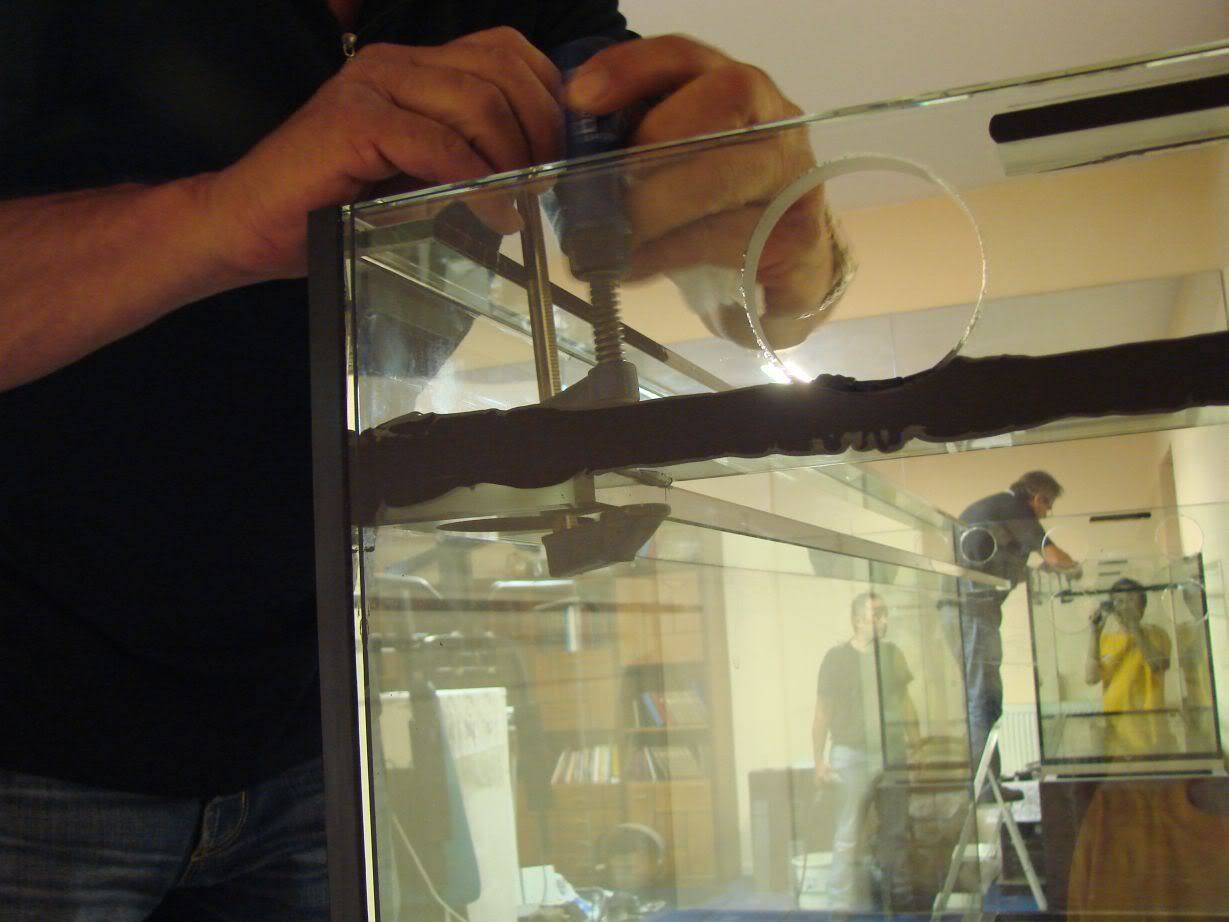
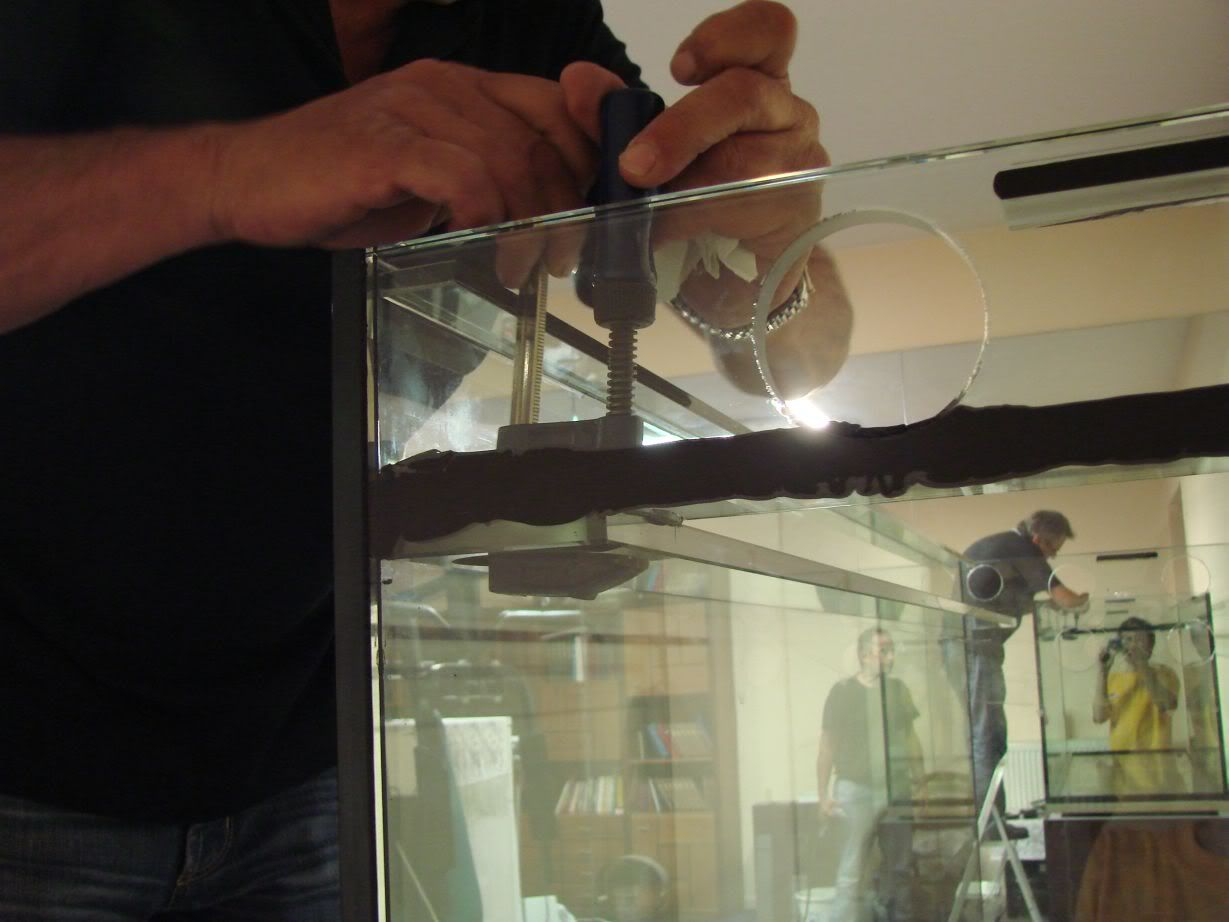
The rim after the pressing...
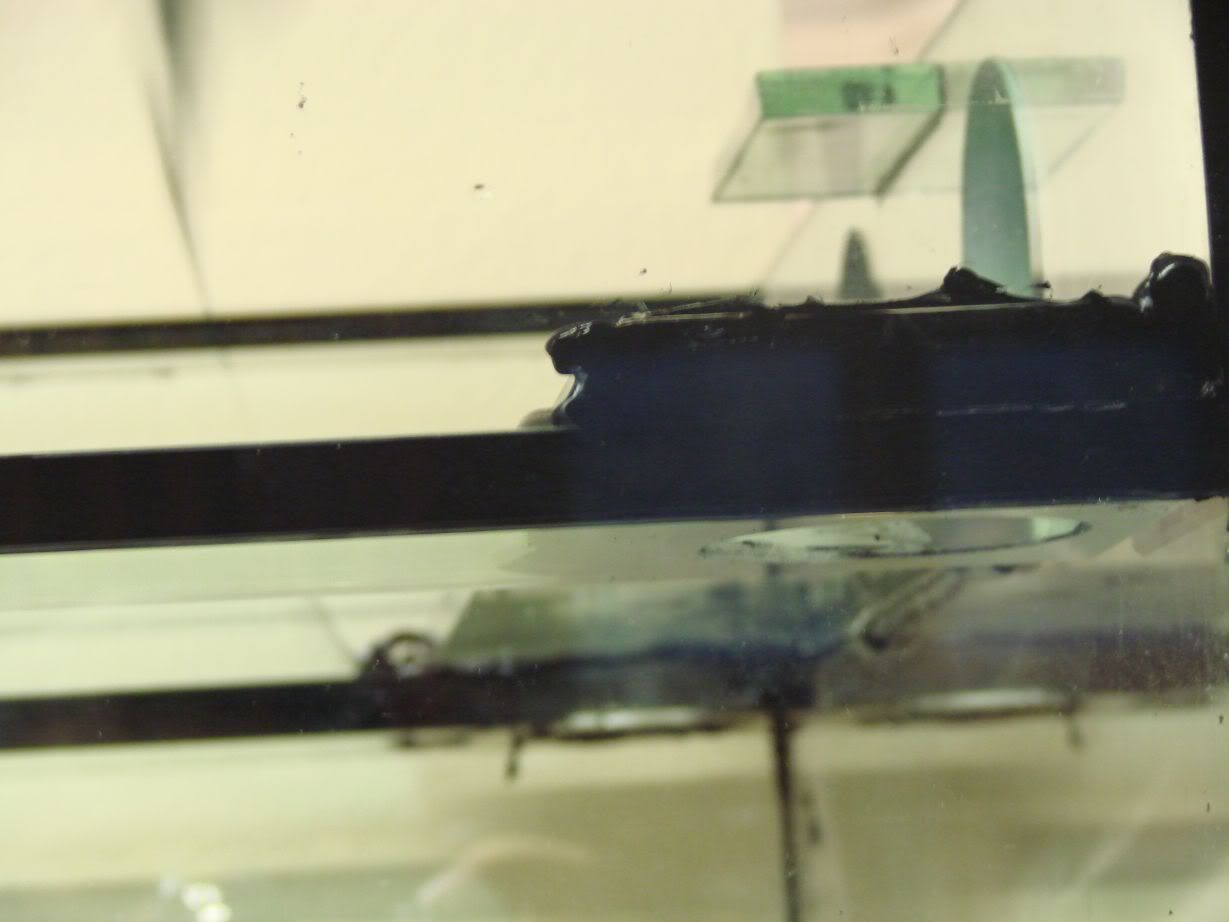
Putting more silicone were its missing...
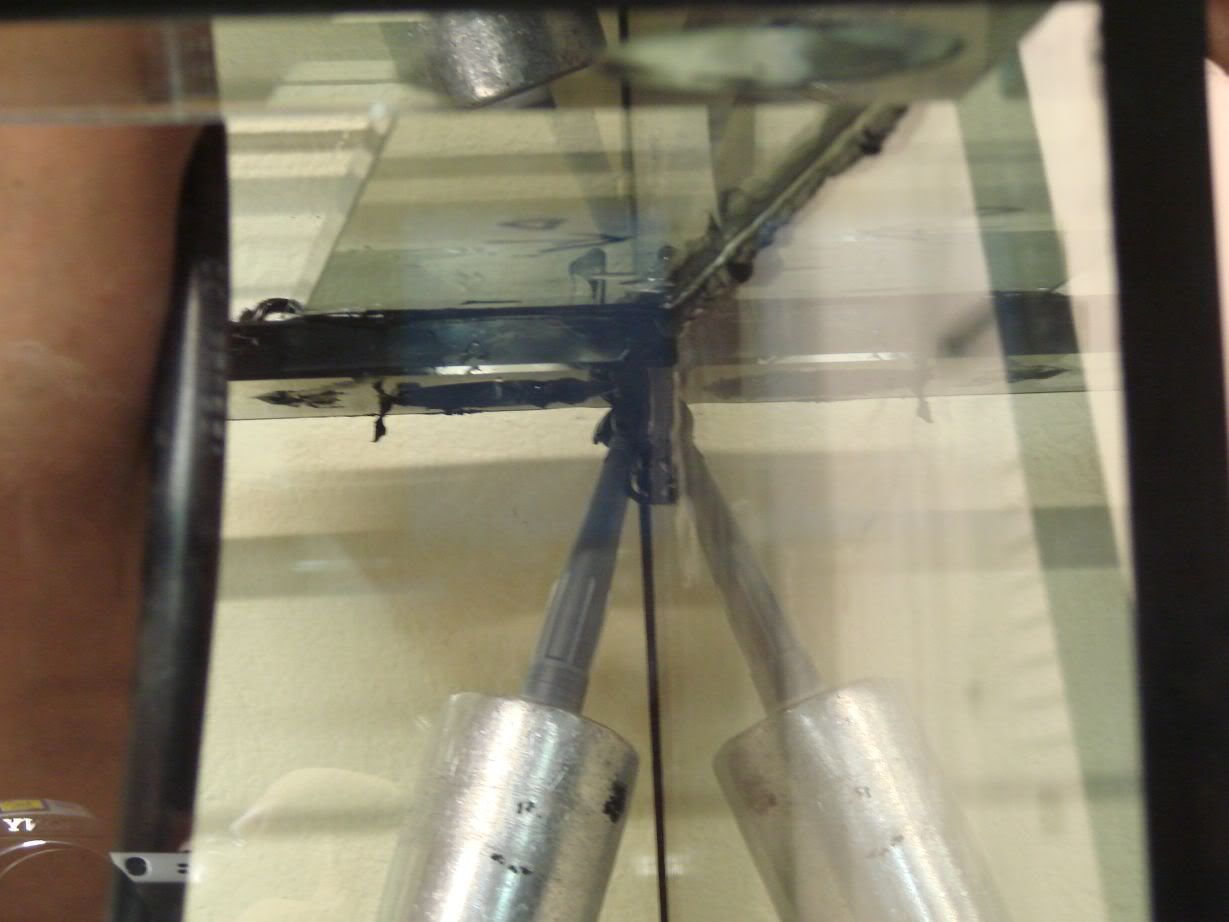
...and removing the excess...
The middle vertical rim is passed from the opening...
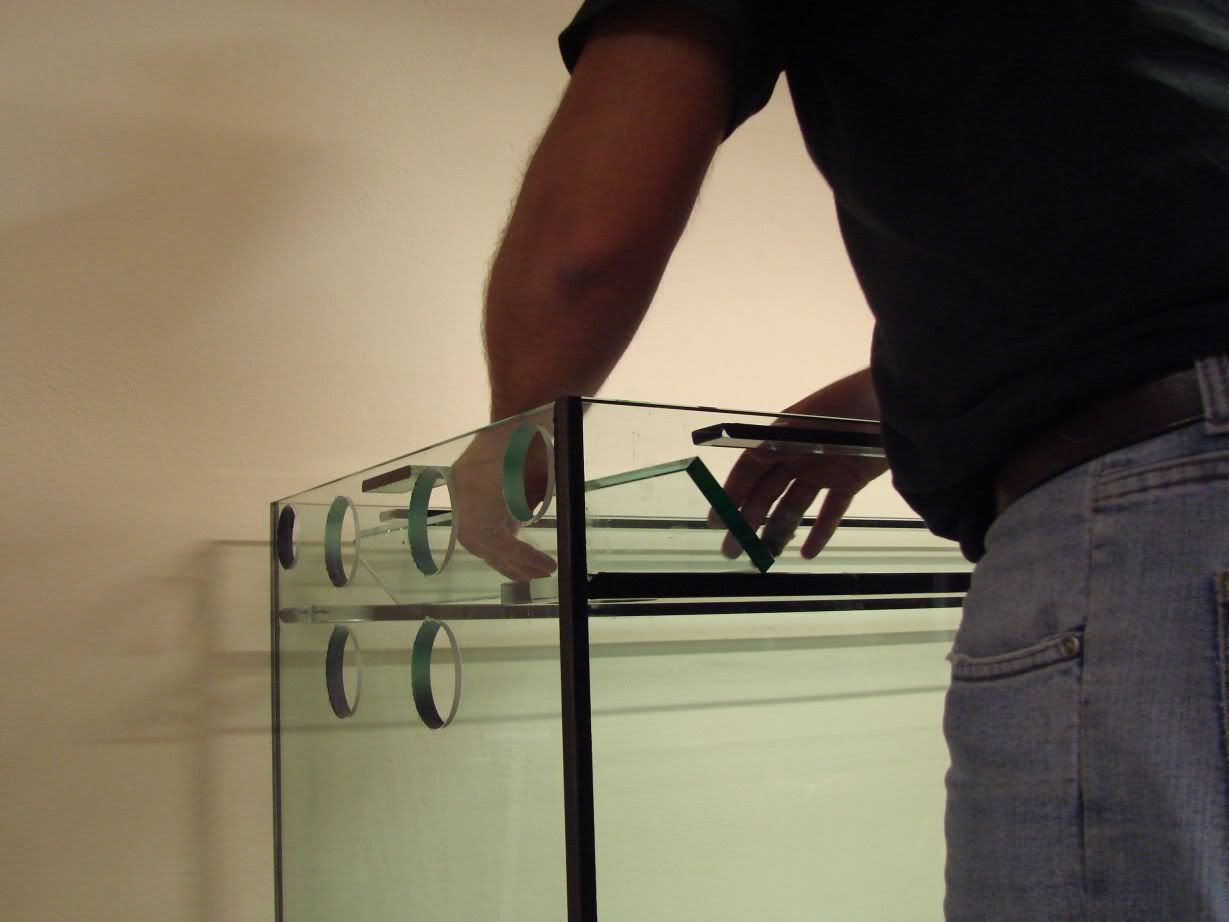
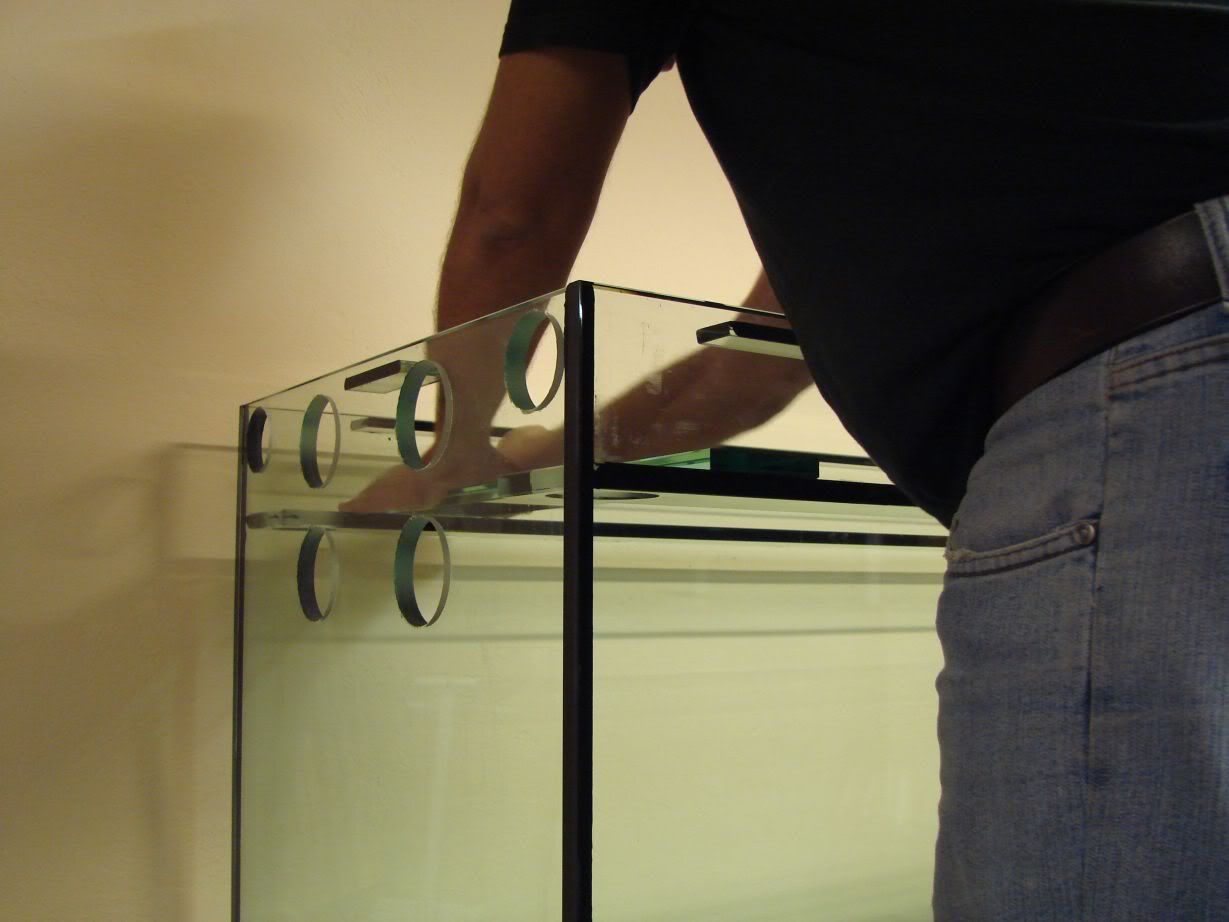
He then moved it in its place and applied silicone for the left vertical rim...
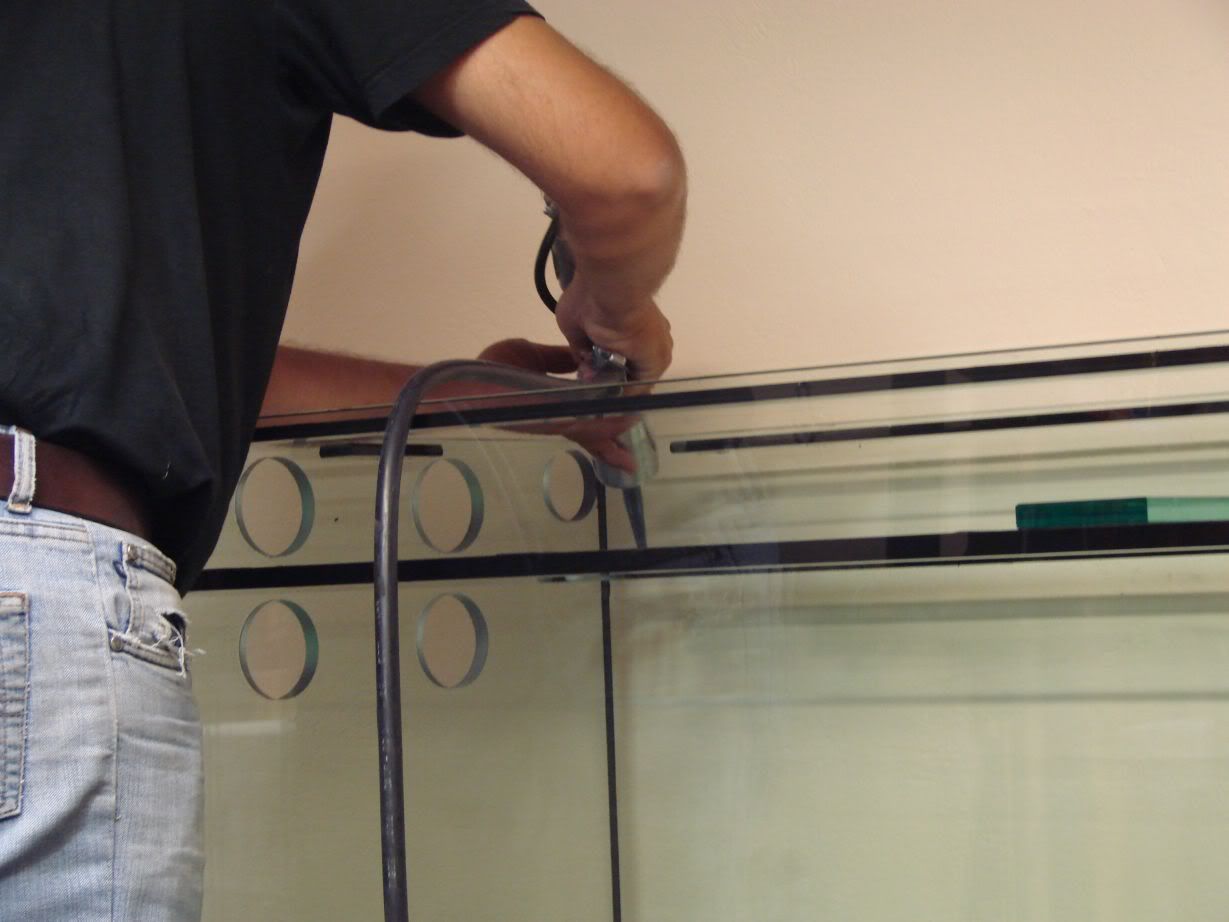
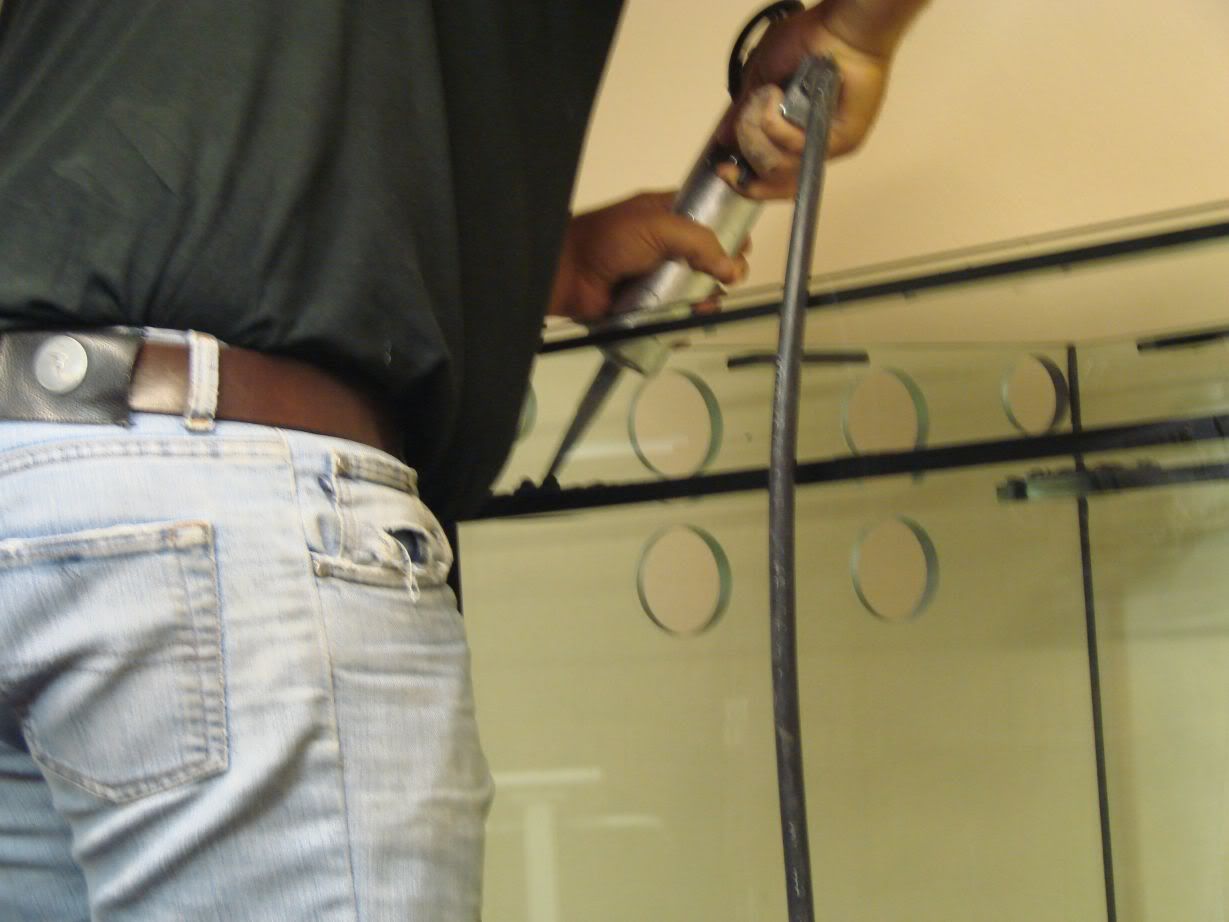
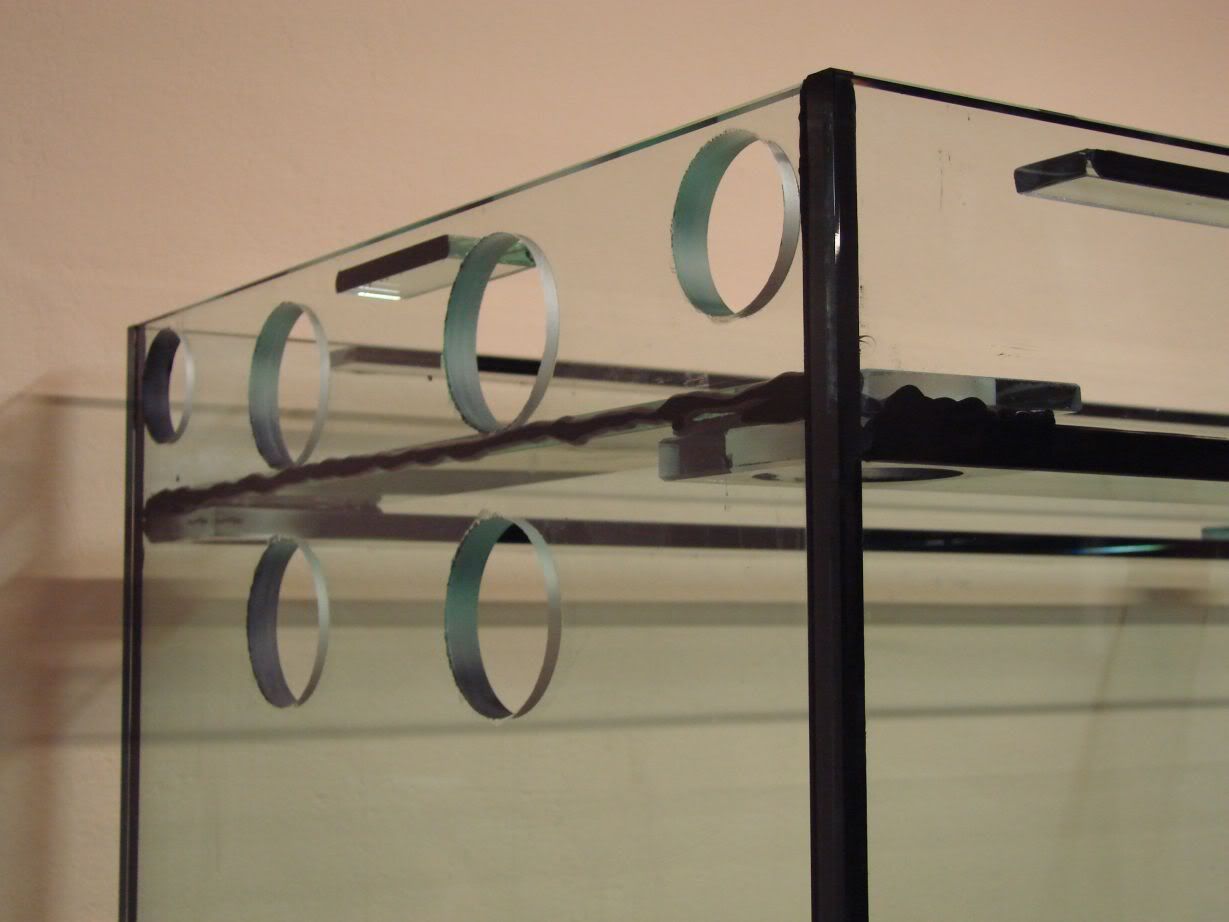
The rim in place!!!
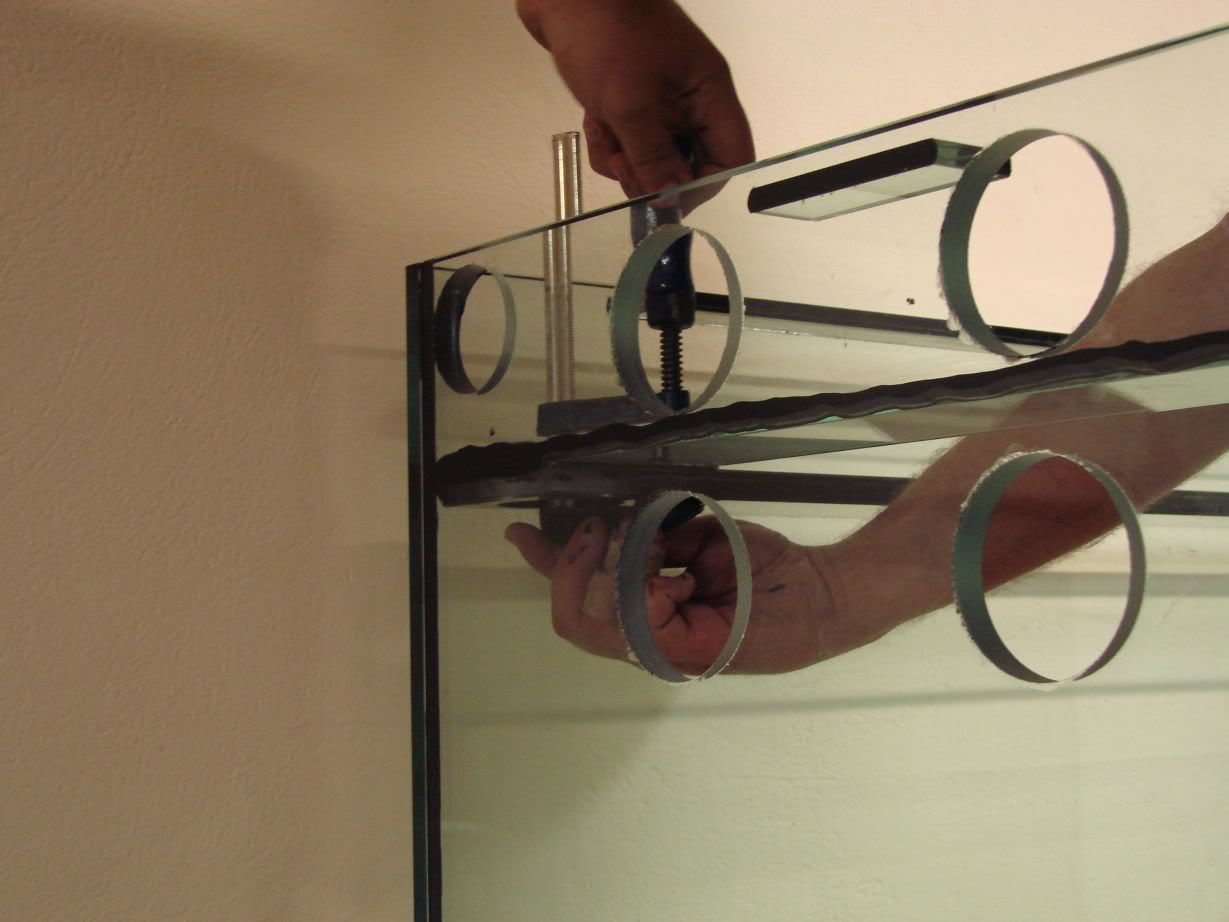
Again,pressing it with a clamp...
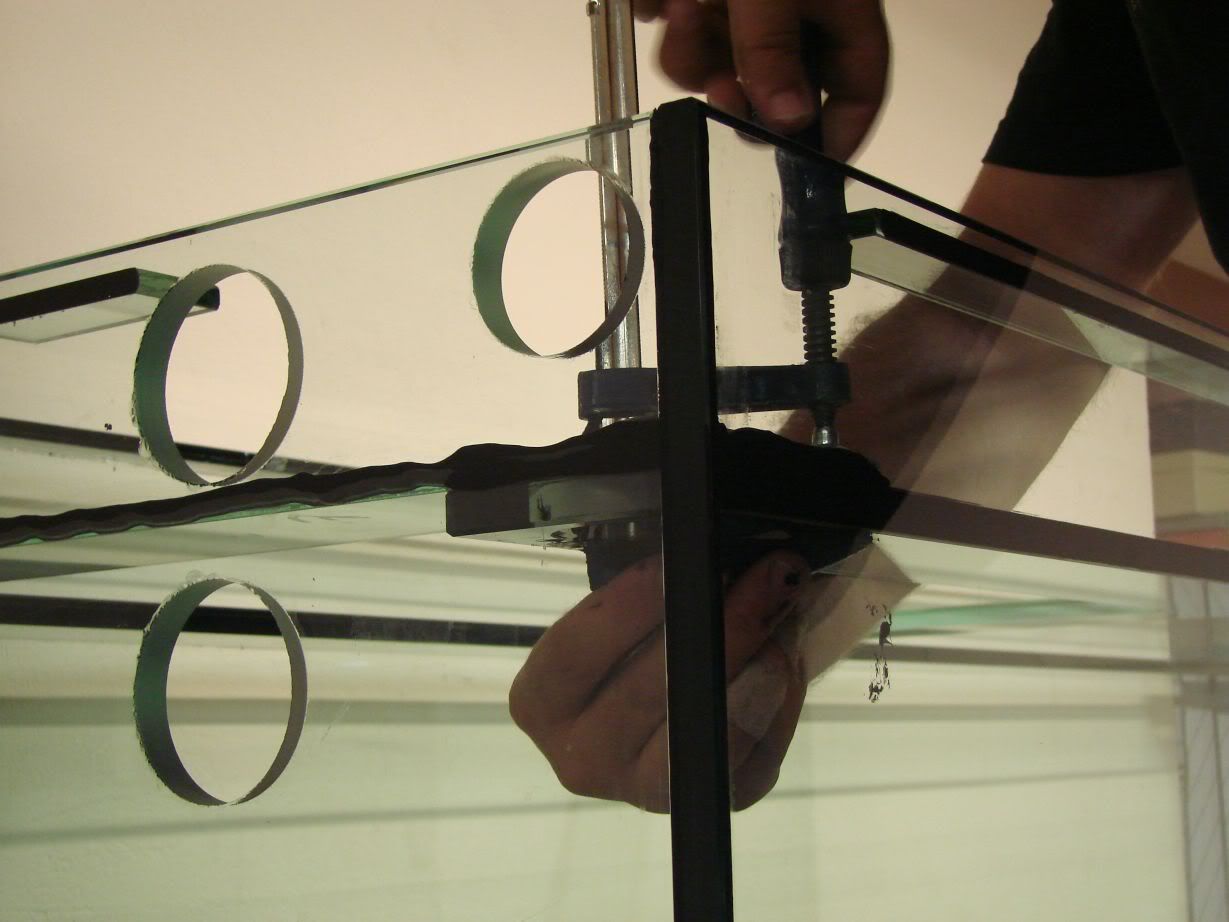
...and removing the silicone that squeezed out...
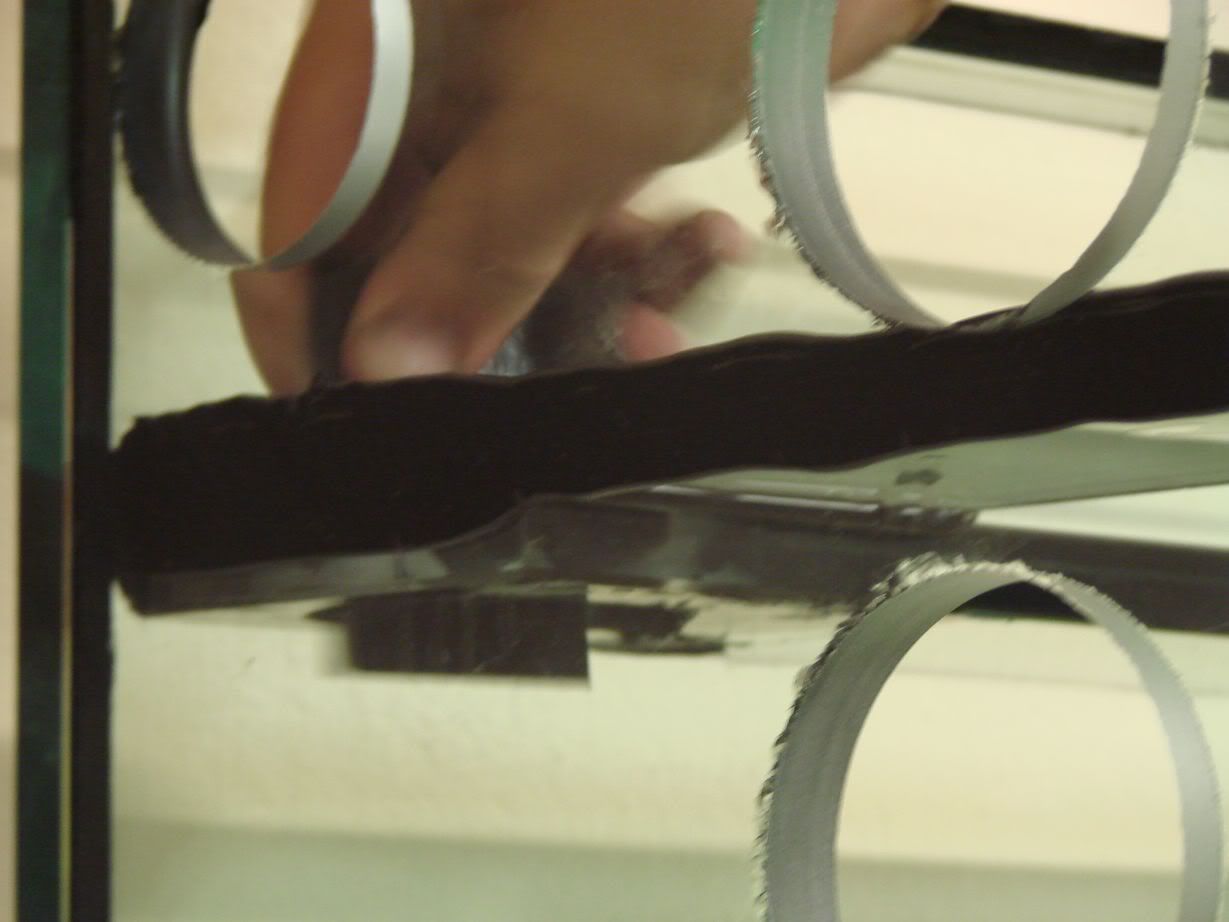
Putting more silicone where needed...
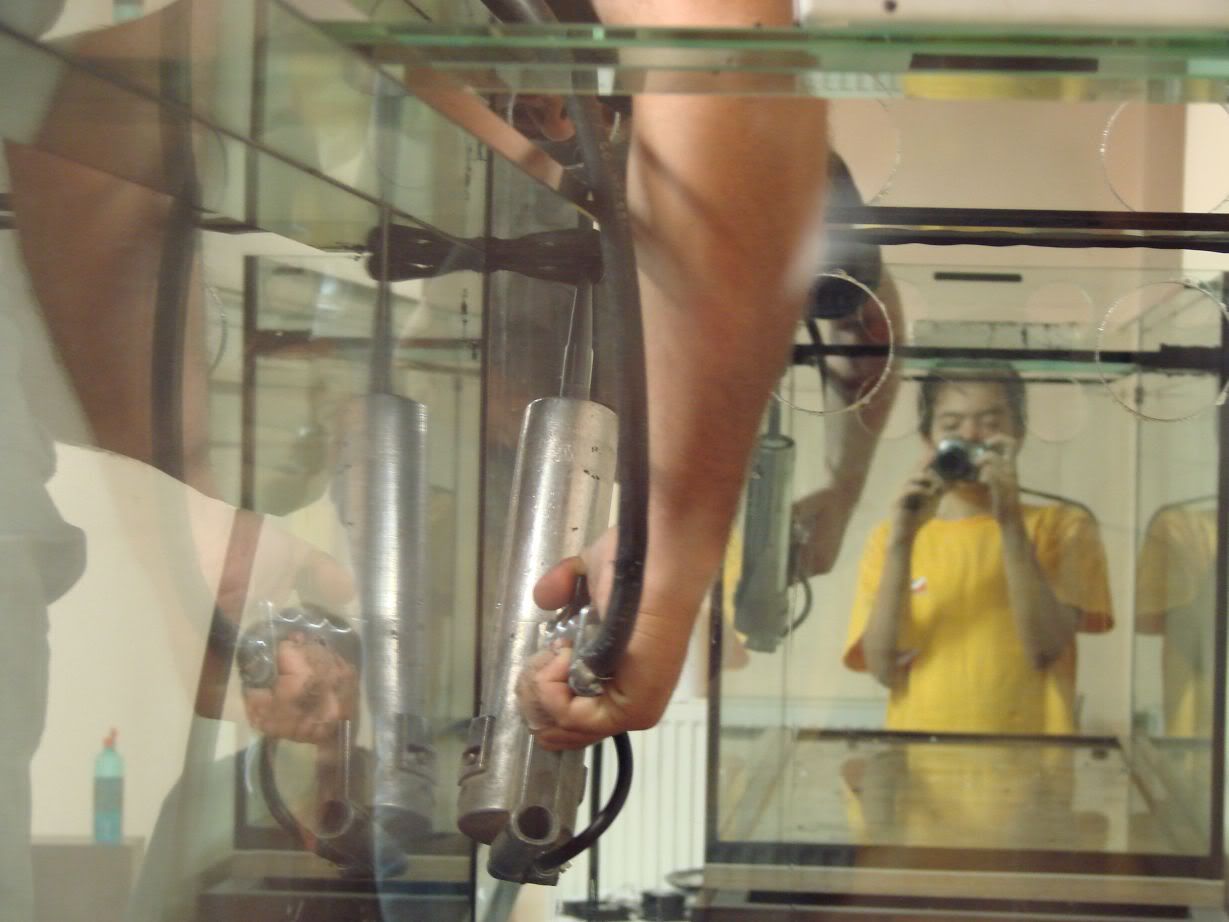
The right vertical rim in place and cleaned from excess silicone...
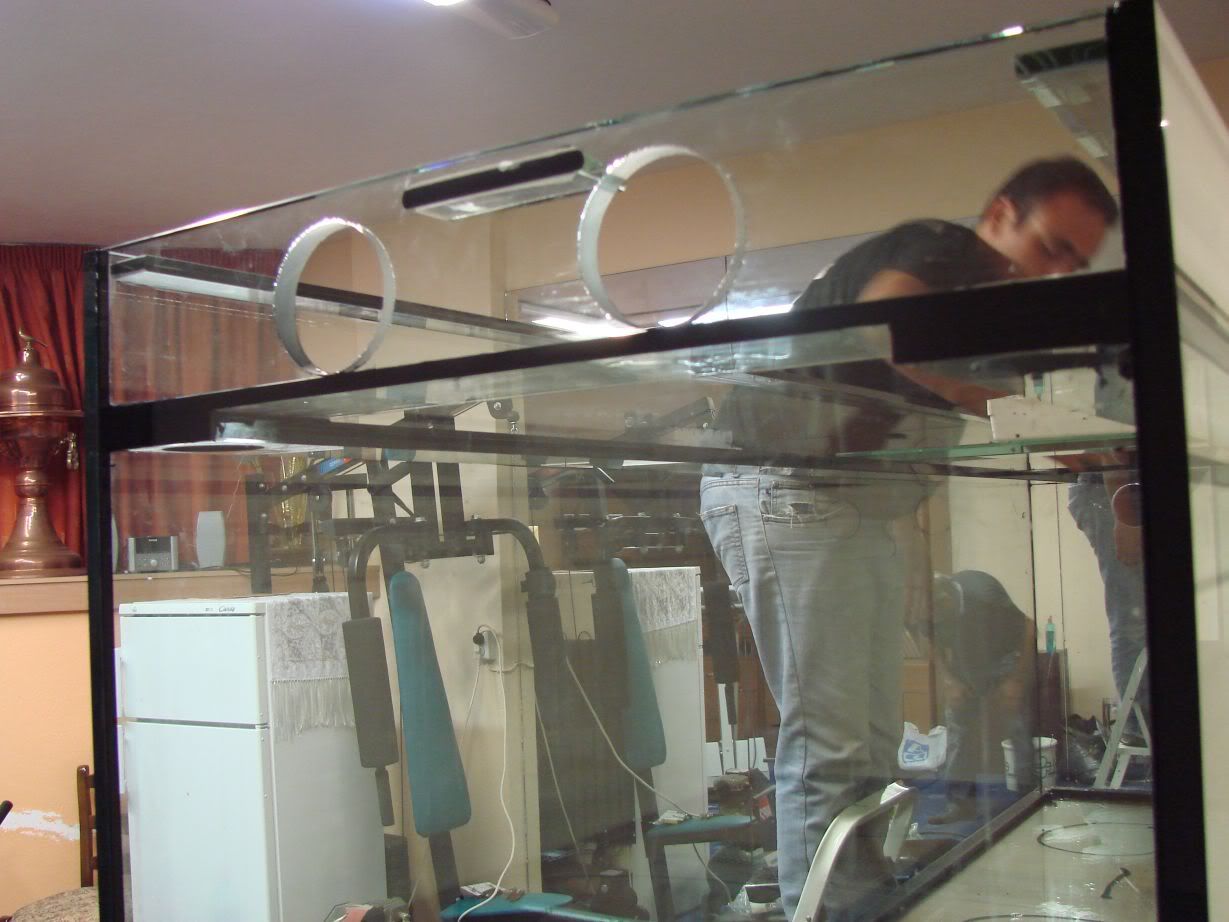
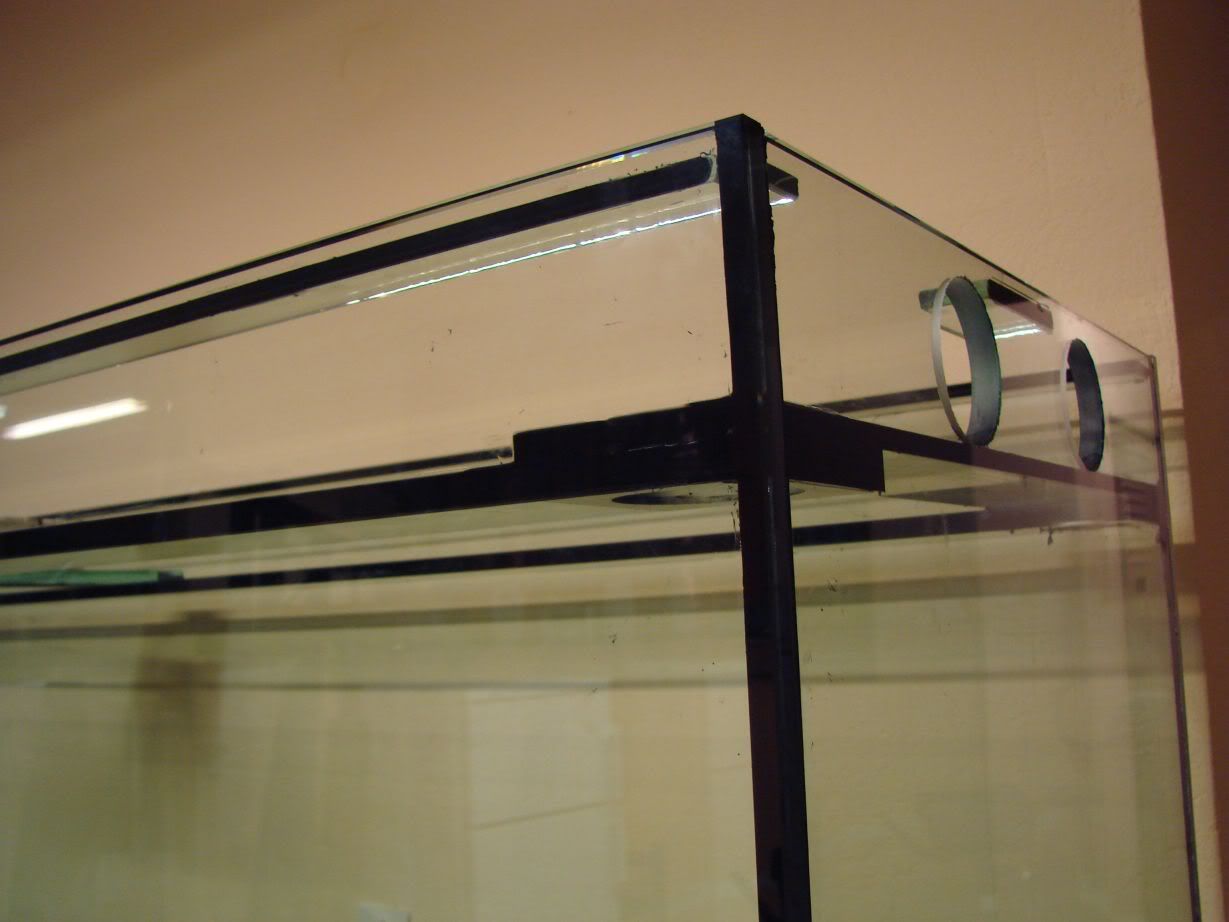

Pressing the vertical and horizontial rim together with a clamp for firm contact and to squeeze excess silicone out...


The rim after the pressing...

Putting more silicone were its missing...

...and removing the excess...

The middle vertical rim is passed from the opening...


He then moved it in its place and applied silicone for the left vertical rim...


The rim in place!!!

Again,pressing it with a clamp...


...and removing the silicone that squeezed out...

Putting more silicone where needed...

The right vertical rim in place and cleaned from excess silicone...


- Kostas
- Posts: 791
- Joined: 23 Apr 2003, 10:57
- I've donated: $256.00!
- My images: 19
- My cats species list: 14 (i:0, k:0)
- My aquaria list: 1 (i:1)
- Spotted: 6
- Location 1: Greece,Athens
- Location 2: Greece,Athens
- Interests: Fishkeeping,diving,skiing,r/c modeling,growing Palm trees,ferns and tropical plants
- Contact:
